Hello, friends! I wanted to wish everyone a Merry Christmas! And to those who celebrate Chanukah, I hope you had a wonderful holiday and enjoy the last night. I have a few last minute Christmas cards that I made yesterday, one of which is a very funny one that I made for my husband. I am always sad when Christmas card making rolls to an end each year. They’re honestly my favorite cards to make all year round, so forgive me if I continue to make some into the new year. There are so many products that I didn’t get a chance to use! I’m sure many of you can relate.
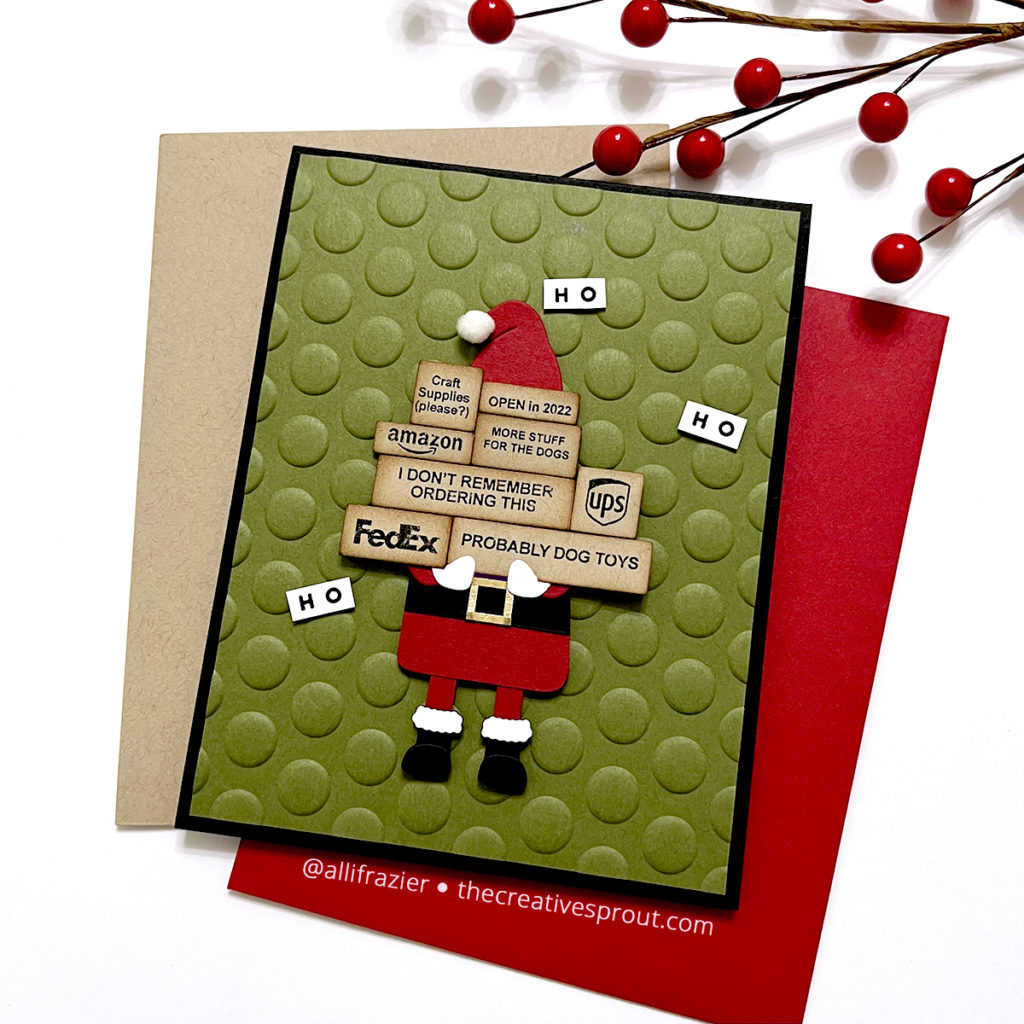
Speaking of relating, who else can relate to having a spouse who is an online shopping addict? Or perhaps you’re one yourself? And I’m not talking about crafty parcels full of goodies to be used in our craft rooms. My husband’s home office looks like the receiving department of a large corporation. It seems like he is constantly opening the front door to bring a package inside. And don’t get me started on all of the unopened boxes in the corner of his office that have been there since last year! So I decided to poke fun of him with this card. The majority of the card was assembled using the Shopping Spree die from Spellbinders. This die (and many others) is 50% off right now on the Spellbinders website!
Card 1
Spellbinders – Shopping Spree Die Set
Spellbinders – Puff Dotty 3D Embossing Folder
Simon Says Stamp – Simple Holiday Greetings Stamp Set
Making the Card
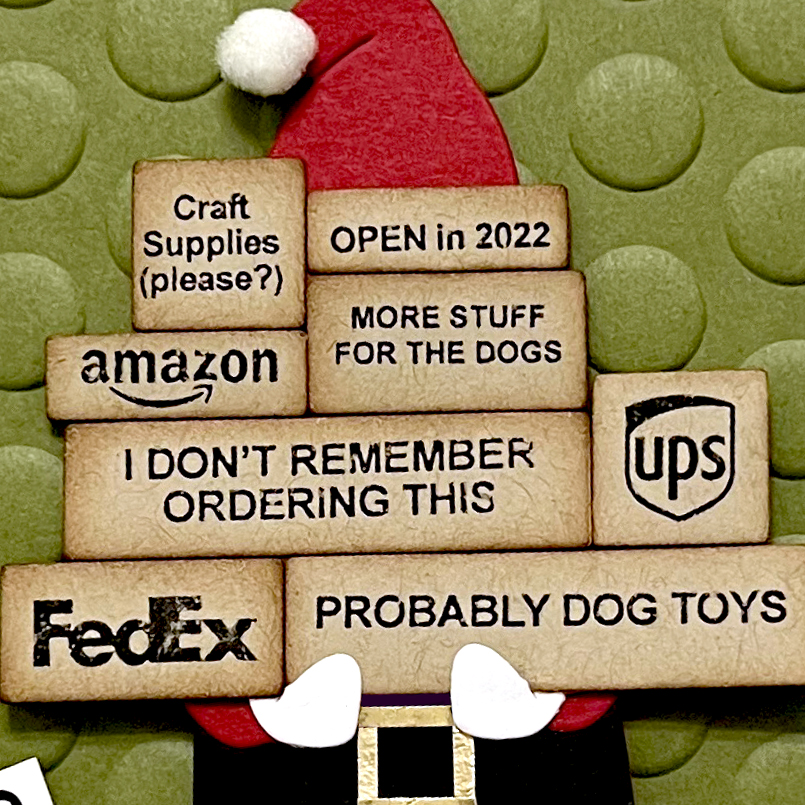
The star of this card is the stack of packages that I made with the die from the Shopping Spree set. There is a single die that cuts multiple packages in the set, and it’s a single die. The easiest thing (in my mind) was to cut a piece of scratch paper with the die, take a picture of the cutout area and create the words for all the packages at once in Photoshop. I just measured the area of the cutouts and set my image to that measurement so that when I printed it out, the words would be the correct size for the die. Note that I made two sets of packages, and I printed them out on Kraft card stock. Once they were done printing, and I cut them out, I distressed the edges with some brown ink. I think I was rushing so quickly to make these, that I smudged some of the ink, but I love how it gives that “thrown around in the shipping truck” kinda look to them.
I did cut some of the Santa body out myself, and I realize now that he looks somewhat like a red carrot – ha ha! I know my husband will get a kick out of this card.
Card Two
Concord & 9th – Winter Wonderland Bundle
Purple Onion Designs – Destination Sign Stamp
Purple Onion Designs – Clear Mounting Stamp
Clearly Besotted – Prancing Plushies Stamp Set
Concord & 9th – Snowfall Card Front Die
Hero Arts – Circle Infinity Dies
Making the Card
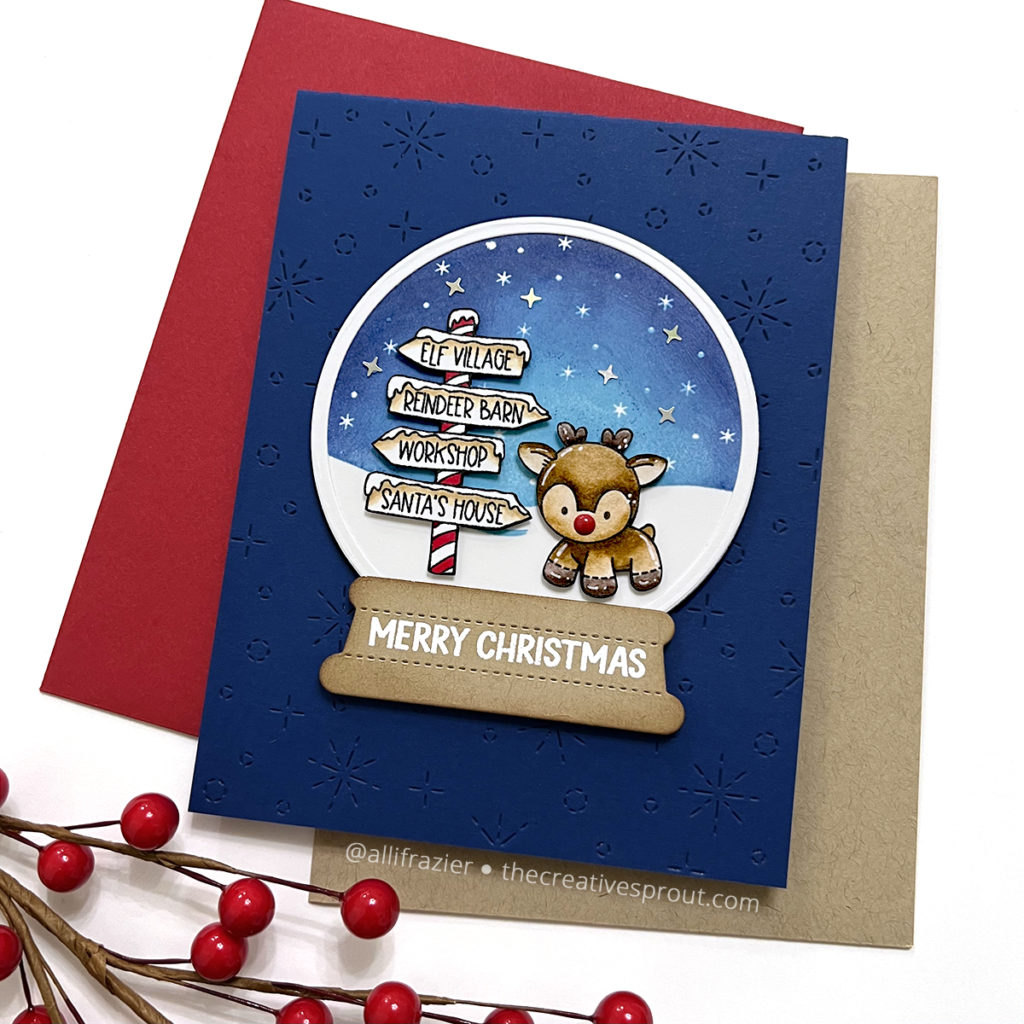
This card has been on my to-do list for awhile, although I always envisioned it being a shaker card. Fast forward to the day before Christmas, and there just wasn’t time to be doing that! I do love a good snow globe card, and Concord & 9th makes it easy with their Winter Wonderland Bundle.
I started by stamping and coloring my images. I love this directional sign from Purple Onion Designs. If you have never heard of or used a stamp from Purple Onion Designs, you are missing out. There are so many adorable images, and they have a very good price point. This is because they are unmounted rubber stamps. They are rather simple to use, and even easier if you use their Clear Mounting Stamp in your MISTI or other stamp positioner.
I stamped the sky image from the Winter Wonderland Bundle using multiple shades of blue Pinkfresh Studio ink. I started with Sky Blue, and then progressively got darker with Summer Shower, Seaside, and then Stargazer. I cut this out with a large circle die, and then using that same die and a slightly smaller one, I created a white frame. I cut the base for the globe from Kraft card stock and stamped my sentiment on it.
To prep my card base, I used the Snowfall Card Front Die on a dark blue A2 card base. I popped everything up on foam tape and added a little red enamel dot to Rudolph’s nose.
I hope these cards put a smile on your face today. Thank you so much for visiting my blog, and again, Happy Holidays to you all!
Wishing you all a crafty day,
Allison
Note: External links on my blog may contain affiliate links. This gives me the opportunity to earn a small commission when you click on the links and place an order. This comes at no additional cost to you. Thank you so much for your support, as this helps me bring you more content.