

Hello, friends! I hope you are doing well and enjoying your summer. I have been taking a bit of time off lately to take care of some big projects, but I am back today with a new collection from Spellbinders. This is Timeless Textures from Simon Hurley, and I am sharing a card that features the Hummingbird Garden 3D Folder and Stencil Bundle.
SPELLBINDERS SALE
Spellbinders is currently running a 4th of July Sale! Save up to 50% off select items!
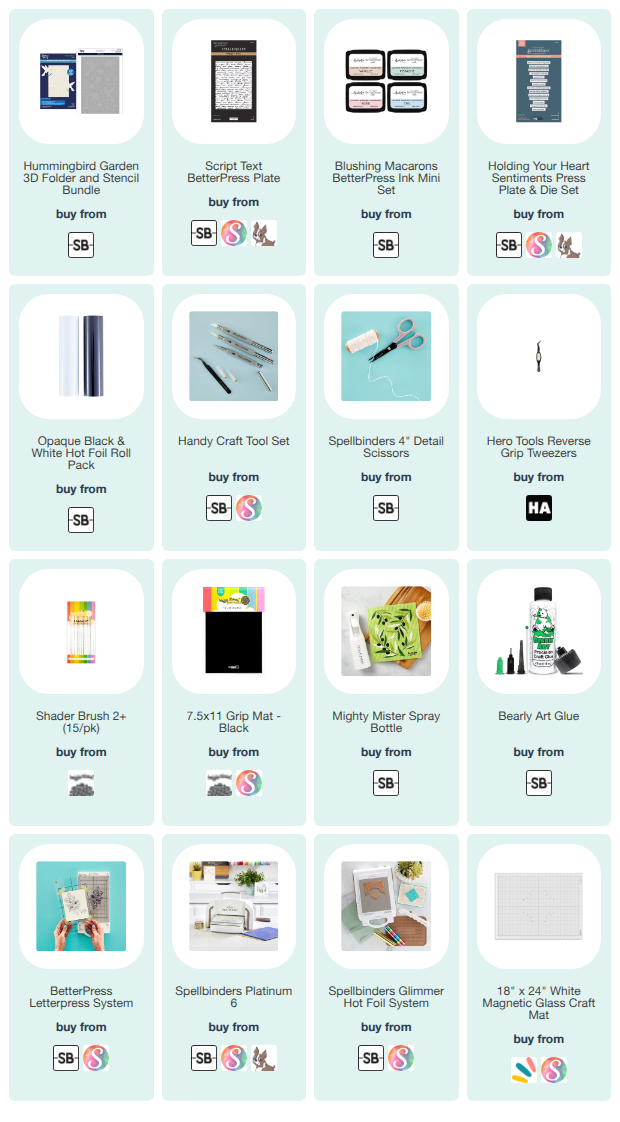
NOTE: all supplies are linked to multiple sources in the thumbnails at the end of this blog post.
If you live outside of the United States/North America, you might want to head over to the Spellbinders UK website.

The Hummingbird Garden 3D Folder and Stencil Bundle offers a lot of options for card designs. You can use the embossing folder by itself. You can use the dies, which cut the hummingbirds, by themselves and pop the hummingbirds on a different background. You can use the stencil set with either the folder, the dies, or both. I used all three items in the bundle on my card today.
To start my card, I grabbed the Script Text BetterPress Plate from my stash and the Rose ink from the new Blushing Macarons BetterPress Ink Mini Set. While I did use my BetterPress machine I didn’t actually “press” with it. I used the magnetic plate to hold the Script Text plate in place, inked it up, and then just covered it with a white piece of cardstock and ran my hands over it. Basically, I did all the pressing manually instead of running it through the die cutting machine. And that is because I didn’t want to press the pattern into my paper – I just wanted the design ON the paper. And I didn’t want/need it to be perfect. The Rose ink is a pale color, which is great for the subtle background that I was going for. The reason I didn’t want to press it into the paper is because I was going to emboss it with the 3D folder, and I didn’t want any other texture on the paper. Placing the paper over the plate and running my hands over it is the same way that I used to ink up large rubber cling stamps – back when those were more readily available!
After inking up the Script Text, I placed the panel in the embossing folder and ran it through my Platinum 6. The embossed pattern is really beautiful. After embossing, I placed my panel on my grip mat so that I could stencil it. There are 6 stencils, and they are big enough to stencil a half sheet of paper! (8.5″ x 5.5″) I colored the elements with a mix of dye inks:
- Pinkfresh Studio Cherry Blossom and Peony for the large flowers (also used on the hummingbird)
- Tattered Rose Distress Ink for the smaller flowers
- Altenew Limeade and Lime for leaves and stems. Followed up with Mowed Lawn on the stems
- Altenew Citrus Burst and Fresh Lemon for the hummingbird
- Altenew Lava Rock for feet and eye
Note that I did not stencil the hummingbirds on the panel. I die cut the hummingbirds separately, ran them through the embossing folder and then stenciled and shaded them. The die cuts match up to the hummingbirds in the embossing folder. After I was done with all the stencils, I came back in with some of the darker colors to add shading. I also grabbed some colored pencils to add some finer details. I always forget about colored pencils, but they make such a difference! I use Prismacolor Premier pencils. I also added some white gel pen highlights on the large flowers, although I think I had to throw out about seven gel pens during this process! They were all on their last legs, and I really need to figure out what to replace them with. Leave me a comment with your suggestions.
After I was done creating this big beautiful panel, I chopped it down to 4.75″ x 3.5″! That was nerve-wracking, for sure. But I wanted to place it over another embossed panel, matching up the patterns. I did run some dark ink around the colored panel just to give it the illusion of dimension from that bottom panel. I also adhered my hummingbird on top, just glueing it in the center.
The sentiment on my card is from the Holding Your Heart Sentiments Press Plate & Die Set. This set came out last year, and I foiled it with white foil on black card stock. I also scattered some white pearl embellishments around the panel, including the center of the small flowers.
I hope this card brings a smile to your face today. As always, I appreciate you visiting my blog.
Wishing you all a crafty day,
Allison
SUPPLY LIST
Note: External links on my blog may contain affiliate links. This gives me the opportunity to earn a small commission when you click on the links and place an order. This comes at no additional cost to you. Thank you so much for your support! You can see more information on my Affiliate Disclosure page.
Allison,
Your card is really pretty. The colored center panel is perfectly aligned with the white panel.