Hello, friends! Today, I have a couple of really fun holiday cards that use different techniques to step up your stencils. I’m using products from the September release from Waffle Flower. I have a new video where I show you how I made each of the cards. You can view that below or head directly over to YouTube.
Note: all supplies are linked in the thumbnails at the end of this blog post.
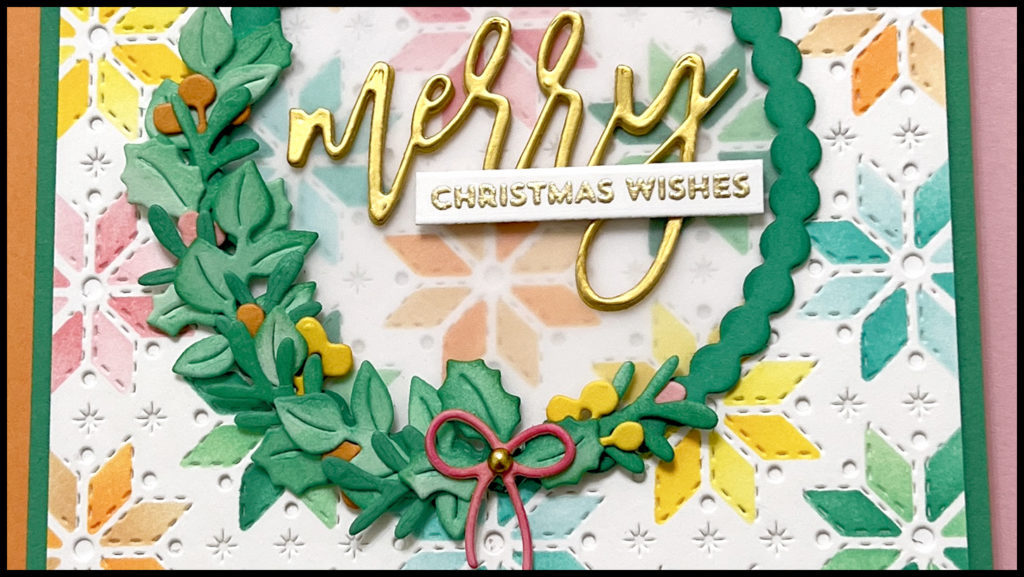
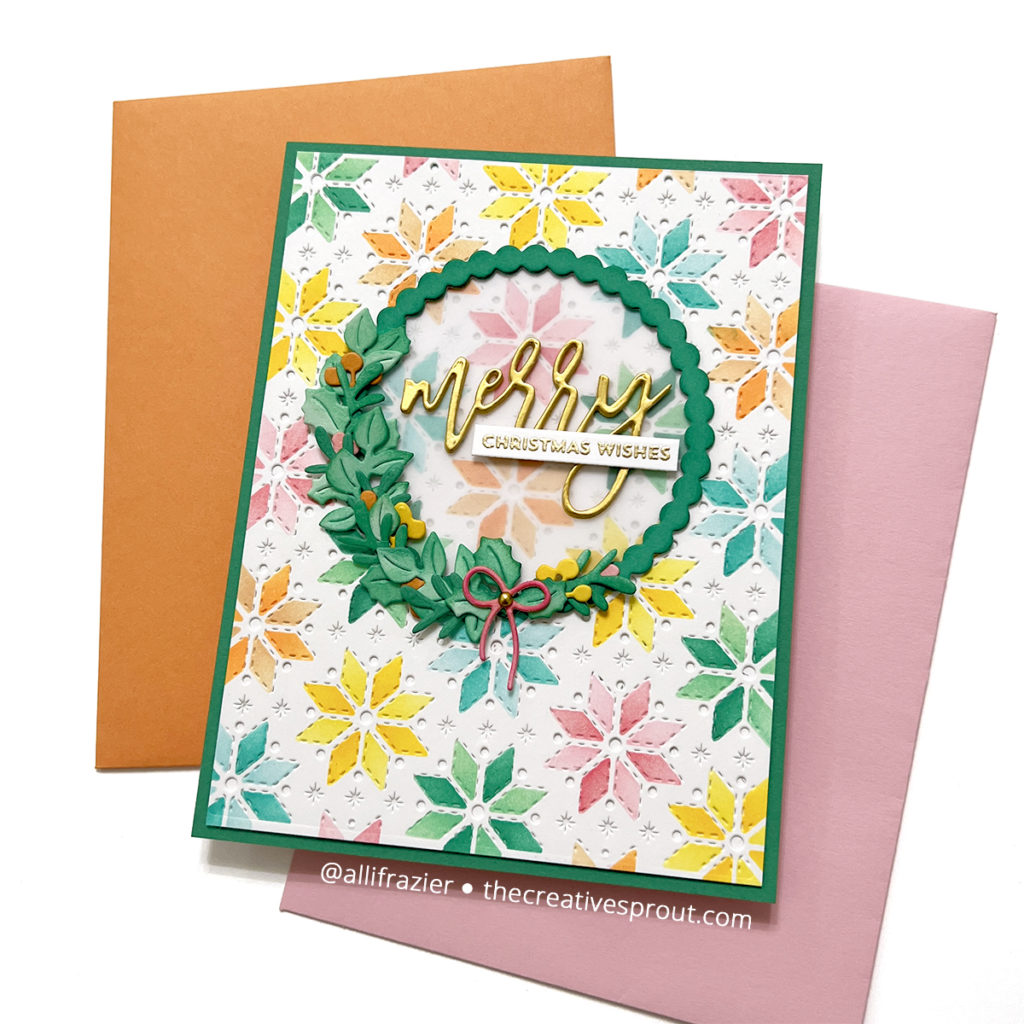
Both of my cards today feature the new Folk Art Background Stencil and the Folk Art Background Die. For this first card, I used a technique that enabled me to quickly and easily color each of the “stars” a different color. Again, you can watch me do that in my video. I actually forgot to use the die first, so believe it or not, I risked ruining my stenciled panel by die cutting afterwards, and it all worked out pretty well! I used two shades of each color for the stars because there are two stencils that layer together. I used Pinkfresh Studio inks for this card in the following colors: Lemon Whip, Marigold, Ocean Breeze, Aquamarine, Meadow, Emerald City, Peach Fuzz, Apricot, Coral Reef, and Passion Fruit.
I made the wreath using the new Beaded Wreath Die. I die cut the new script “merry” from gold card stock. To finish the card I added a little bow, as well as a subsentiment that I heat embossed with gold embossing powder.

My second card features the same stencil set and background die, but in a totally different way. I used the cover die to emboss my blue card panel instead of die cut it. You can still see the pattern and get all of the great texture, but you don’t get the holes that would normally cut out. I used my new Rainbow Splash Ink (in the “Sea” color) from Simon Says Stamp to add shading around the edges of my card. I also used that same color ink for Stencil 1 of my layering for this card. For Stencil 2, I kicked things up a notch by using Lunar Paste in the “No Diving” color. This was my first time using Lunar Paste, and I think I may be hooked! You can really get a better sense for that metallic shine in the picture below.
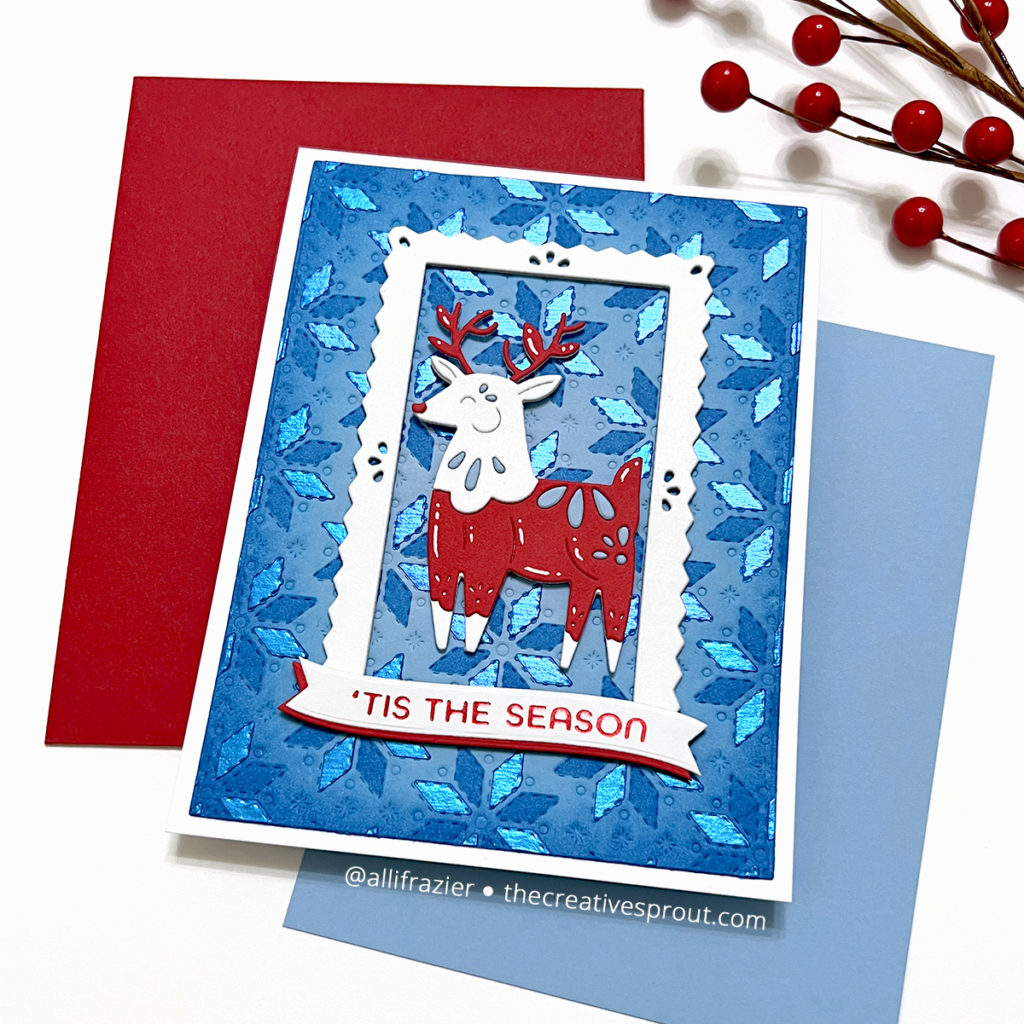
For my main design element on top of the panel, I used the new Folk Art Reindeer. The frame comes from the Pinking Rectangle Frames Die Set, and I think it goes perfectly with the reindeer! I hot foiled the sentiment, which is from the Comfort & Joy set from Spellbinders. This sentiment set is great because you can hot foil and die cut multiple sentiments at once! The die comes with the set.
I had so much fun making both of these cards. Leave me a comment and let me know which card you like the best! Make sure to watch the video if you have any questions on how I made these. As always, I appreciate you visiting my blog today.
Wishing you all a crafty day,
Allison
SUPPLY LIST
Note: External links on my blog may contain affiliate links. This gives me the opportunity to earn a small commission when you click on the links and place an order. This comes at no additional cost to you. Thank you so much for your support! You can see more information on my Affiliate Disclosure page.