Hello, friends! It’s the weekend again – how did that happen? I hope yours is off to a great start. Today, I am sharing several cards that I made with some new paper that I recently received from Your Paper Insider. The folks there had contacted me to see if I wanted to play with their most recent “mystery box.” They have a subscription-based service where they send you a box of curated paper four times a year, and so of course I was curious to see what this was all about. We all love paper, right?? I have a new video where I show the contents of the Mystery Box #4, as well as several projects that I made with some of the paper. I also share my thoughts on whether or not I think the box is a good value. You can view that below or head directly over to YouTube.
Note: all supplies are linked in the thumbnails at the end of this blog post.
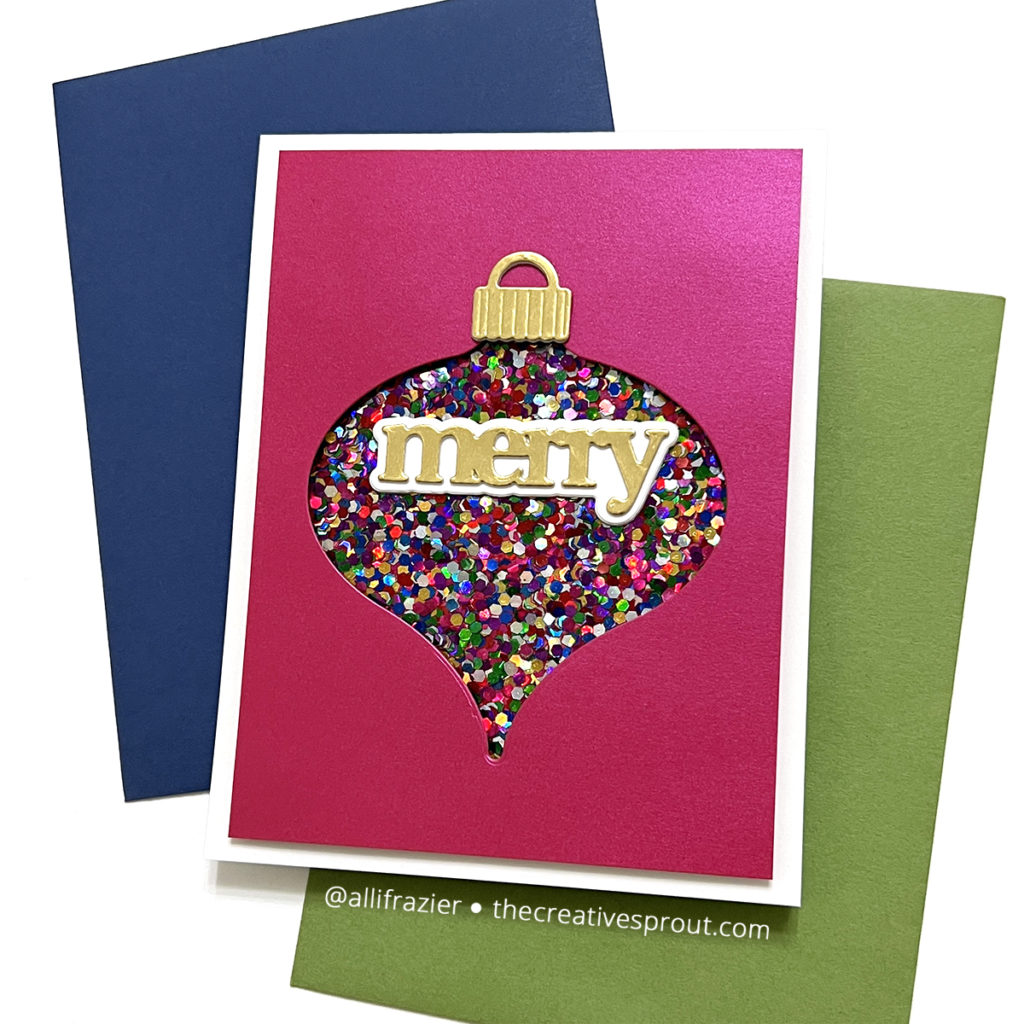
For my cards today, especially these first two, I really kept it simple and let the paper do all the work. I used my very favorite layering die set of all time – the Radiant Ornament set from Birch Press Design. I do believe this was also the very first layering set I bought. For this first card, I just used the Layer A die to cut an opening into the pink panel. This pink paper is from the Mystery Box, and it is really silky and shimmery. I set the actual die cut ornament aside to use on my second card. I adhered a piece of the amazing Party Confetti Chunky Glitter Paper to a white A2 card base and then added my pink cutout panel on top with some foam tape. This creates the look of a shaker card without all of the trouble of making one! And, I can’t think of any mix of shaker bits that could compete with the look of that paper! By the way, there was a sheet of this paper in the Mystery Box, but you can buy it separately on the website. You can also separately buy the other amazing sheet of glittery goodness that was included in the box – this one is called White Frosting Chunky Glitter. I am saving that paper for a really awesome winter scene card that I have yet to design!
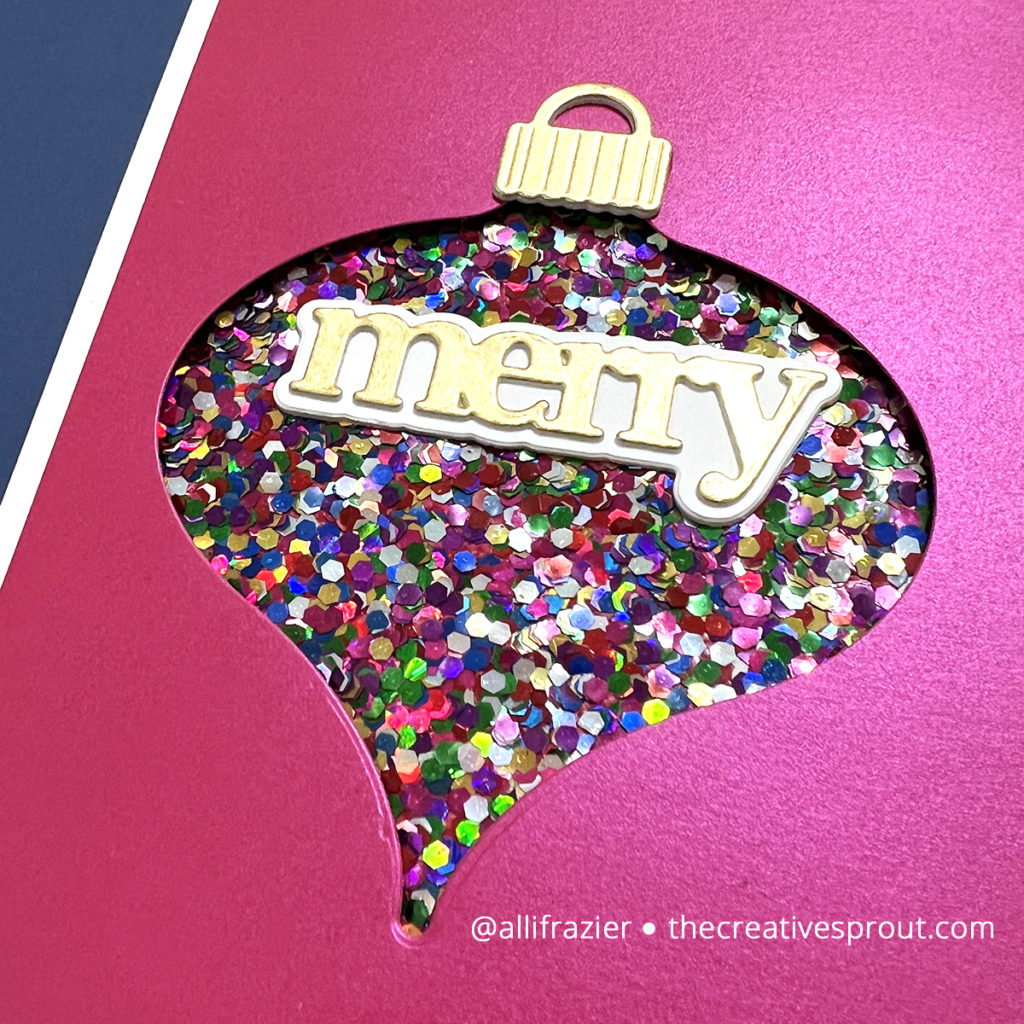
For the sentiment, I kept it clean and simple by using one of the dies from the new Print & Script Merry Christmas Die Set from Waffle Flower. I used some matte gold card stock for the word, as well as my ornament topper. The shadow layer is just plain white card stock.
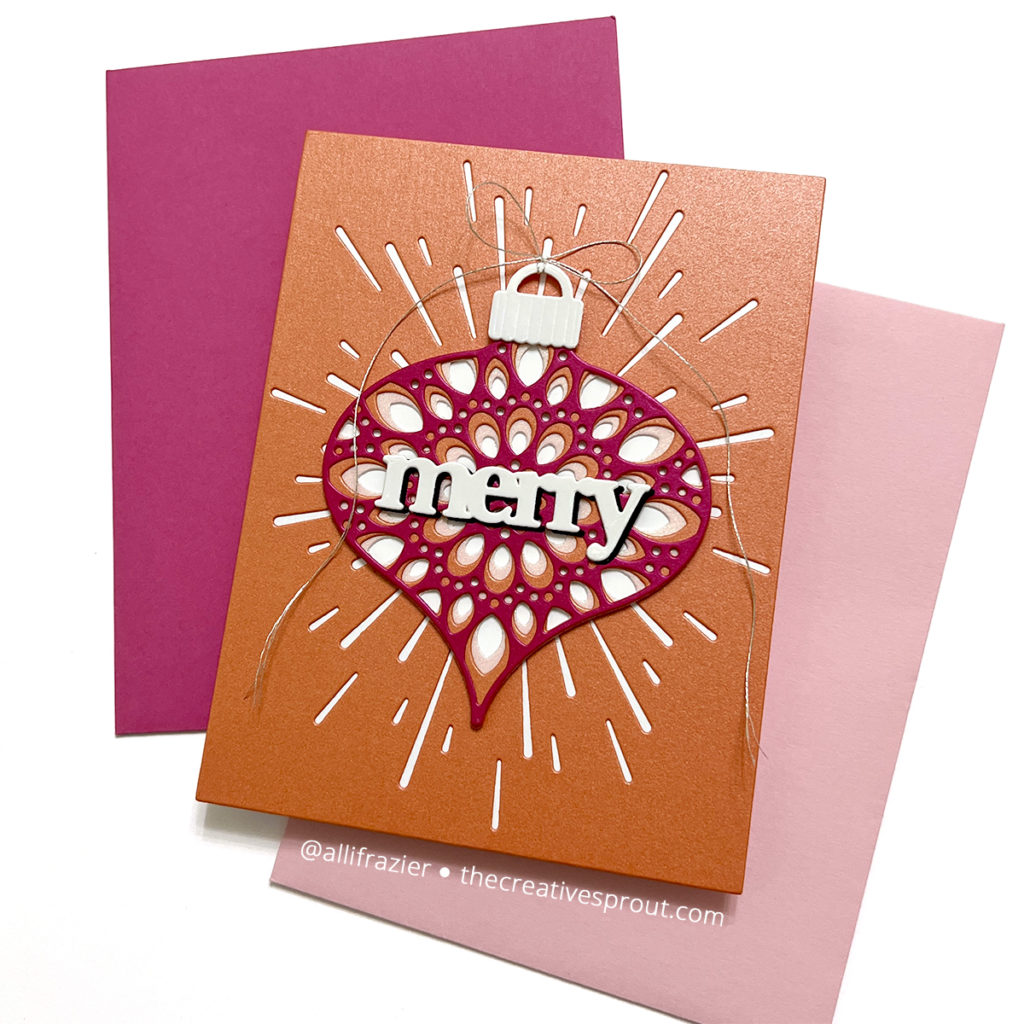
My second card features the same Radiant Ornament, and you can see that pink, silky paper as the top layer that I cut from the first card panel. The other two layers of the ornament were also cut from papers in the Mystery Box. Both the orange paper and the pink vellum are also shimmery. I did trace the ornament onto white card stock so that I could fussy cut a back for my ornament. Normally, I would just place the three layered ornament onto a piece of card stock and let that card stock be the back layer color. But, I wanted to mount the ornament onto another piece of this orange card stock and wanted the ornament to really pop.
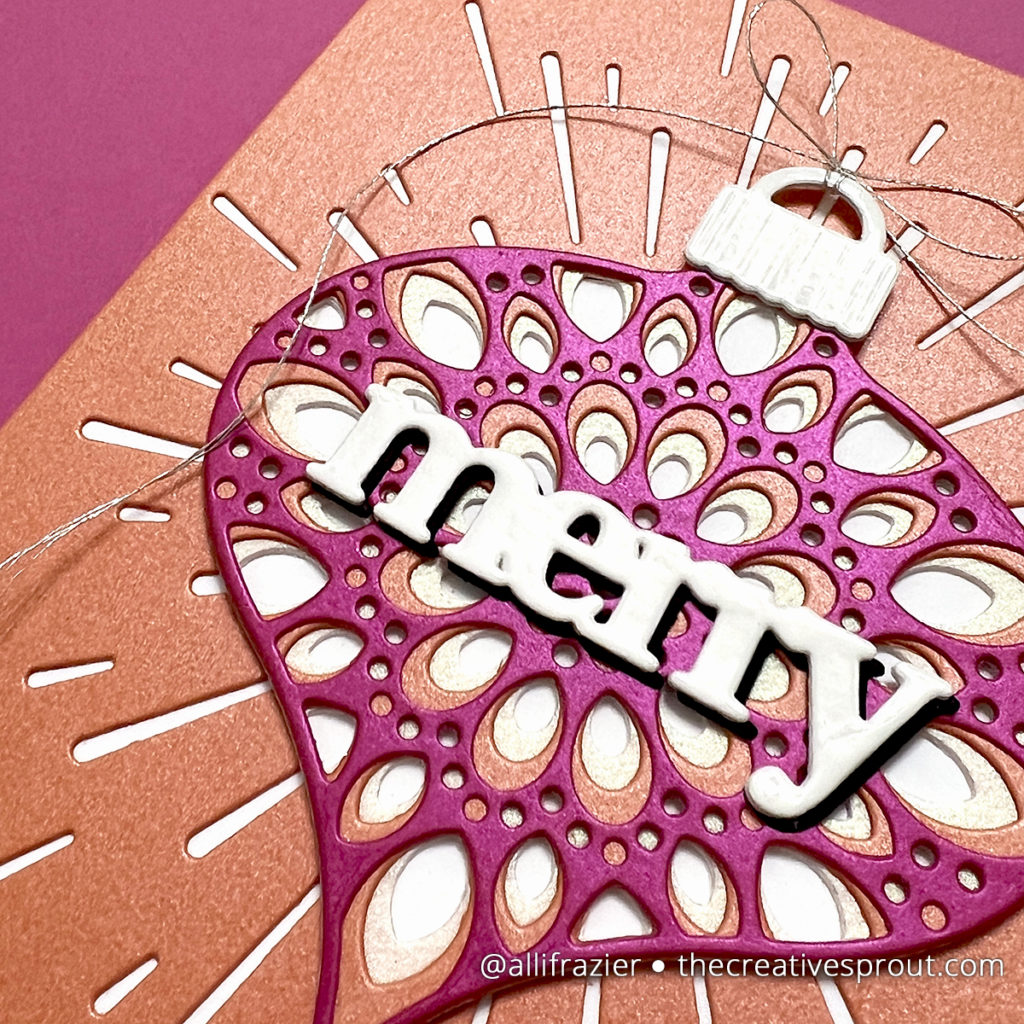
I used the shimmery orange card stock to cut a panel using the Negative Sparks Cover Plate from Picket Fence Studios. This is another oldie but goodie from my stash. Once cut, I placed the panel onto a white A2 card base, so that the “sparks” detail really stands out. I glued my ornament on top, and again I used the print merry die from the Print & Script Merry Christmas Die Set from Waffle Flower. By the way, this die set has three other dies in it: a print “Christmas” and then a script version of both “merry” and “Christmas.” For the word and the ornament topper, I used a white glossy card stock from the Mystery Box. I created my own shadow this time by offsetting the word onto a black layer. I love how these first two cards turned out, but again, this is my favorite ornament die, and it never disappoints!

For my last two cards, I used a new stamp set from Simon Hurley called Fall Sampler. I think it’s fabulous that he continues to put out new collections with Spellbinders. There is a matching die set that is unique because there are some pieces that can work alone without the stamps. There are four dies that make different jack-o-lantern faces, and you can use those with just the pumpkin dies (or other pumpkin dies in your stash) without even using the stamps. The die set is not available separately on the Spellbinders site, but I have included thumbnail links in my supply list below to a couple companies that do sell that die set separately.
I created the first card similar to my first ornament card, by simply cutting a shape into my top gray panel. I used the Stitched Numbers die set, but you would never know that these dies had stitched details since I was only using them to get the cutouts! I created the “faux shaker” look using an orange glitter paper from the Mystery Box. The Fall Sampler set has separate stamps that will fill in that floral detail on the bats and pumpkins, but I kept mine simple by only using the one stamp. You can see in my video how I achieved a layered look with just one stamp. For the sentiment (which comes from the same Fall Sampler set), I stamped it onto black card stock with VersaMark ink and heat embossed with white embossing powder. I finished my card with enamel dots from Altenew.

This last card was probably the easiest, not to mention the cutest! I simply used the sampler pack of 6×6 papers from the Mystery Box for stamping my bats. After die cutting them, I just used a pick tool (anything like a simple pen will work) to curl up the wings before glueing the centers of the bats to the card panel. The gray card panel was also made with a sheet from that 6×6 sampler pack, and I had just ink blended some Black Soot Distress Ink around the edges. The stamped sentiment and star detail comes from the Boo Dance Party Sentiment Stamp set.
All in all, I really enjoyed making cards with this new paper. I always love getting new paper, especially when it’s a variety pack of papers that I don’t already have in my stash. Leave me a comment and let me know which papers stood out to you! Again, you can see all the papers that were in the Mystery Box in my video. As always, I appreciate you visiting my blog today.
Wishing you all a crafty day,
Allison
SUPPLY LIST
Note: External links on my blog may contain affiliate links. This gives me the opportunity to earn a small commission when you click on the links and place an order. This comes at no additional cost to you. Thank you so much for your support! You can see more information on my Affiliate Disclosure page.