Hello, friends! I hope you are all doing well and enjoying your summer. Today, I am sharing a brand new release from Memory Box called Gracious Floral. This is a stunning collection of products that are meant to work together, or on their own. There is a stamp and die set, a 3D embossing folder and die, and finally, a matching set of layering stencils. The stamp set is also available without the matching die. If you’re familiar with Memory Box, then you know that they have perfected the embossing folders with matching dies that enable you to cut and emboss shapes with amazing details. I have created two cards, one showing how you can use all of the products together, and the other one showing how you can create a similar look without the stamp set. There are so many other ways to use these products, so this is just scratching the surface. The first and obvious alternative is to just use the stamp set and color it with your favorite coloring medium!
I have a YouTube video where I show how I made both cards. You can view that video below or go directly to YouTube.
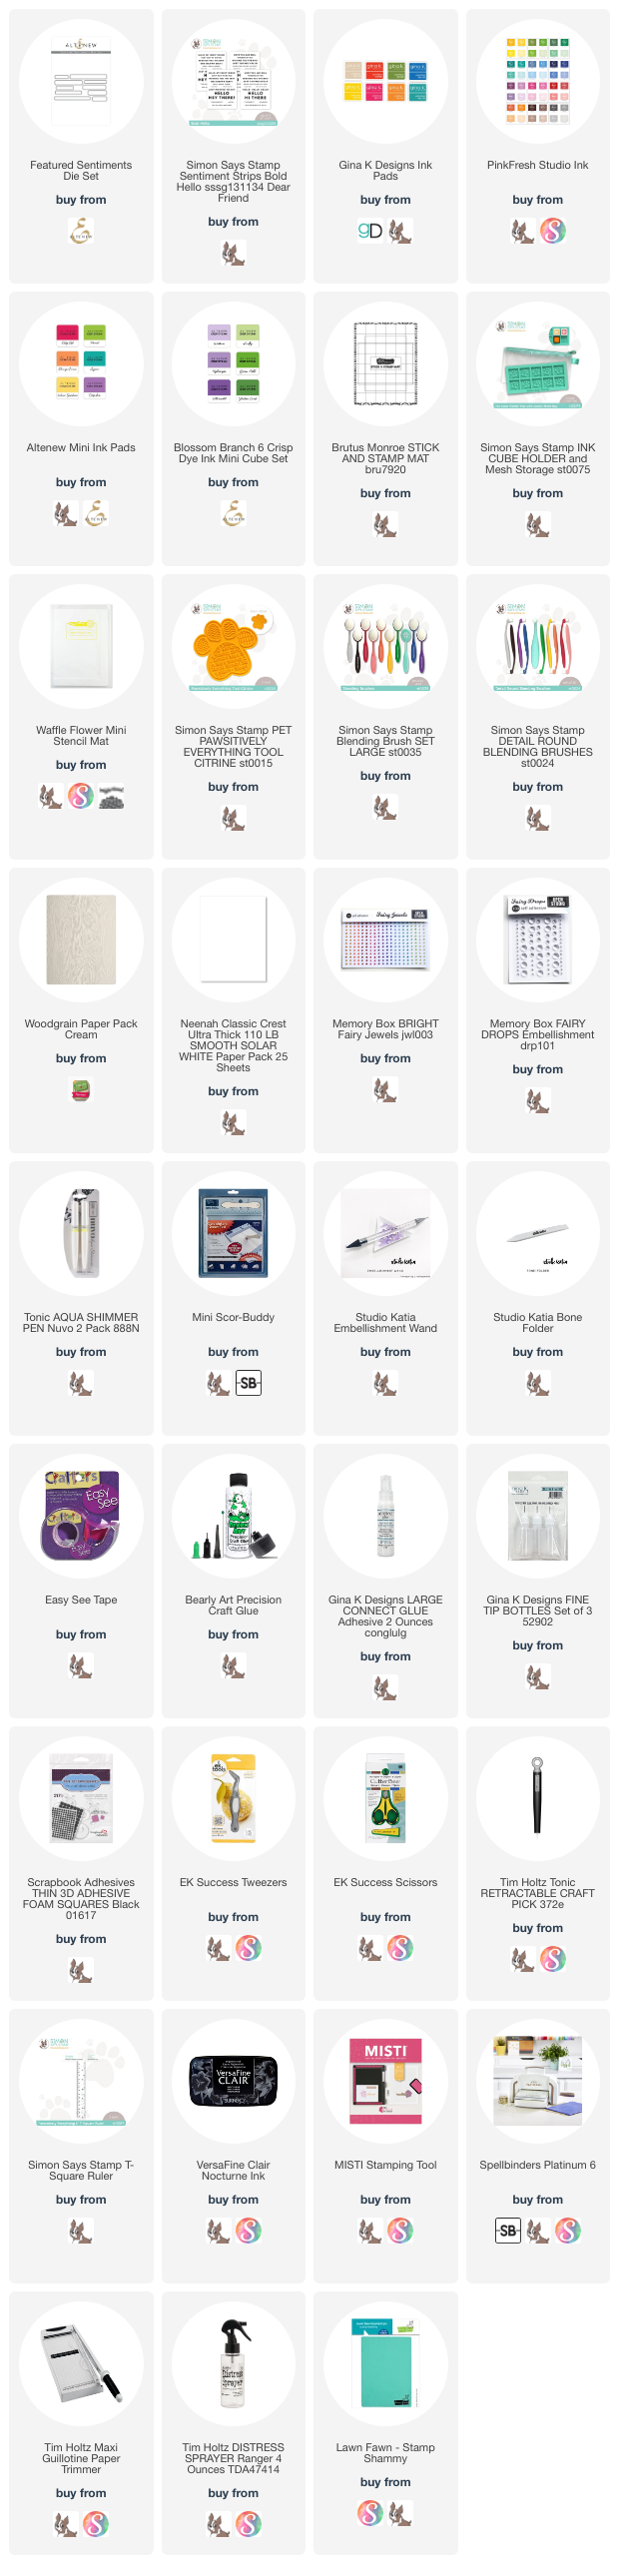
Note: all supplies are linked to multiple sources in the thumbnails at the end of this blog post.
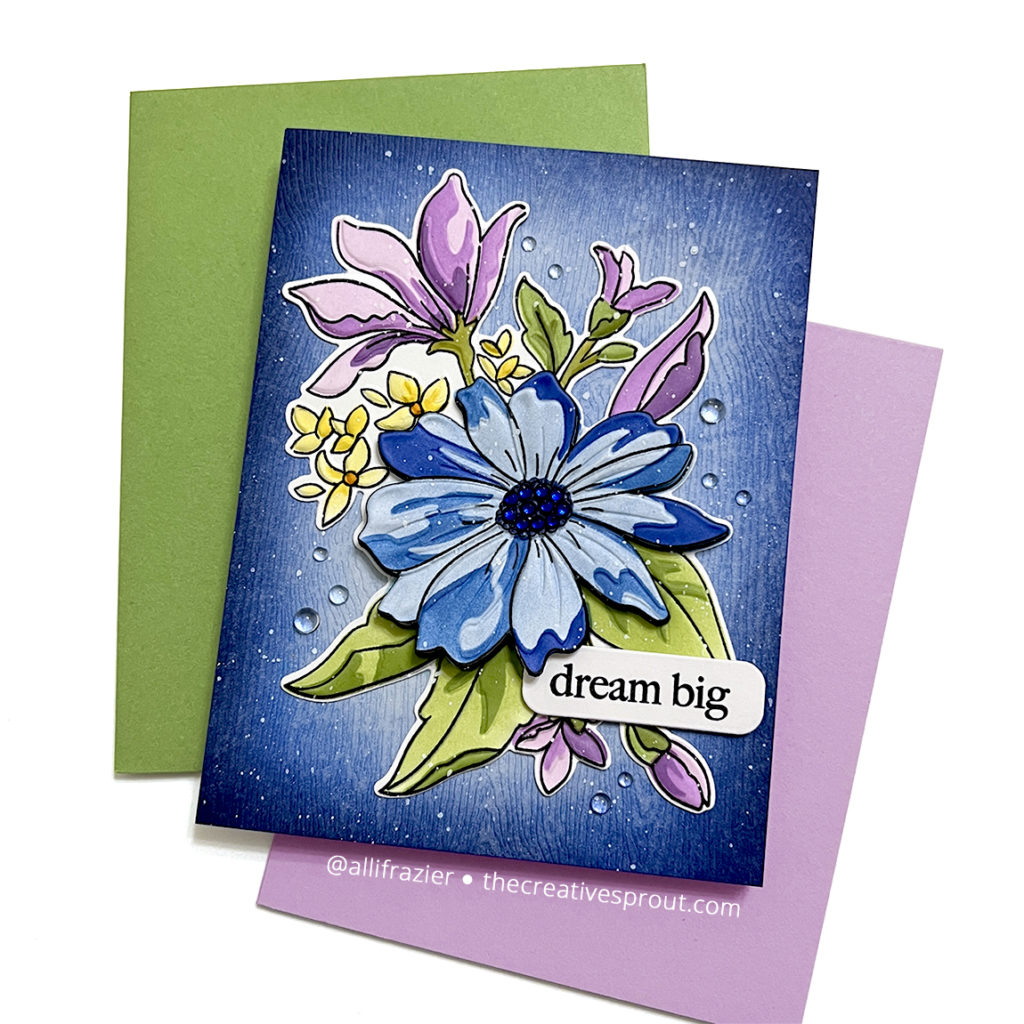
For my first card, I started by stamping the floral image. I used the layering stencils to color the florals, and then I cut it out with the matching die. Finally, I put that large floral die cut into the embossing folder. I used the die that comes with the embossing folder to cut out a separate flower to pop up on top of the larger image. The dimension from the popped up flower is really beautiful! The sentiment comes from the stamp set, and I cut it out with the Featured Sentiments die set from Altenew. After splattering the card with white paint, I finished it by adding some fairy jewels to the center of the flower and some clear fairy drops around the card.

The ink colors for this first card are:
- Greens: Gina K Designs Ink: Jelly Bean Green, Grass Green, Fresh Asparagus, Prickly Pear
- Blues: Pinkfresh Studio: Slumber, Blue Jay, Sapphire
- Purples: Pinkfresh Studio: Soft Lilac, Lavender; Altenew: Deep Iris
- Yellows: Pinkfresh Studio: Lemon Whip, Marigold
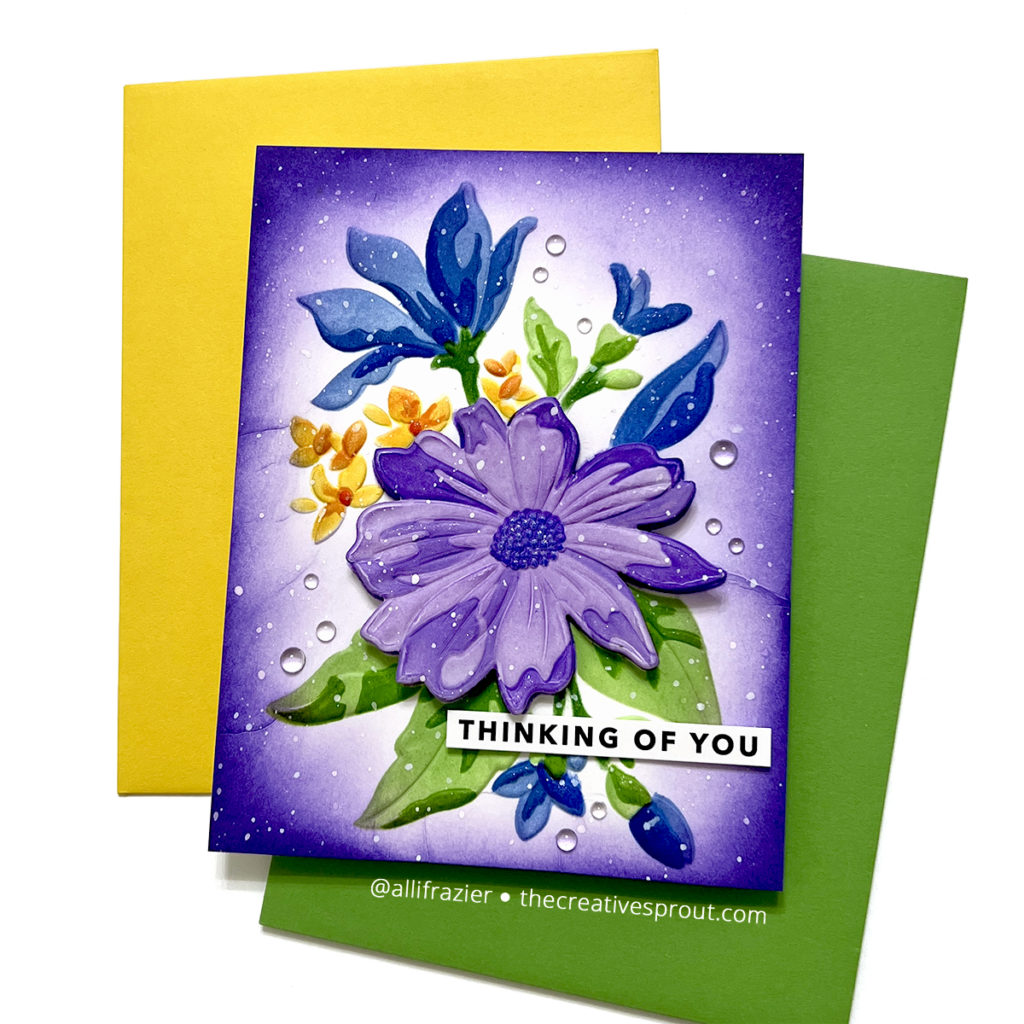
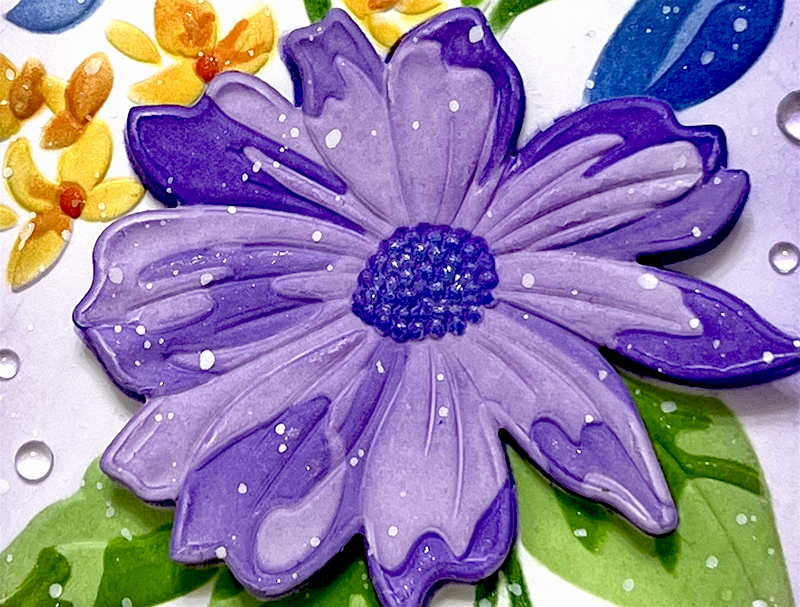
For my second card, I used just the embossing folder (with the single flower die) and layering stencils. After running a panel of white card stock through the embossing folder, I used the embossed lines to line up my stencils. I also popped up the center flower on this card. I used similar colors as the first card, but reversed the main color. The sentiment is from the Bold Hello Sentiment Strips from Simon Says Stamp. I finished this card with white paint splatters and clear fairy drops. I also used an Aqua Shimmer Pen to add shine to the darker parts of the florals and leaves.
The ink colors for the second card are:
- Greens: Altenew: Firefly, Grass Field, Shadow Creek
- Blues: Pinkfresh Studio: Slumber, Blue Jay, Sapphire
- Purples: Altenew: Wisteria, Hydrangea, Ultraviolet; Pinkfresh Studio Lavender;
- Yellows: Pinkfresh Studio: Sweet Mustard, Clementine
This is not the first set of products like these from Memory Box that I have played with. I have blog posts featuring some other fun emboss/stencil/cut sets, including Ocean Fish, Curling Waves and Tropical Leaves. Check them out – they are all so fun!
I hope these cards put a smile on your face today. Leave me a comment and let me know which one is your favorite! And be sure to head over to YouTube to watch my video. I hope to see you there!
Wishing you all a crafty day,
Allison
SUPPLY LIST
Note: External links on my blog may contain affiliate links. This gives me the opportunity to earn a small commission when you click on the links and place an order. This comes at no additional cost to you. Thank you so much for your support! You can see more information on my Affiliate Disclosure page.
Absolutely stunning!
Thank you so much, Sarah! I really appreciate it.