Hello, Friends! Today I am sharing a card that I made with some new products that I recently purchased from The Greetery. This has quickly become one of my favorite companies. I think they have some really unique products. What I love about today’s card is that it looks like it took a lot of work, but it really didn’t. And that is due, in large part, to the matching stencils, stamp and die.

Supplies
The Greetery – Print Shop: Daisy Days Stamp + Stencil
The Stamp Market – Pierced Plaid Cover Die
Honey Bee – Get Well Soon Stamp Set
Honey Bee – Get Well Soon Die Set
Pinkfresh Studio – Premium Dye Inks
Pinkfresh Studio – Essentials Jewels Mix
Waffle Flower Blending Brushes
Making the Card
The stencil/stamp combo comes with a guide, which makes it really easy to plan your colors. I chose my palette of Pinkfresh Studio Inks, which included: Lemon Whip, Sweet Mustard, Marigold, Clementine, Persimmon, Sky Blue, Summer Shower, Seaside, and storm. There are 7 stencils in the set, and it just couldn’t be easier to figure out what colors to put where.
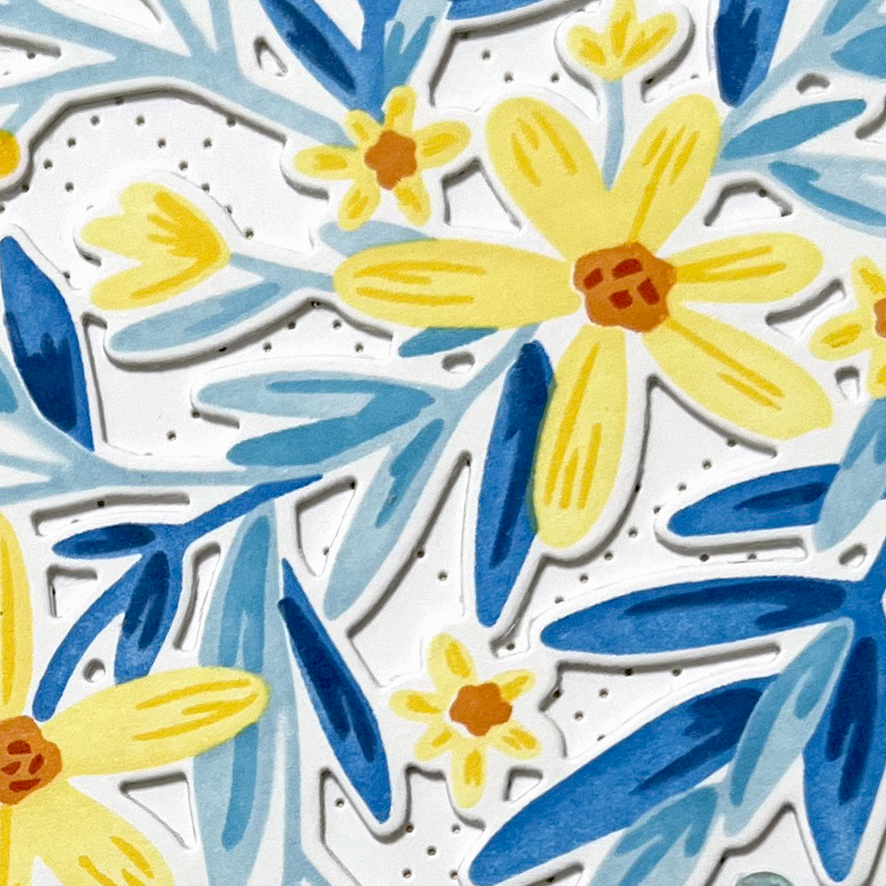
After ink blending through all seven stencils, I then added the little details with the matching stamp set. You can also stamp the individual flowers, which gives you the ability to add dimension later on, but I didn’t do that this time. You can also just leave the stenciled design as is to make a beautiful one-layer card, but I also didn’t do that this time! I cut it out with the matching die because I knew I wanted to play around with the positioning of all the elements.
Once my design was cut out, I adhered it on top of a second piece that I had cut from heavy weight white card stock. I then prayed to the card gods before picking up my scissors and cutting it apart – ha ha. I really didn’t have a specific plan in mind – I just knew that I wanted a grouping of flowers around a sentiment. So I just played around for a while, making more cuts as necessary, until I had room for my sentiment and was happy with the layout. I stamped the sentiment onto a matching blue piece of card stock, white heat embossed it, and cut it out with the matching die. I usually skip on purchasing matching dies for sentiments, but I really love how Honey Bee sentiments look when they’re perfectly cut out, so I made the splurge this time.

As a last minute decision, I decided to add some texture to a white panel, so I used this pierced cover die from The Stamp Market – it’s one of my favorites.
I adhered all the of pieces to the background panel and trimmed anything that was hanging off the sides. The panel is glued to an A2 card base. To finish the card, I sprinkled some yellow and pale blue jewels around the design. And that’s it! I love how this card turned out, and it’s going right in the mail today to someone very special. I know it will put a much-needed smile on her face. Thank you so much for visiting today!
Wishing you all a crafty day,
Allison
Note: External links on my blog may contain affiliate links. This gives me the opportunity to earn a small commission when you click on the links and place an order. This comes at no additional cost to you. Thank you so much for your support, as this helps me bring you more content.