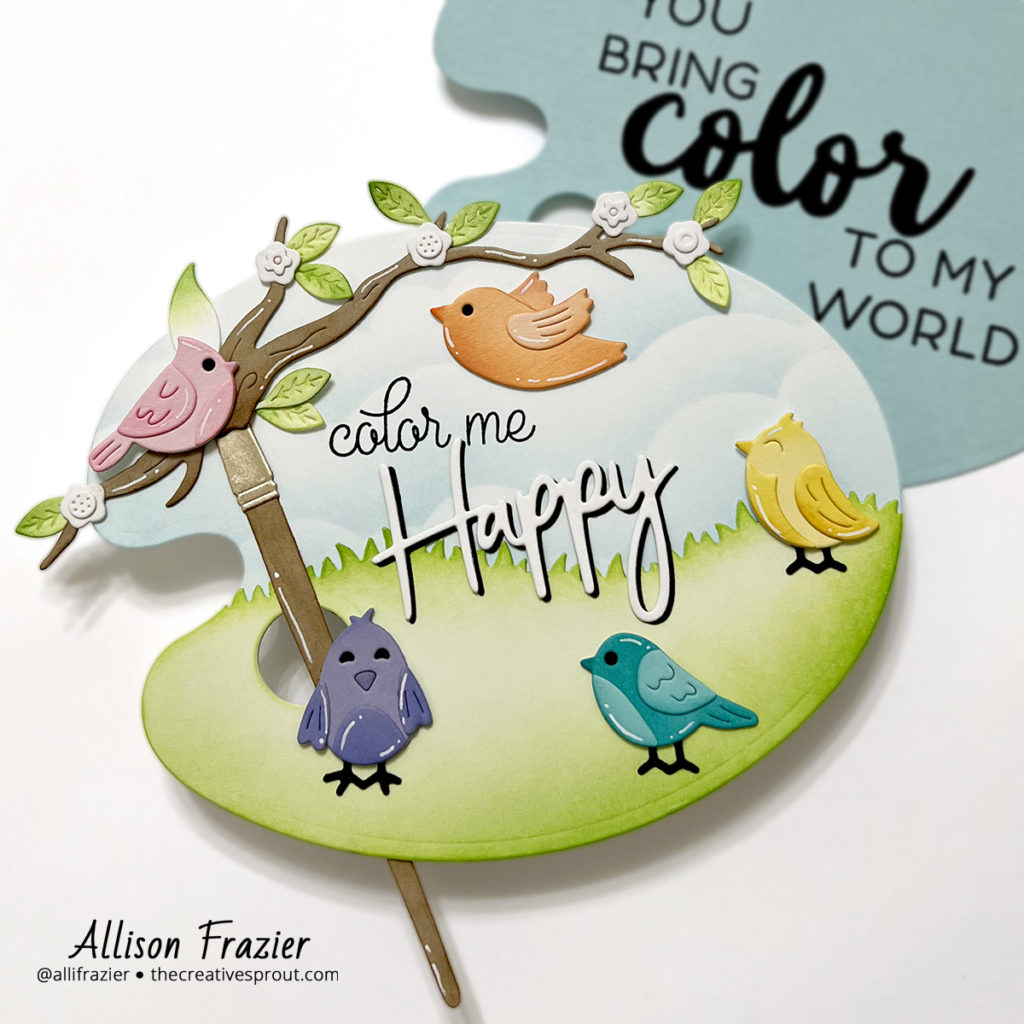
Hello, Crafty Friends! I hope you had a wonderful weekend. Today, I am sharing this fun shaped card using some products I recently purchased from Spellbinders. I love this paint palette die set, but I wanted to change it up a bit. So, instead of blobs of paint on the palette, I used birds! That’s normal, right? Ha ha
Supplies
Spellbinders – Sweet Birds on a Branch Diet Set
Spellbinders – Painter’s Palette Die Set
Spellbinders – Mini Blooms and Sprigs Die Set
Spellbinders – Simply Perfect Mix & Match Sentiments
MFT – Slimline Grassy Hills Die-namics
Concord & 9th – Color Me Happy Stamp Set
Making the Card
I started by cutting two pieces of white card stock using the large palette die. On one of the pieces, I used light blue ink and the cloud stencil to create a sky background. For the other piece, I did a second pass through my die cutting machine using the Grassy Hills die. I ink blended that piece with a couple shades of green ink and then adhered it to the bottom of my sky background piece.
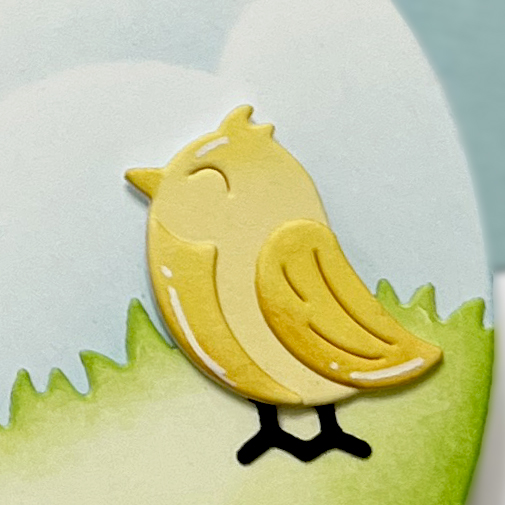
Next, I die cut all of my birds using the lighter shade of card stock for each one. I then darkened up certain parts of the birds with ink that was a shade darker than the card stock. I cut another set of the birds from white card stock, making sure to tape the back of them so that their eyes stayed in place. I colored the eyes black so that when I adhered my colored birds on top, the black eyes would show. I adhered all of the bird pieces together and put them aside. I then die cut the rest of my elements: the main part of the paintbrush and the branch (twice) from Kraft card stock, the leaves, flowers and the brush end from white card stock, and the connector of the brush from metallic card stock. I ink blended the brush and branches with some brown ink and the leaves with green ink. I also cut the “happy” word from both white and black card stock and layered those together, slightly offsetting them to give a shadow effect.
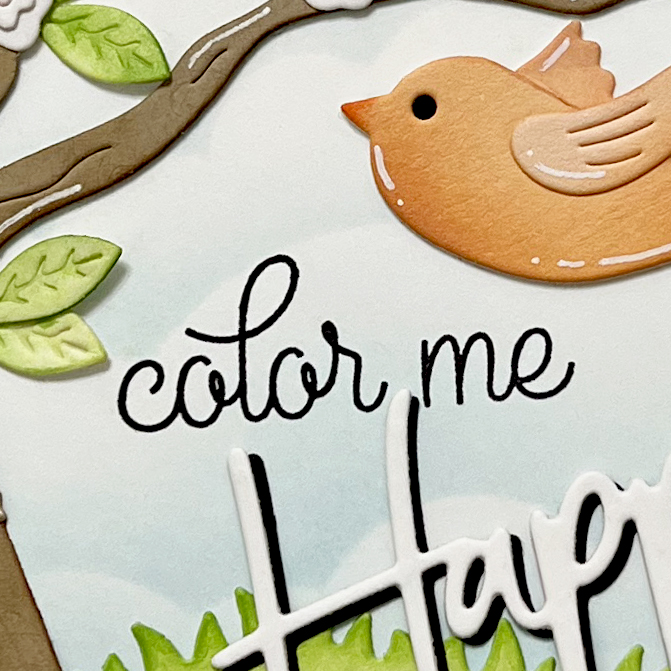
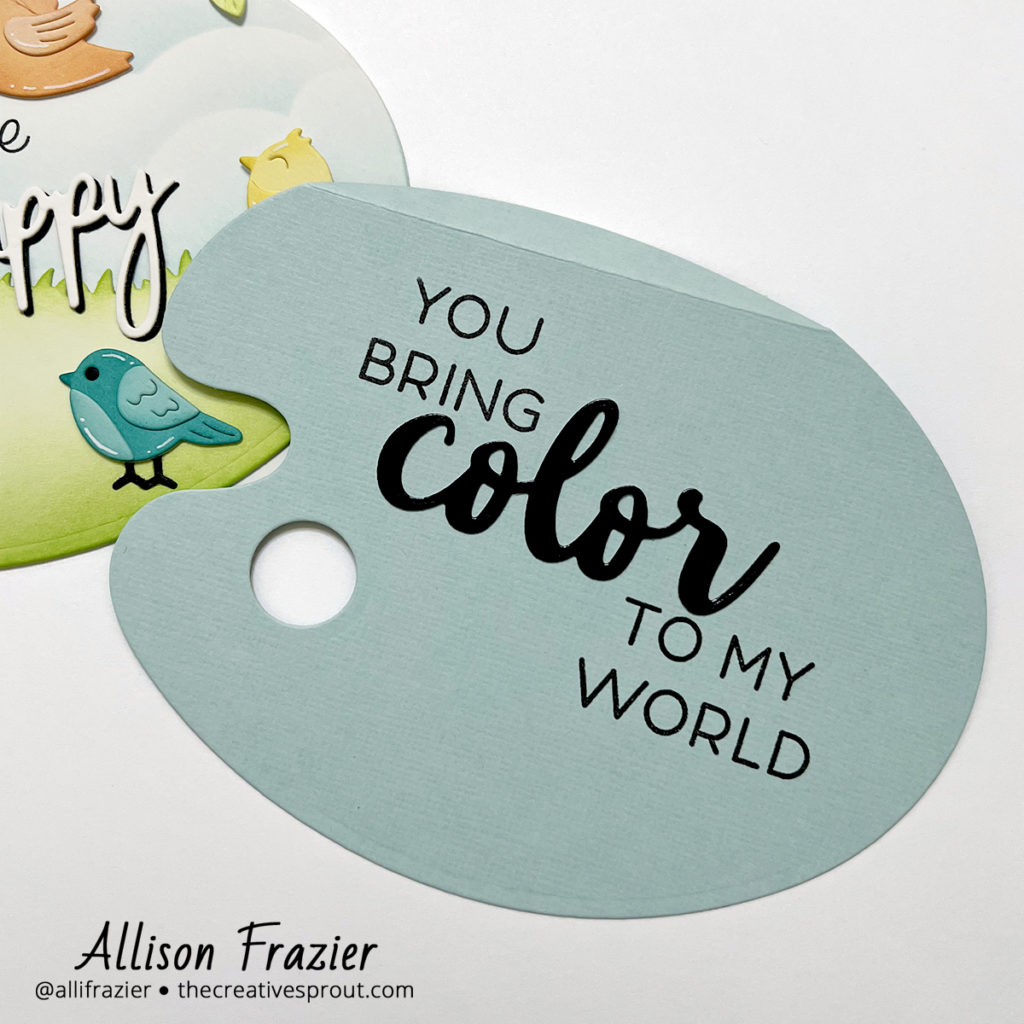
Before adhering all of my elements to my card, I temporarily positioned them so that I could stamp the “color me” sentiment. Once that was done, I glued everything into place. For the inside of my card, which is also the back of my card since it’s a shaped card, I cut some light blue card stock with the paint palette die. I scored a line about a half inch from the top to create my hinge. This is where you connect the front and back – I use Scor-tape to do that. I also stamped my sentiment, splitting it up to leave room for the “color” word die, which I cut from black glossy card stock. You can easily split up your sentiment stamps by cutting them. It gives you more options, while also easily enabling you to stamp the original sentiment.
To finish the card, I added some white gel pen highlights to the birds, branches and brush. I am really happy with how this card turned out. Sometimes my strange ideas come to fruition, and sometimes they don’t. I feel like this one did, and I hope you will agree that it’s pretty unique!
Thanks so much for joining me today. I hope this card brings a smile to your face.
Wishing you all a crafty day,
Allison
Note: External links on my blog may contain affiliate links. This gives me the opportunity to earn a small commission when you click on the links and place an order. This comes at no additional cost to you. Thank you so much for your support, as this helps me bring you more content.