Hello again, crafty friends! It is finally the weekend, and I hope you all are doing well and are able to take time to relax. Also, I wish you a very Happy Easter and/or Happy Passover, to those who celebrate!
I have two cards to share with you today, both of which use the Color Block Southwest die from Spellbinders’ new Color Block Background Collection. If you missed my blog post yesterday, Spellbinders is currently running a $25 off $100 purchase promotion, so it’s a great time to stock up on some of their new products! No coupon code is needed, and the promotion runs through April 18th at 11:59 PM MST.

Card 1 Supplies
Spellbinders – Color Block Southwest Die
Spellbinders – Colorblock Landscape Die
Spellbinders – Simply Perfect Mix & Match Sentiment Die Set
Gina K. Designs – Sea Glass Dye Ink
Waffle Flower – Blending Brushes
Making the First Card
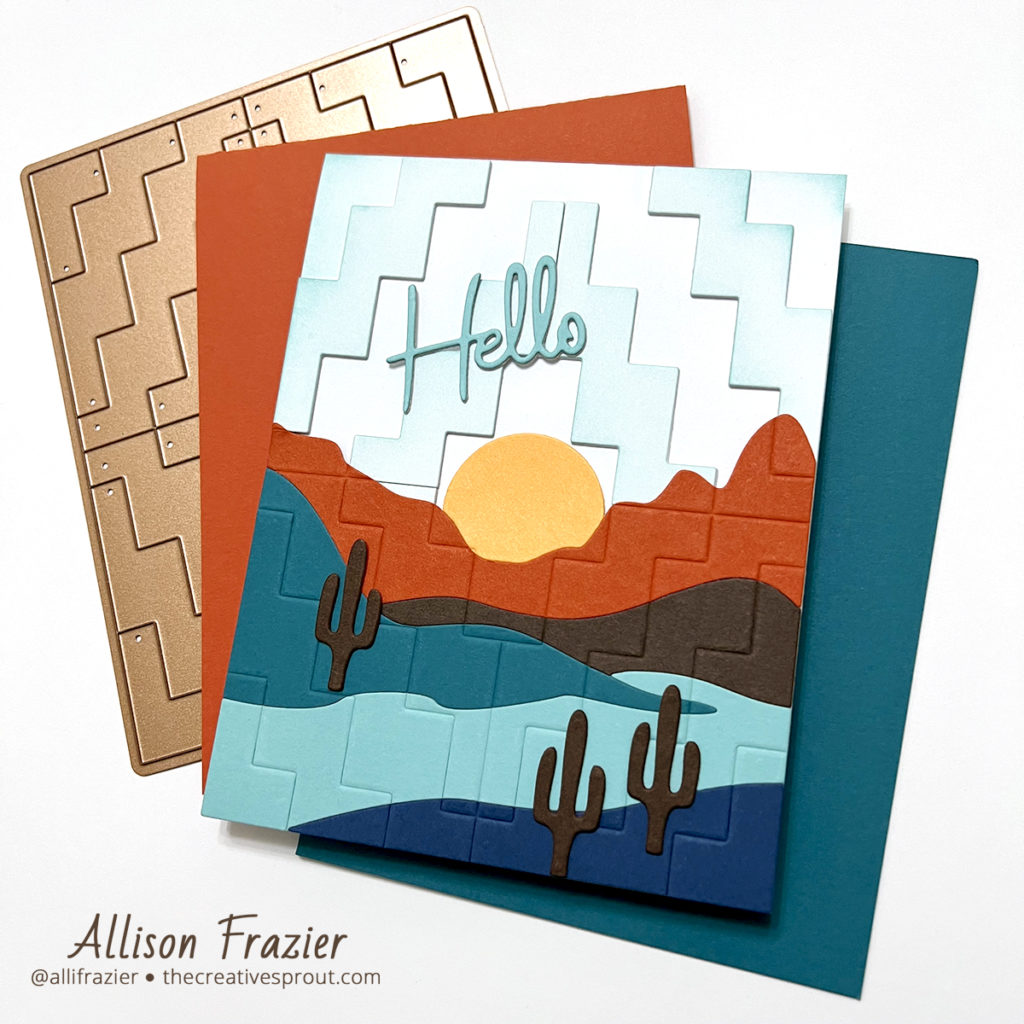
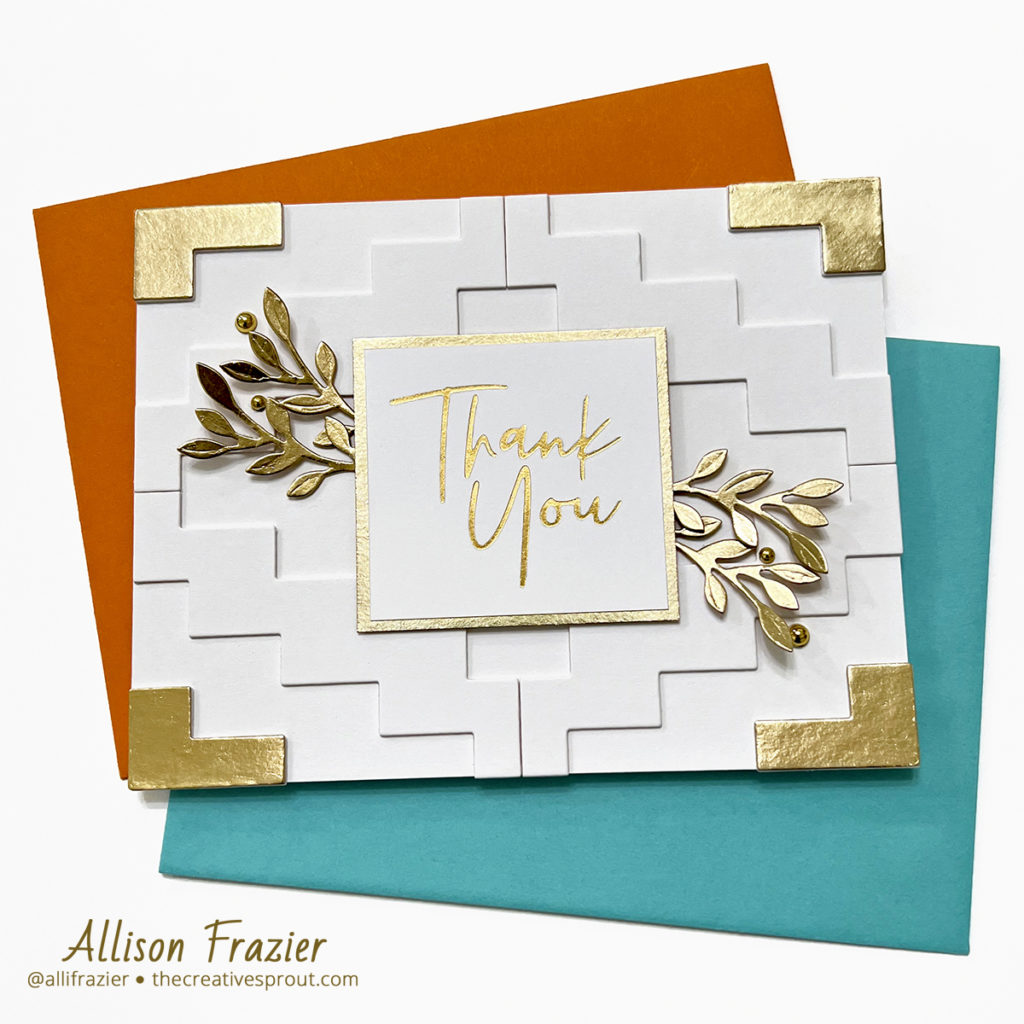
I actually started both of my cards at the same time by die cutting white card stock using the new Color Block Southwest die. I did this twice, and then used alternate pieces for each card, glueing two layers of each piece together and then adhering them in place on a white A2 card base.
For my first card, I decided to go full in on the Southwest theme. I used the Colorblock Landscape die to cut pieces from colored card stock that go with that theme. I then glued these pieces to a scrap of copy paper so that they functioned as one piece. I needed it to be one piece because I dry embossed it with the Color Block Southwest die. Dry embossing with a die is really easy. You just run it through your die cutting machine, but instead of using the regular cutting plates, you use an embossing pad and embossing plate. Once I did that, it was just a matter of cutting away the excess copy paper and then adhering it to my card base, lining it up with the dimensional design that I already had. I should note that before I glued this part, I did blend some Sea Glass ink over the dimensional card base in order to give the illusion of sky. The only thing left to do was die cut and adhere the “Hello” sentiment, as well as the three cacti. The cactus die is part of the Colorblock Landscape set.

Card 2 Supplies
Spellbinders – Color Block Southwest Die
Spellbinders – Petite Floral Potpourri Die Set
Spellbinders – Polished Brass Hot Foil Roll
Spellbinders – Fashion Gold Embellishments
Spellbinders – Glimmer Hot Foil System
Making the Second Card
For this card, I wanted to just keep the Southwest pattern clean and simple, so I just left the white dimensional die cuts as is. The focus of the card is the sentiment, which I hot foiled with my Glimmer machine. I then manually trimmed it into a square shape with my paper trimmer. I also cut a larger square out of gold card stock and mounted my sentiment to that. I cut some gold leaves from the Petite Floral Potpourri set and positioned them under/around the square sentiment. I did also cut the small corner pieces of the Southwest die from gold card stock and adhered those on top of the white layers. I finished the card with a few gold embellishments.
That’s it for my cards today! I hope they put a smile on your face. Leave a comment to let me know which card you like better. As always, thank you for visiting.
Wishing you all a crafty day,
Allison
Note: External links on my blog may contain affiliate links. This gives me the opportunity to earn a small commission when you click on the links and place an order. This comes at no additional cost to you. Thank you so much for your support, as this helps me bring you more content.
