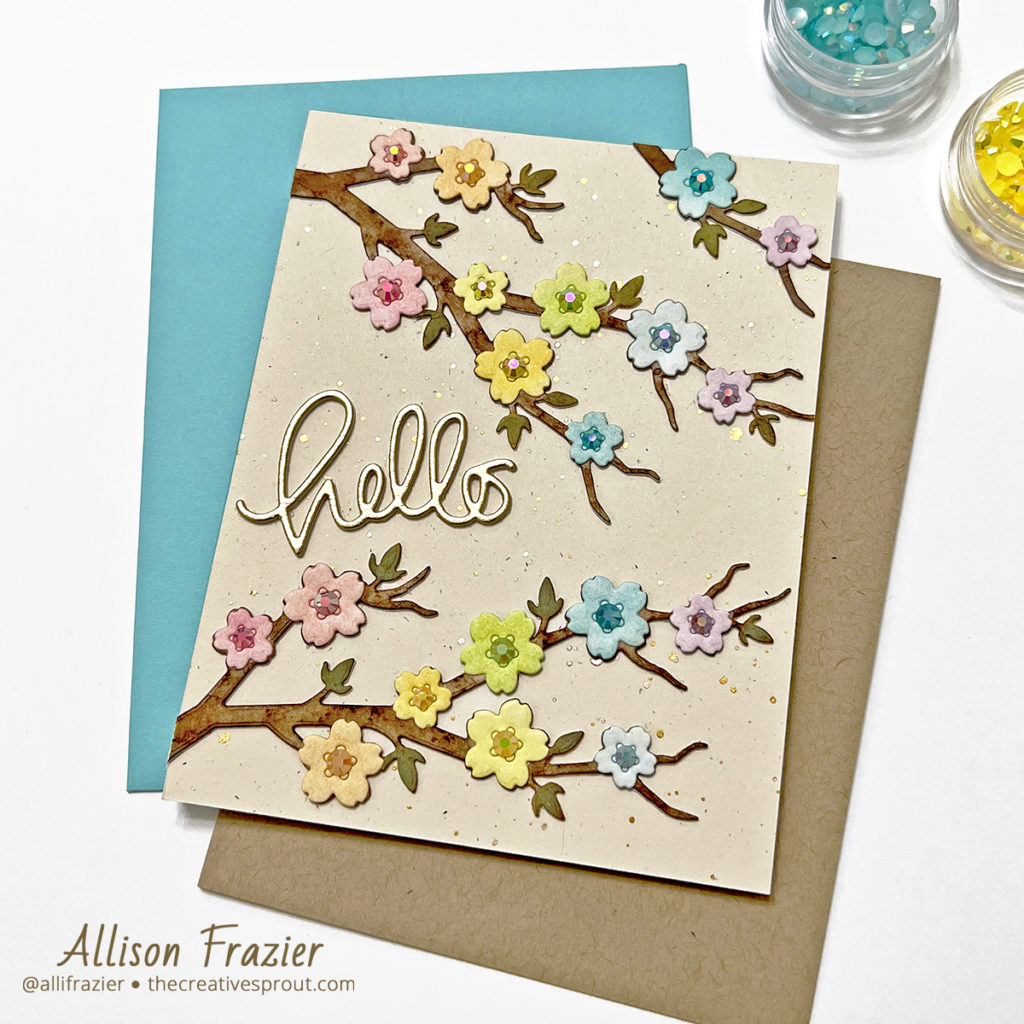
Hello, friends! When you see cherry blossoms, doesn’t it make you think of spring and happiness? Well, what could be more happy than rainbow cherry blossoms? I have been making a lot of rainbow-themed cards lately. And I mean, a LOT.
Supplies
Hero Arts – Cherry Blossom Fancy Dies
Simon Says Stamp – Small Hello Die
Pinkfresh Studio – Essentials Jewels Mix
Kuretake – Gold Watercolor Paints
Ranger – Distress Ink – Various
Waffle Flower – Mini Media Mat
Waffle Flower – Blending Brushes
Making the Card
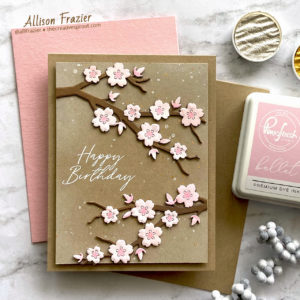
I have made a card using these cherry blossom dies before, and I loved it so much that I’ve been wanting to make another one. Here is the one that I made previously:
For today’s card, I started out by preparing the card base. I made a top-folding A2 card base out of off-white card stock and then splattered it with a few different colors of gold watercolor paint. I set that aside to dry and then started all of my die cutting. I cut the branch die twice from the same off-white card stock and twice from a regular white card stock. I took the white die cuts and blended two shades of brown Distress Ink over them. I wanted a little bit more variation, so I sprayed water over the ink and dragged the branches through the wet ink and let them dry.
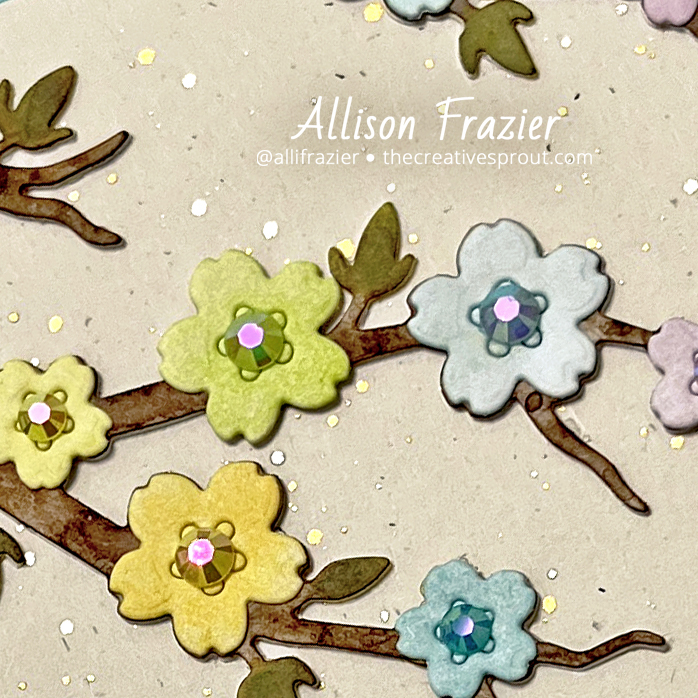
Next I die cut the smaller two blossom dies out of white card stock enough times so that I had enough to cover the blossoms on both branches. I then blended these with various rainbow colors of Distress Ink. When I am blending color over small die cuts like these, I always put them on my Mini Media Mat. This mat holds the dies perfectly in place while I use my blending brushes. Once I finished coloring my blossoms, it was time to assemble. But first, I had to figure out how to color the tiny little buds on the branches. Because I had colored the entire branch brown, these buds were brown. I decided to use Distress Oxide to cover them since the pigment properties of the Oxide would sit on top of the brown. I used the Peeled Paint Distress Oxide color and applied it with a teeny tiny brush from my stash. That seemed to do the trick!
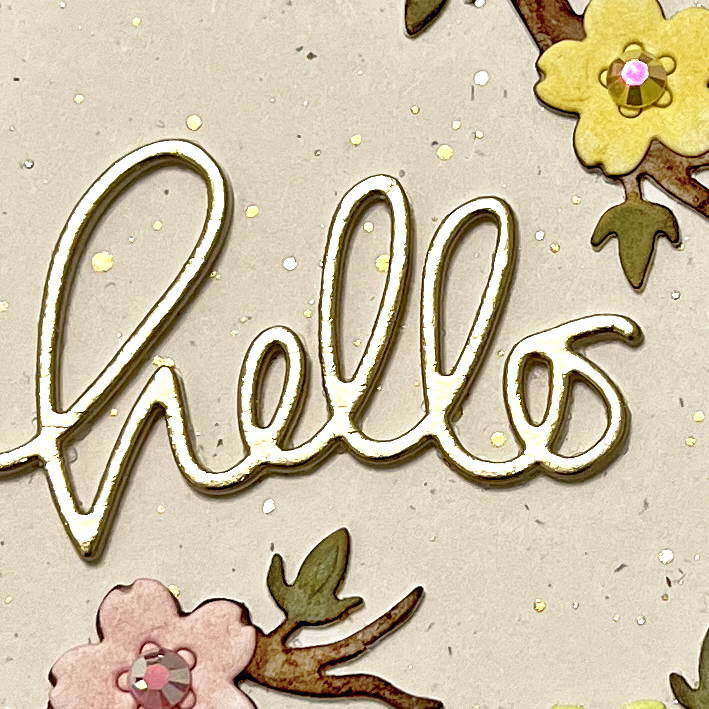
Assembly was pretty straightforward. I glued the brown branches on top of the off-white branches (to give them a little dimension) and then adhered those to my card base. I then glued the rainbow blossoms to the branches in rainbow order. I cut the “hello” die out of gold card stock and several layers of off-white card stock and adhered the stacked die cut to the card. I did end up creating a partial third branch to fill in the upper right-hand corner of the card, using the same method as I did for the two full branches. I finished the card by glueing jewels into the center of each blossom in coordinating colors.
That’s it for me today. I hope that you all had a wonderful weekend, and that this card brings a smile to your face as you start your week.
Wishing you all a crafty day,
Allison
Note: External links on my blog may contain affiliate links. This gives me the opportunity to earn a small commission when you click on the links and place an order. This comes at no additional cost to you. Thank you so much for your support, as this helps me bring you more content.