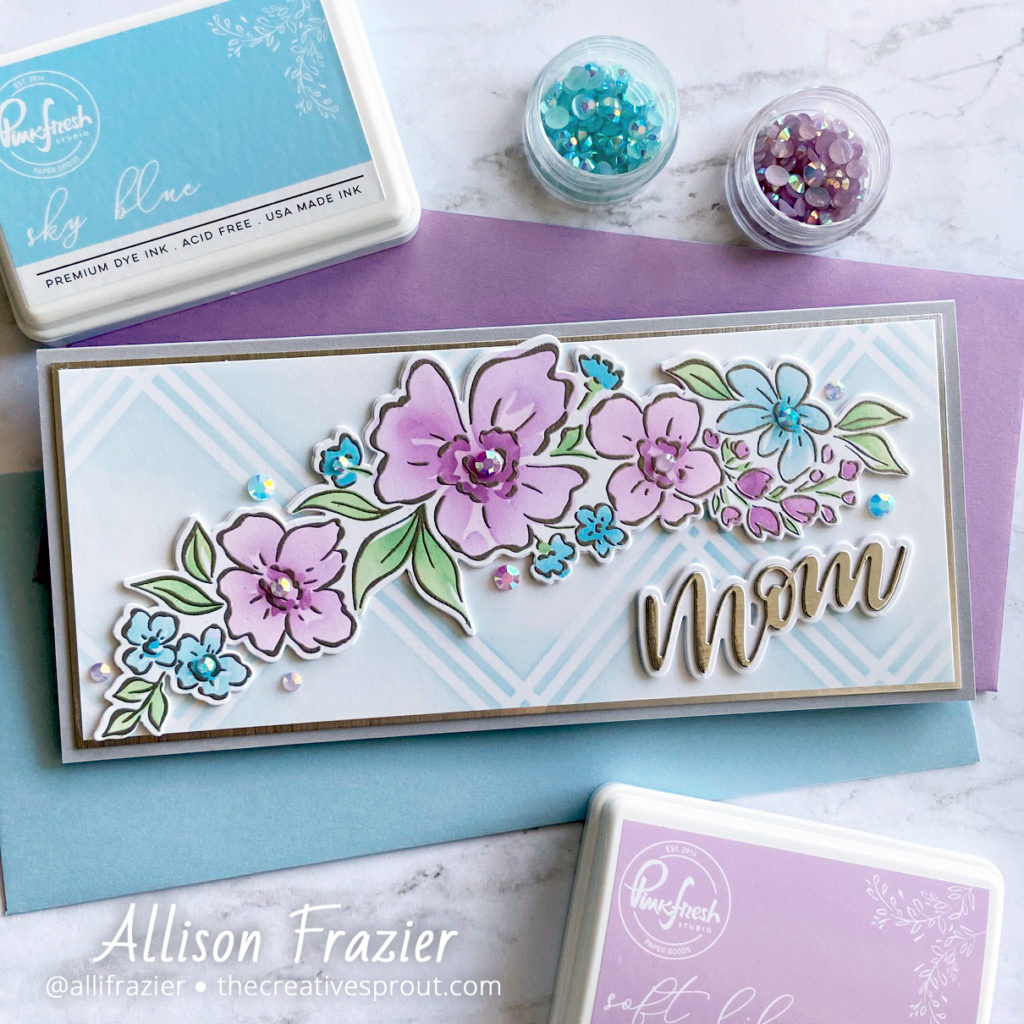
Happy Saturday and first day of May! Are you all getting cards ready for Mother’s Day, too? It’s earlier this year than usual, so I’m a bit behind! Today, I’m sharing this slimline card featuring products from Pinkfresh Studio.

Supplies
Pinkfresh Studio Soft Lilac Ink
Pinkfresh Studio Summer Shower Ink
Pinkfresh Studio Candy Violet Ink
Pinkfresh Studio Diamond Plaid Layering Stencil
Simon Says Stamp – Script Mom Shadow Die
Simon Says Stamp – Fog Gray Ink
Simon Says Stamp – Holographic Card Stock
Ranger Silver Embossing Powder
Making the Card
I started out by stamping the Floral Notes image onto Neenah 80# card stock using the Fog ink. I just wanted a very light outline so that I could line up my stencils with the stamped image. In retrospect, I probably didn’t need to do this since the stencils line up with each other very well. But, this was my first time using the stencils, so better safe than sorry! I left the stamp in my Misti so that I could come back later to emboss the outline.

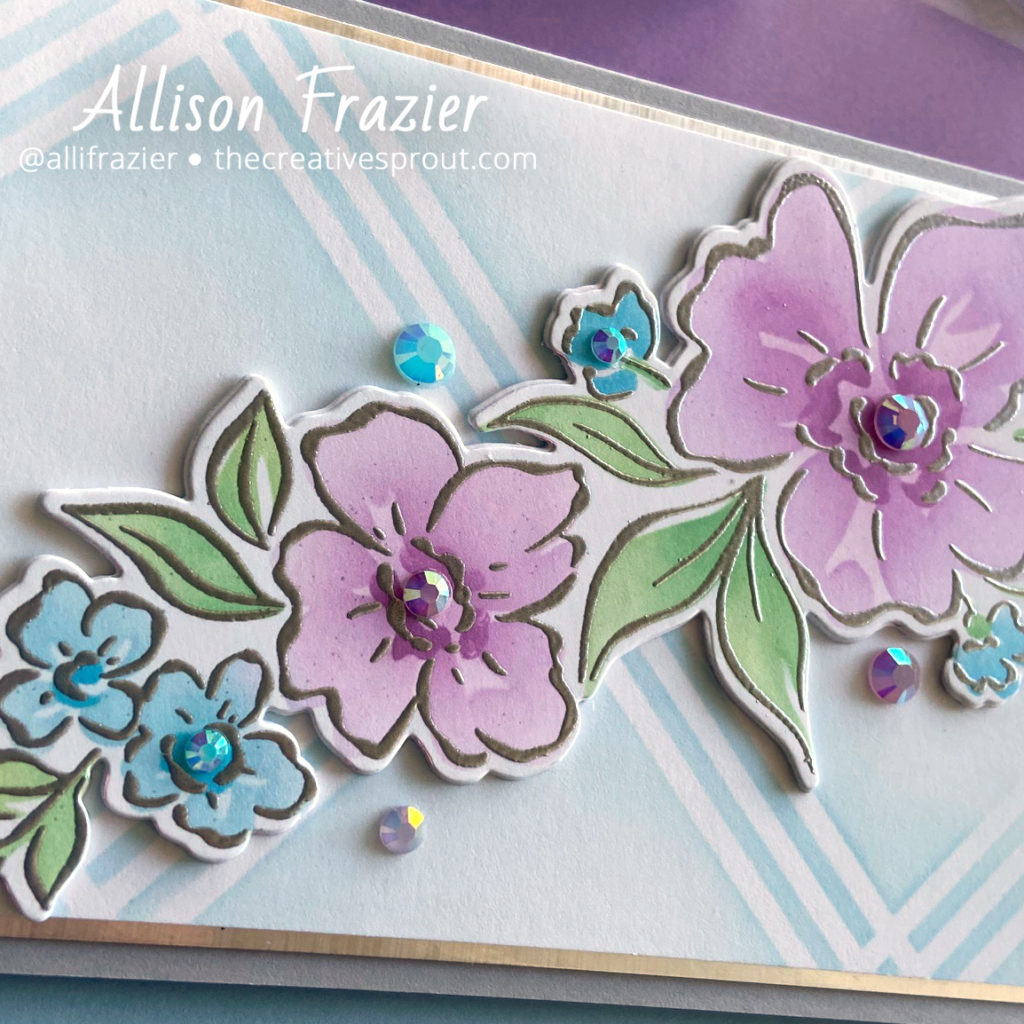
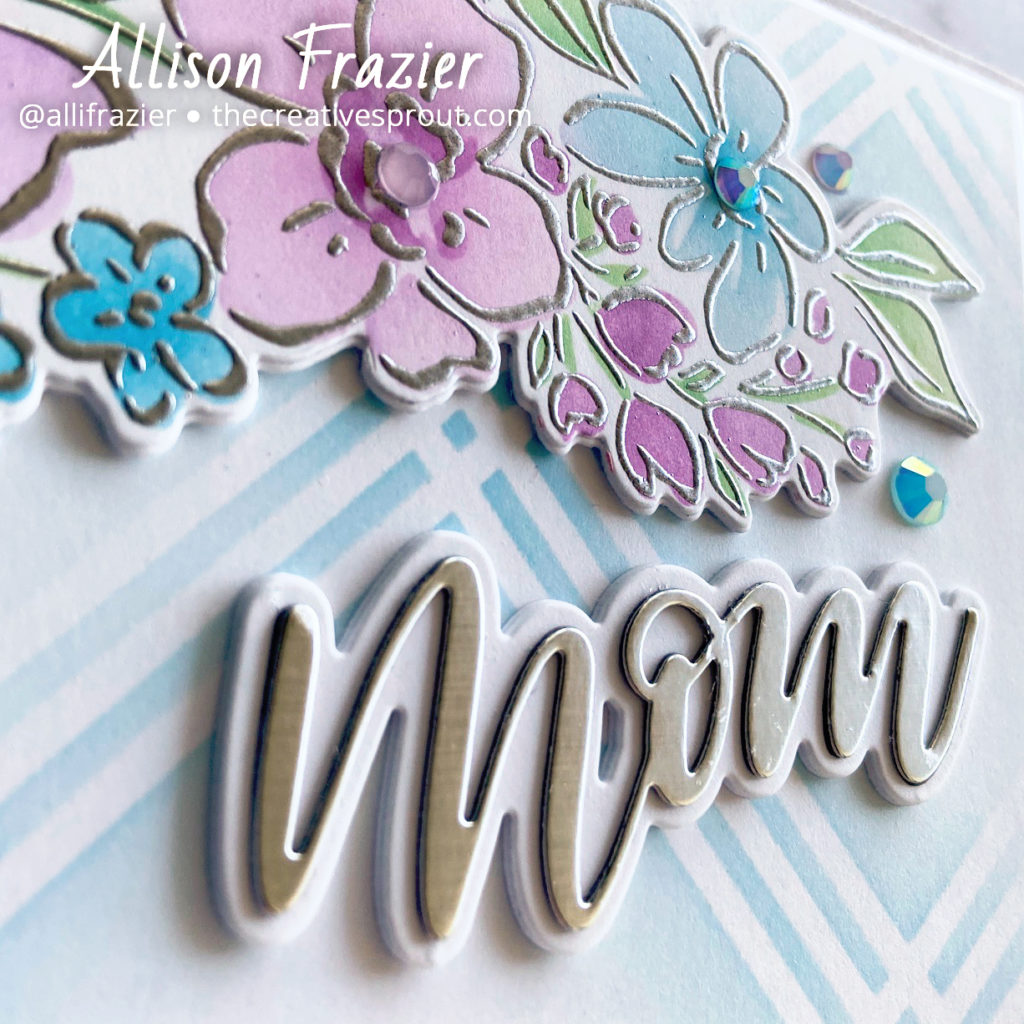
I used the Sky Blue and the Soft Lilac inks for my first stencil layer. I used the Candy Violet and Summer Shower inks for my second layer. And then I used the Applemint for the third layer, but I did add a bit of the Meadow to add some depth to the leaves. I also added a little bit of shading to the purple flowers after I was finished with the stencils. I heat set the ink so that I could stamp the image again with Versamark ink and heat emboss with the silver embossing powder. To finish with the floral image, I cut it out with the matching die.
Next, I cut a panel of Neenah 110# card stock and very softly blended some of the Sky Blue ink over the more detailed stencil from the Diamond Plaid Layering stencil set. It was then time to assemble everything. I made a 9″x4″ card base out of a piece of medium gray card stock. I then cut a slightly smaller panel of Holographic card stock and then trimmed down my stenciled panel to be slightly smaller than that. I don’t know about you, but when I start layering multiple panels, I sometimes end up making a lot of cuts to get everything just right. So, the final card actually ended up being a little smaller than 9″x4″. I adhered the two layers to my card base and then adhered the floral die cut on top. I did layer up my die cut using several pieces of plain white card stock in order to give it dimension.

To finish the card, I cut the “Mom” die out of the same Holographic card stock as the bottom layer of the card. This piece of Holographic paper is really cool – it has almost a brushed metal look. I cut the shadow die out of white card stock and then adhered the finished sentiment to the card (also popping this up with several layers to give it dimension). I added some blue and purple jewels to the centers of the flowers and also scattered some around the floral diecut.
And that’s it for my card today. I really love how it came out, and I hope the recipient will love it, too. Thank you so much for joining me today.
Wishing you all a crafty day!
Allison
