Hello, friends and Happy May! The beginning of the month always means one thing – Spellbinders Monthly Clubs! As of today, the May clubs are officially opened up to new members. And this month’s clubs are my favorite so far! The products are so much fun to play with. If you love a club this month, don’t hesitate to sign up. Remember that one of the major benefits of the Spellbinders clubs is that you can cancel at any time and rejoin if/when you want (assuming there is enough inventory when you want to rejoin).
NOTE: If you are in the UK, you can order monthly clubs through the UK website – CLICK HERE.
I have a new video up today on YouTube with all of the cards that I made with the Small Die of the Month. I have pictures of my projects below, as well as links to all of the supplies. But, if you want all the details on how I made certain things, definitely check it out below or on YouTube. I also shared a video yesterday on YouTube with the projects that I made with the 3D Embossing Folder of the Month. You can CLICK HERE to view that video. Pictures of those projects are also below.
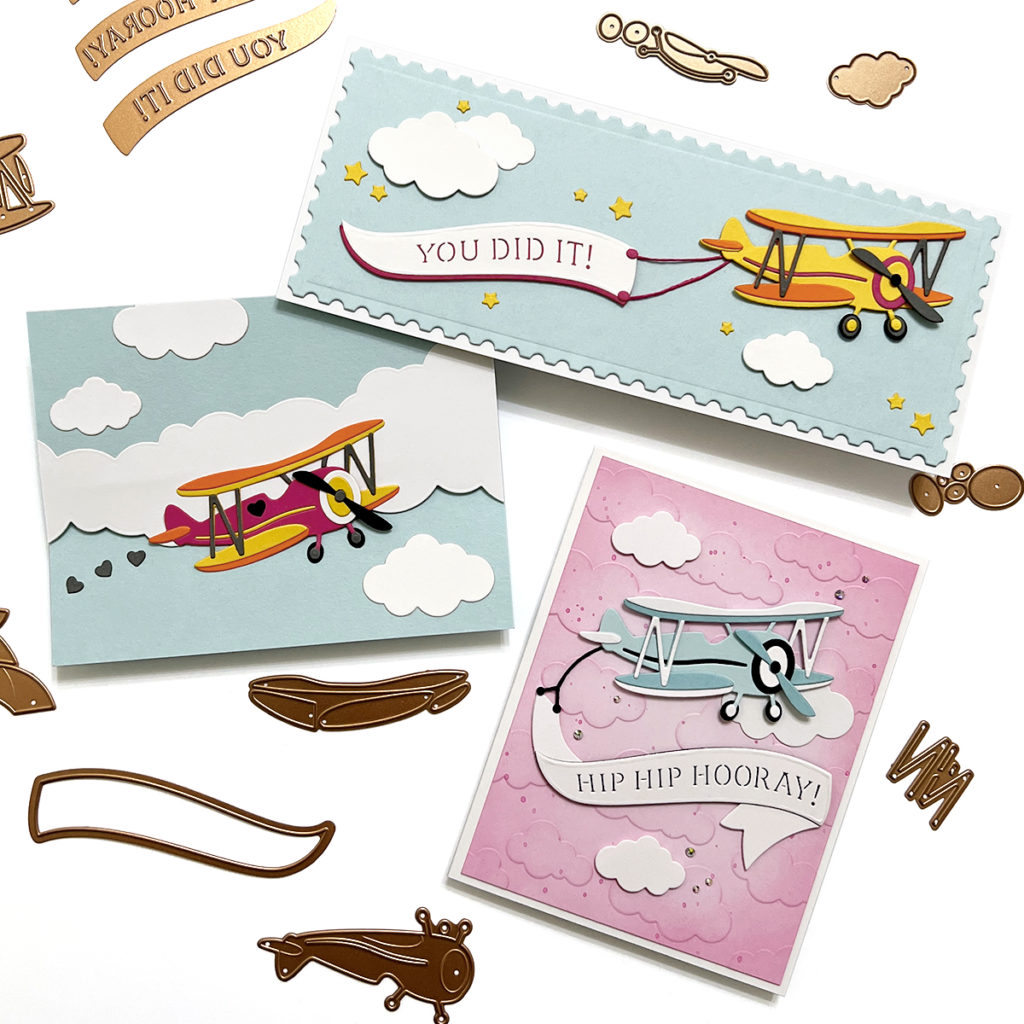
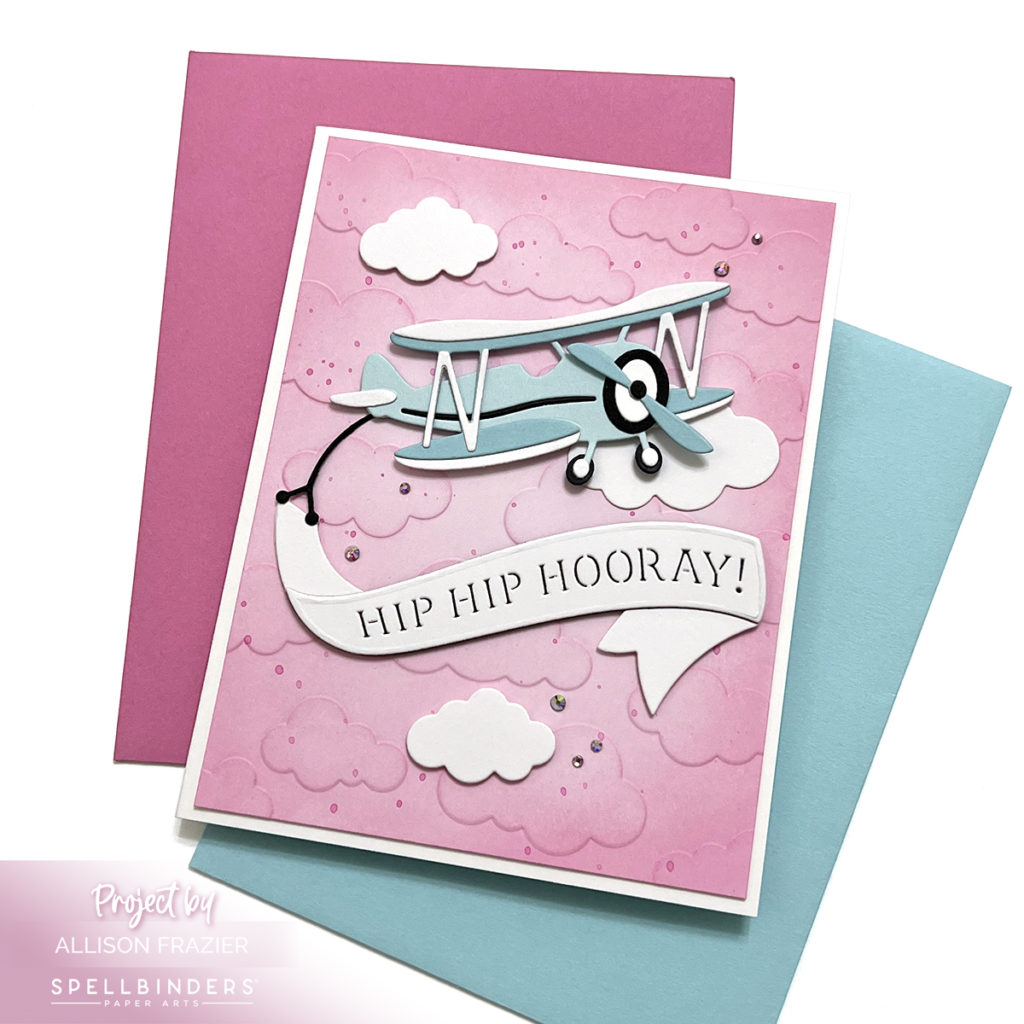
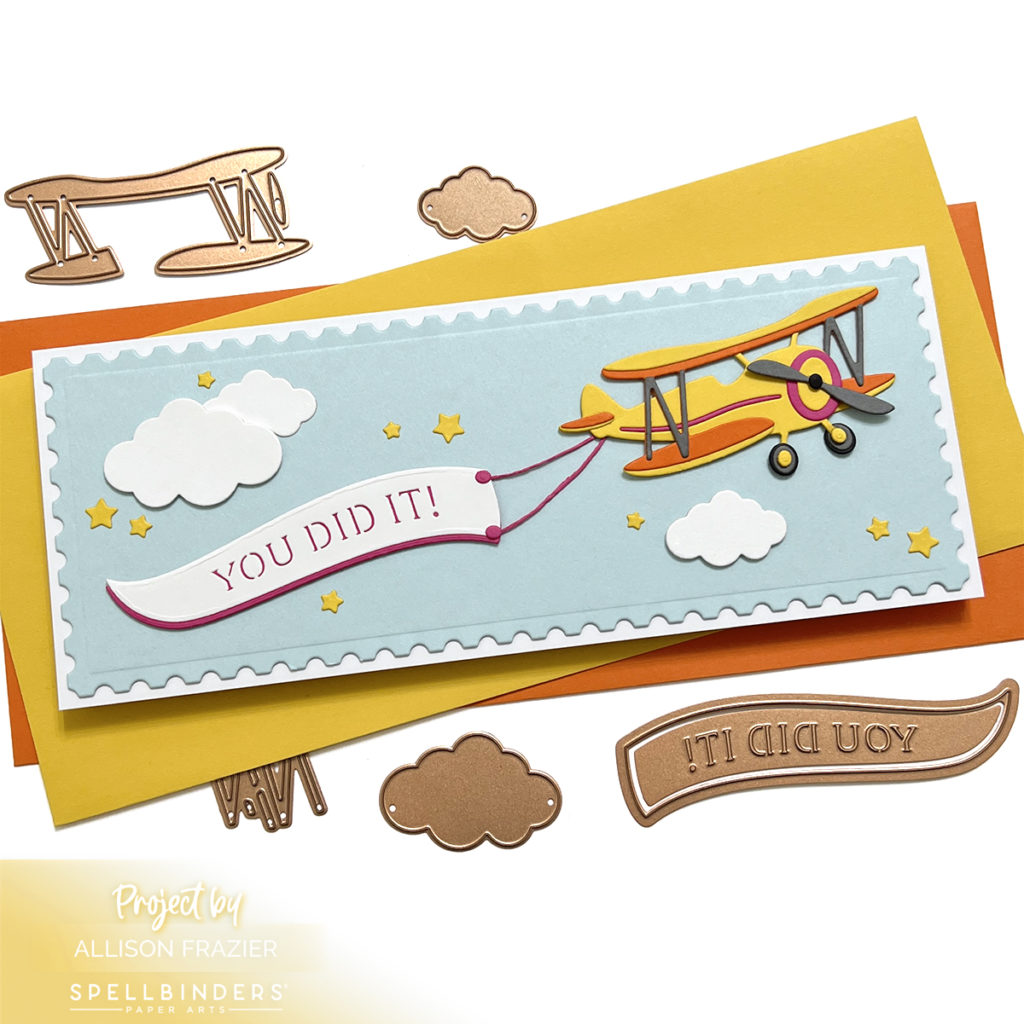
The Small Die of the Month for May is called “Flyby Greetings,” and it is just the cutest set ever! There are 13 dies which create an airplane and a banner with three different greetings to choose from. It also has two dies which make small clouds. This kit inspired me to pull several products out of my stash that went perfectly with the theme – the Color Block Cloudscape Die Set and the Head in the Clouds Embossing Folder. I also used one of my favorite Spellbinders stamp sets for all of my cards – the It’s Party Time set. Unfortunately, I only see it on the Spellbinders website as part of a bundle. But it does appear to still be sold separately by some resellers. I’m guessing that once they sell out, then it will be gone? Not sure. It’s such a great set, perfect for birthdays and other celebrations. Which, of course, made it perfect for this month’s cards!
Note: all supplies are linked to multiple sources in the thumbnails at the end of this blog post.
This first card is a fun Z-fold design. It was so easy and fun to make! Definitely watch the video if you want to see this fun fold card in action. I used the plane and clouds from the kit on this card. The long, card-length cloud is from the set I mentioned above – the Color Block Cloudscape set.
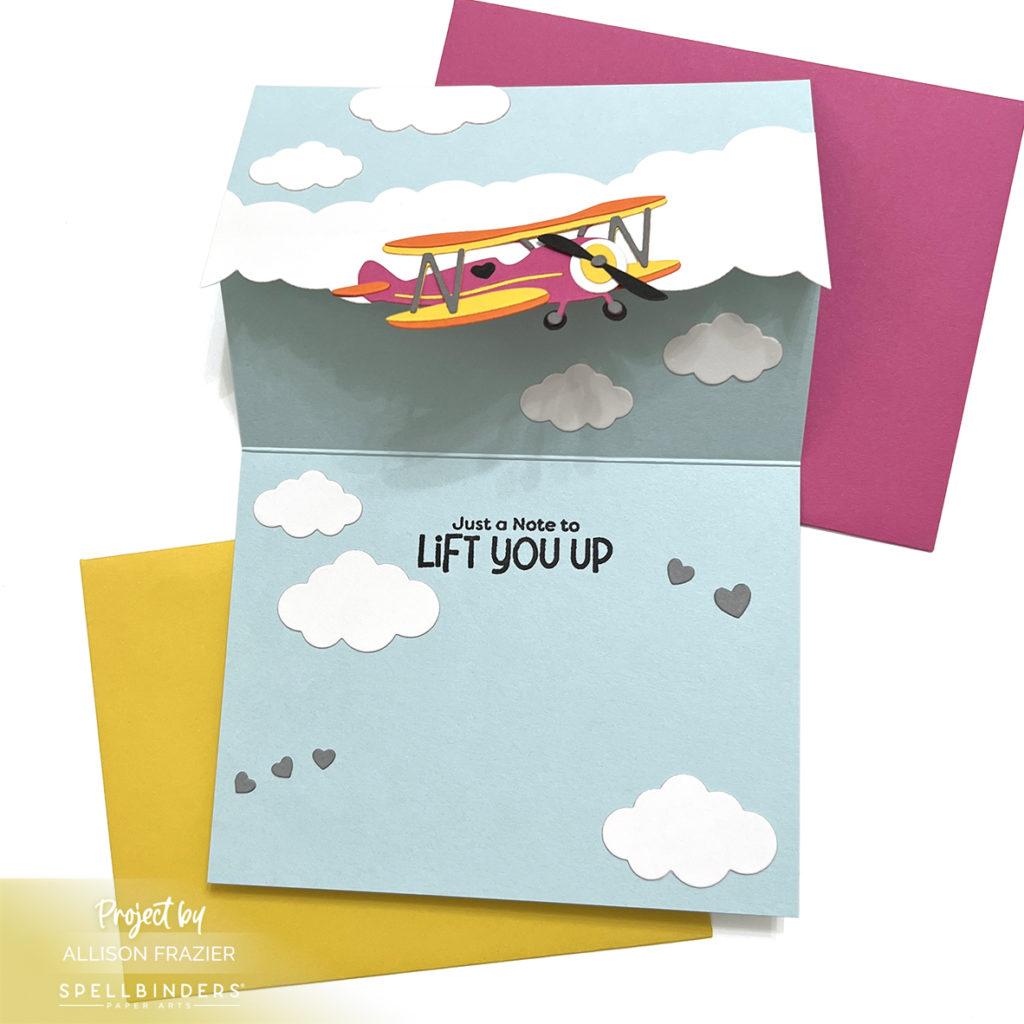
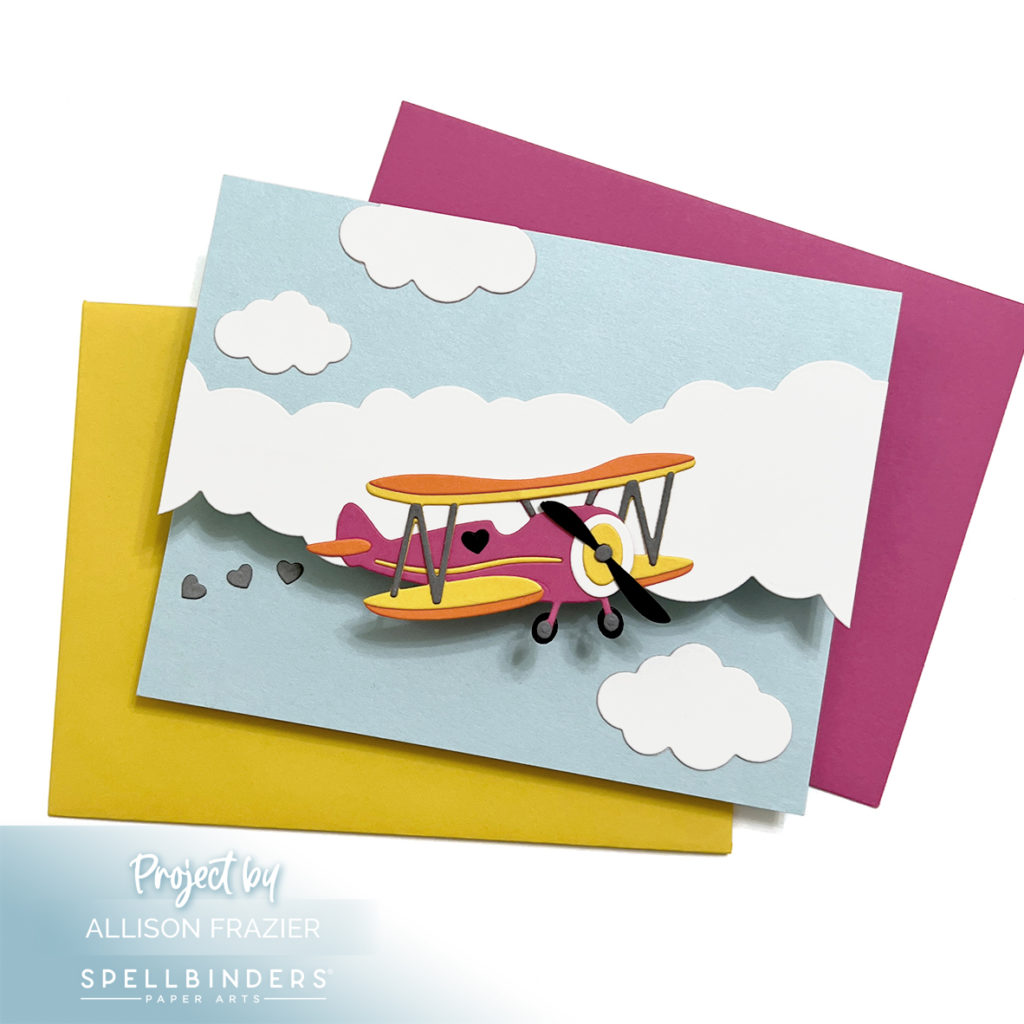
My second card features the plane, clouds and banner from the kit. This is what I would refer to as the “intended” design of the kit. I don’t often do the intended design for things – ha ha. But, I couldn’t resist – it’s just so cute! I did try to switch things up by making my sky pink. I just blended my panel with Kitsch Flamingo Distress Oxide Ink after I embossed it with the Head in the Clouds folder.
My third card is a slimline card. I used the new-to-me Postage Edge Slimlines set to frame the card. I did feature the plane and banner, but I made my banner in a different way since it was directly behind the plane instead of under it. I used some pink string in my stash to hang the banner from the plane.
Now let’s move on to the 3D Embossing Folder of the Month! The folder this month is called “Balloons & Banners,” and it is aptly named!
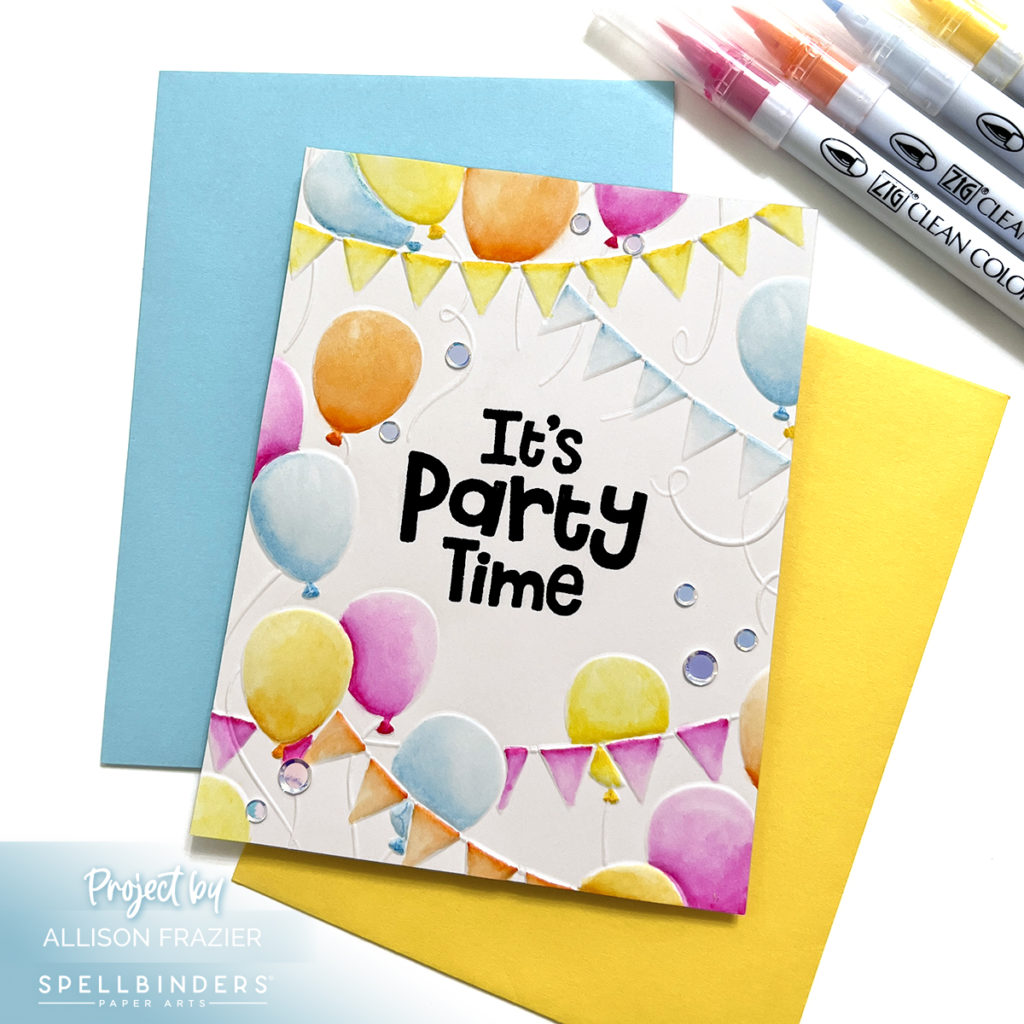
I have done a lot of different techniques with 3D Embossing Folders, but this is the first time that I have chosen to color. I thought the fun design was perfect for my first attempt at doing this technique. I chose to color with my ZIG markers because I find them to be more forgiving. Other than the crazy pink color that I chose, I really love how it came out! And now I’m a little less scared to try this again with a future folder.
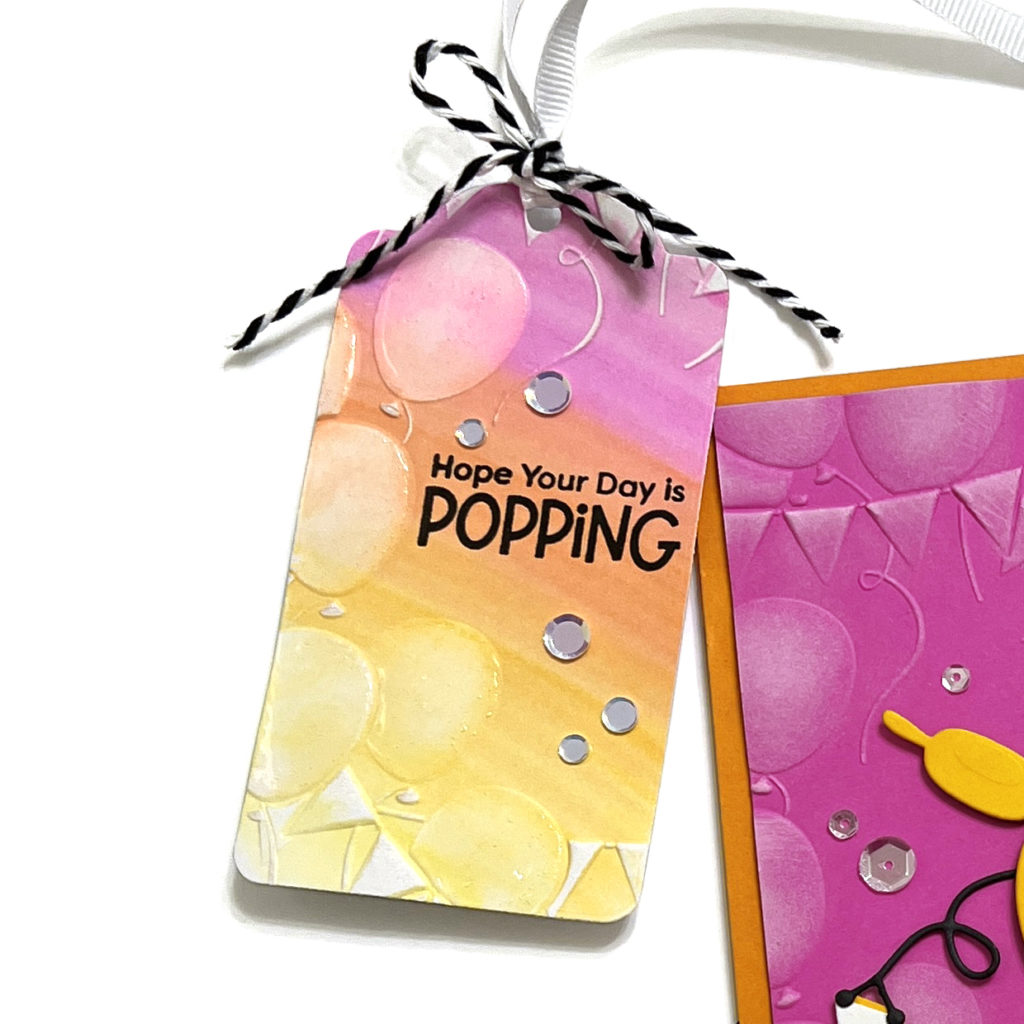
While I had my ZIGs out, I made a quick background with the markers and die cut a tag from it. I ran that tag through the embossing folder, sanded the embossed edges, and then highlighted the balloons with Glossy Accents. I think it’s a cute tag that complements my card perfectly.
This last card is hilarious! First of all, the colors are crazy. But not as crazy as this poor balloon animal tangled up in string! I didn’t really start this card with any intentions, other than to use the adorable Balloon Party Animal Die with the embossing folder as a background. I mean, they go together perfectly, right? Once I started down the path of how to connect the banner to the dog, that’s where things went a little sideways. I didn’t film this card, so it’s not in the video. You’re welcome. Ha Ha. Suffice it to say that I played around with various options. I finally settled on something really unexpected – the string from the “More Holiday Decorations Die Set,” which is for creating a string of Christmas lights! My husband asked me why I connected it to the dog’s nose. Ummm, because that’s where the balloon knot is? Duh! Of course, looking at it later, I see that it looks a little bit like a muzzle. Or something. Anyway, if there’s any lesson to be taken from this, it’s that the monthly club kits can and should inspire you to pull out supplies from your stash and get more use from them. Don’t limit yourself or your imagination! But also, don’t try this at home with a real dog.

I hope these cards put a smile on your face today. Leave me a comment and let me know which project is your favorite! And be sure to head over to YouTube to watch my video. I hope to see you there!
Wishing you all a crafty day,
Allison
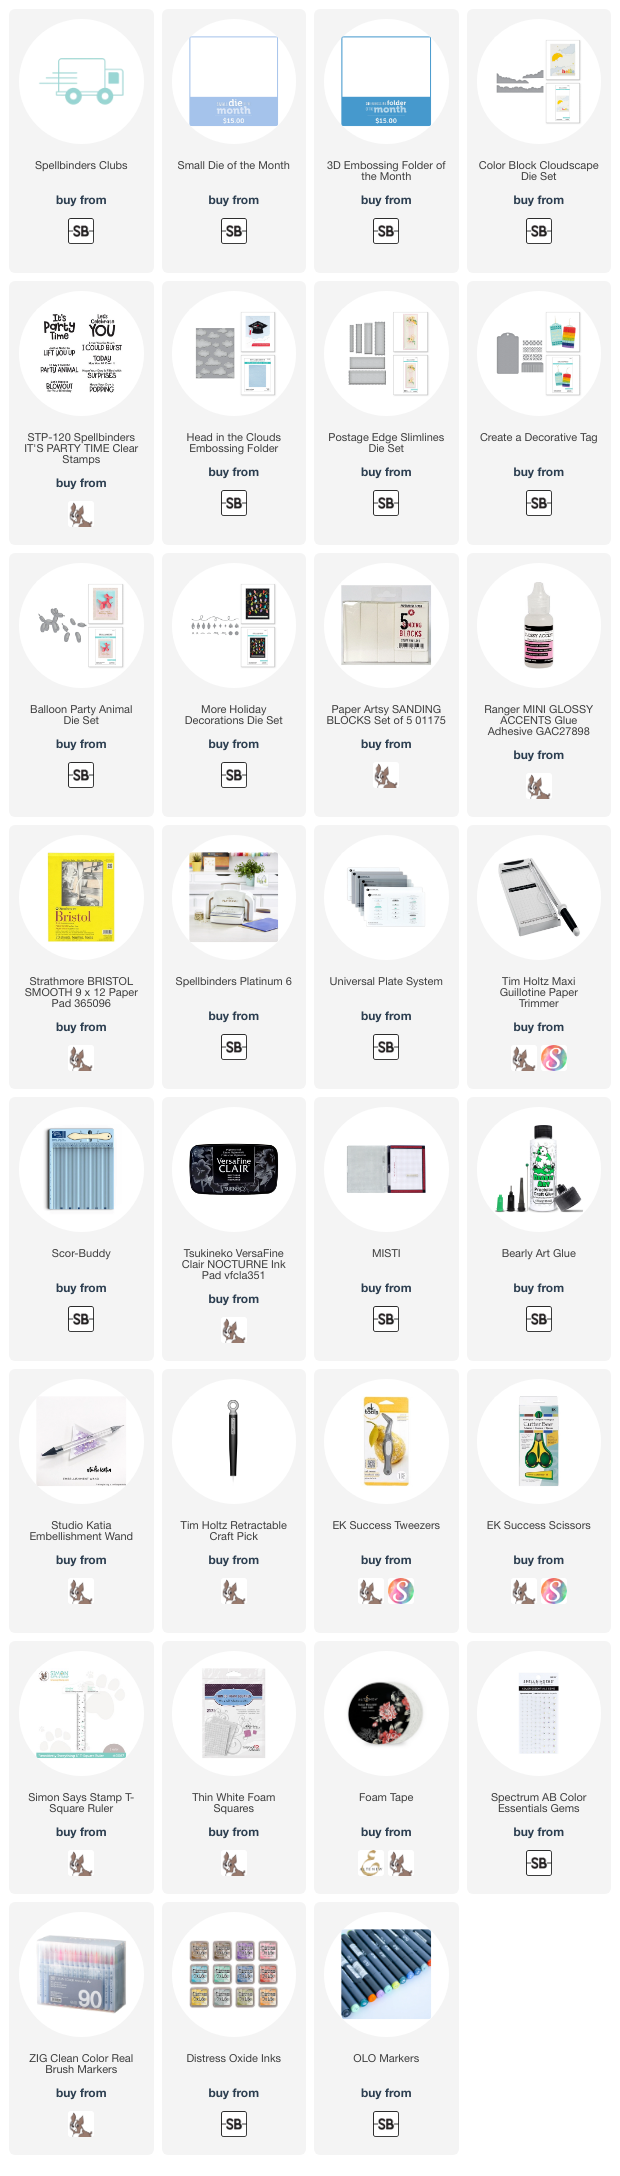
SUPPLY LIST
Note: External links on my blog may contain affiliate links. This gives me the opportunity to earn a small commission when you click on the links and place an order. This comes at no additional cost to you. Thank you so much for your support! You can see more information on my Affiliate Disclosure page.