Hello, friends! Can you believe it’s already April? If you looked out my window right now, you would think it’s still January…so much snow! But, it is in fact the beginning of April, and that means it’s time to play with the Spellbinders Monthly Clubs! I’m sure you’ve already been seeing inspiration from the new clubs on social media. Remember that the clubs open up to new members tomorrow, April 6th. One of the major benefits of the Spellbinders clubs is that you can cancel at any time and rejoin if/when you want (assuming there is enough inventory when you want to rejoin).
NOTE: If you are in the UK, you can order monthly clubs through the UK website – CLICK HERE.
I have a new video up on YouTube with all of the cards (tags) that I am sharing today, so if you want all the details on how I made certain things, definitely check it out below or on YouTube. I won’t go into too much detail in the blog.
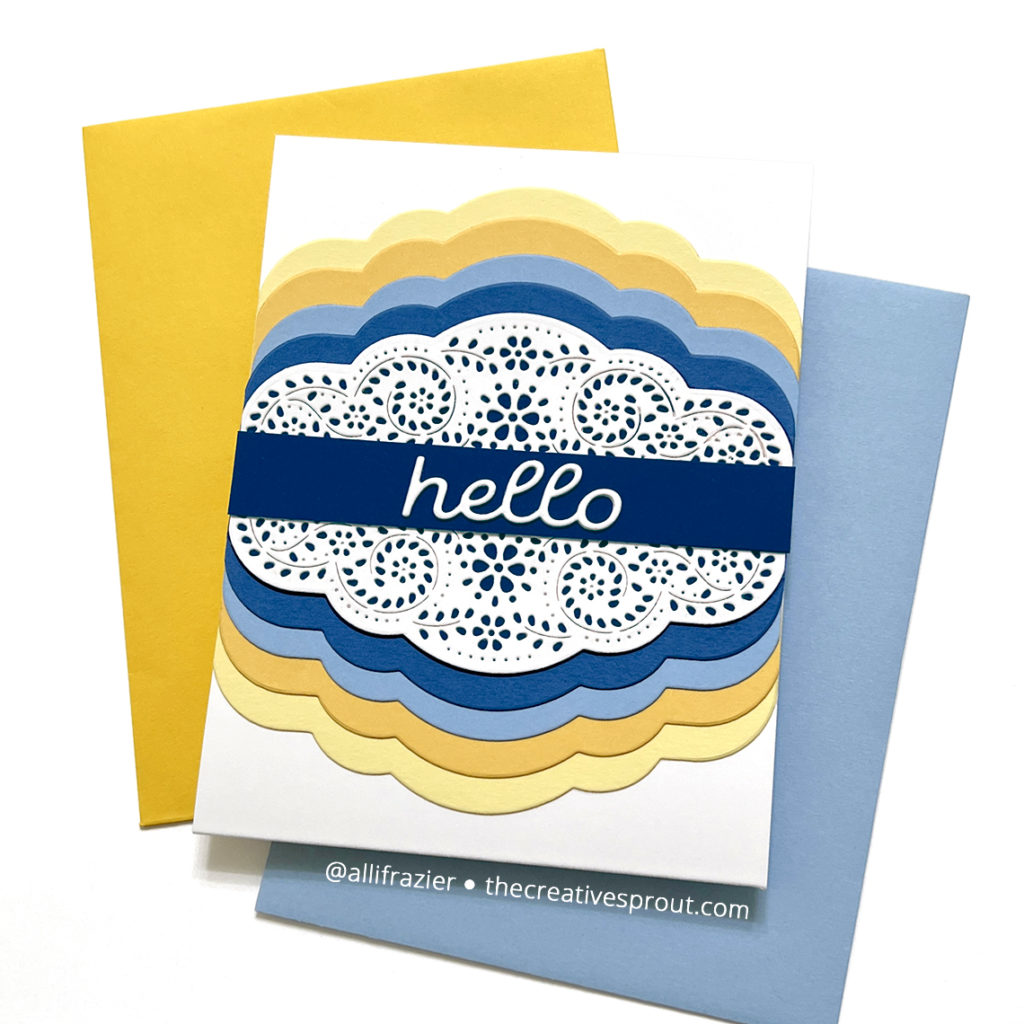
Most of my projects feature the Small Die of the Month, which is called “Punch & Pierce Borders” this month. There are several dies that create different pierced designs – you can combine them or use them separately. You can use them in combination with the curved border dies in the kit, or you can use them for a more linear design. This first card focuses more on the curved border die than the piercing dies. This card could have easily been made into a shaped card by cutting both ends of a side-folding A2 card with the curved border die. I also could have easily made it into a fun gatefold card. I chose not to go that route because of the uneven bulk the layers of card stock created. I used the Layered Mix & Match Sentiments for the sentiments on most of my projects today.
Note: all supplies are linked to multiple sources in the thumbnails at the end of this blog post.
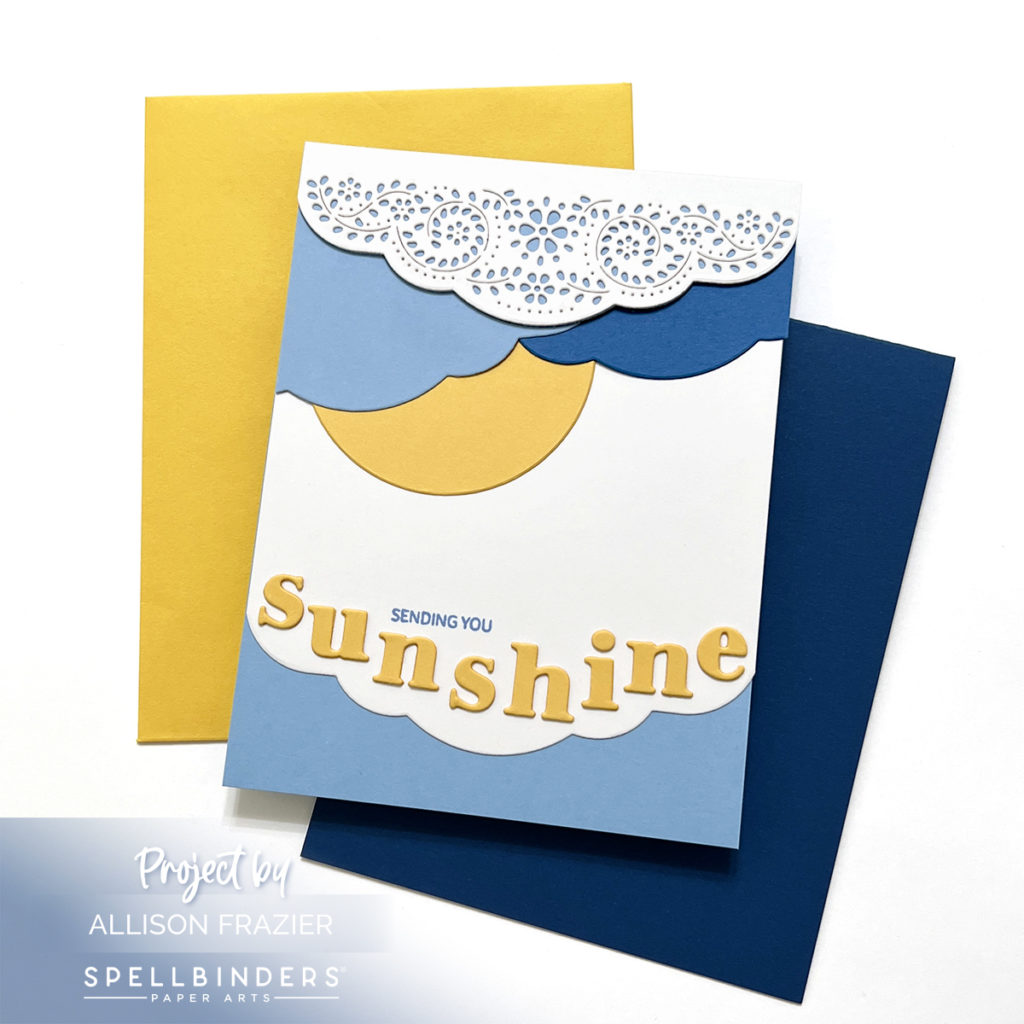
My second card also features the Small Die of the Month , but I got a little creative and used the curved edge die to create clouds. Again, I added a little bit of the pierced detail but really wanted to keep that bold, graphic look for the rest of the card. For the sunshine sentiment, I used the Be Bold Lowercase Alphabet Die Set.
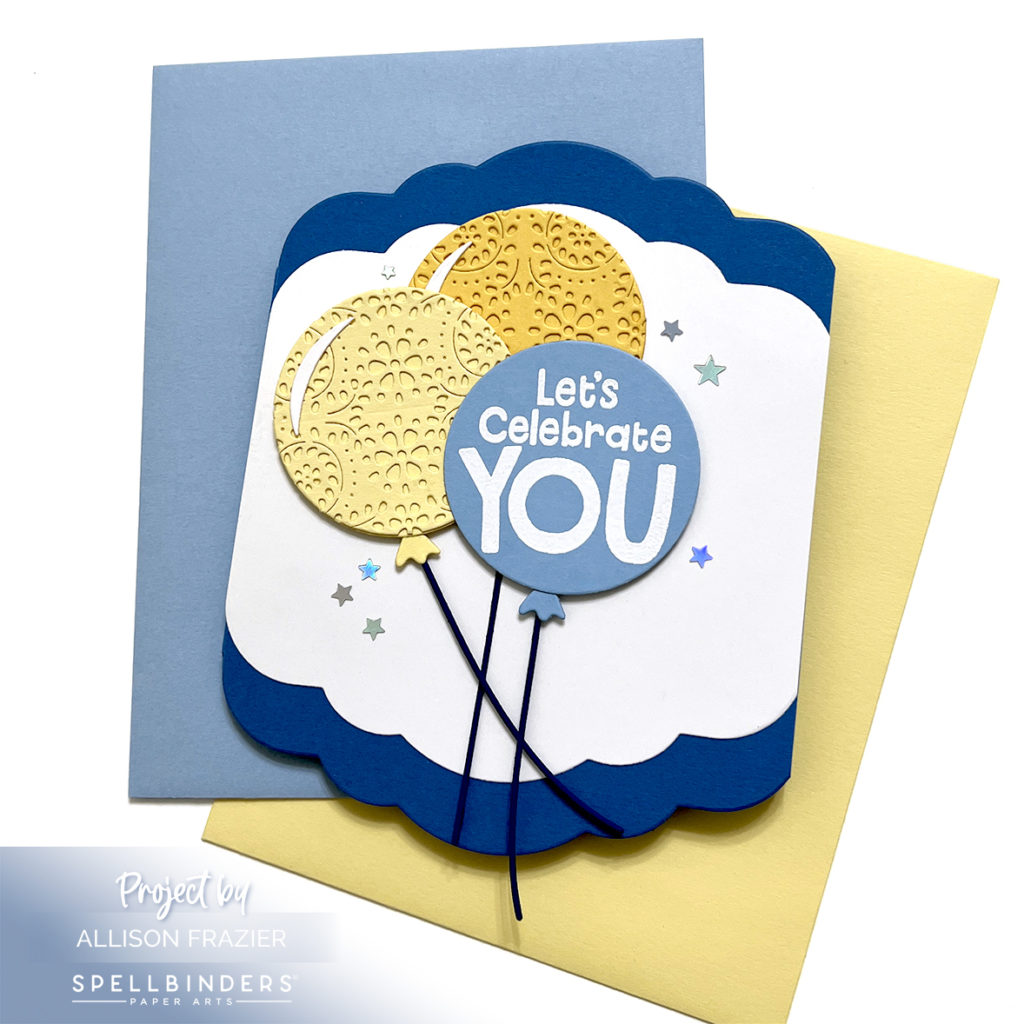
After making the card with the clouds, I decided to go ahead and make a shaped card with the curved border die. This card gives the illusion of clouds because of the balloons. And notice the pierced detail on the balloons! I made that with the large curved piercing die by die cutting the paper once, then flipping the die to the other side to die cut again. Once I had that mirrored, pierced pattern, I just die cut it again with the round balloon die. The stamp is from the It’s Party Time Stamp Set.

What I really had fun with, in terms of the pierced border dies, was making tags with the different patterns. I made two large tags and one small tag that I grouped with some other tags of the same shape.

For this first tag, I used just one of the piercing dies and cut a piece of blue card stock multiple times with that same die. This created a seamless look. I decorated the finished tag with the Sweet Birdie Die Set.

For this second tag, I hot foiled the Thank You sentiment and then used two of the piercing dies together to create the piercing on both the top and bottom of the tag. I finished the tag with that sweet little bow from the Mini Bow Die Set.
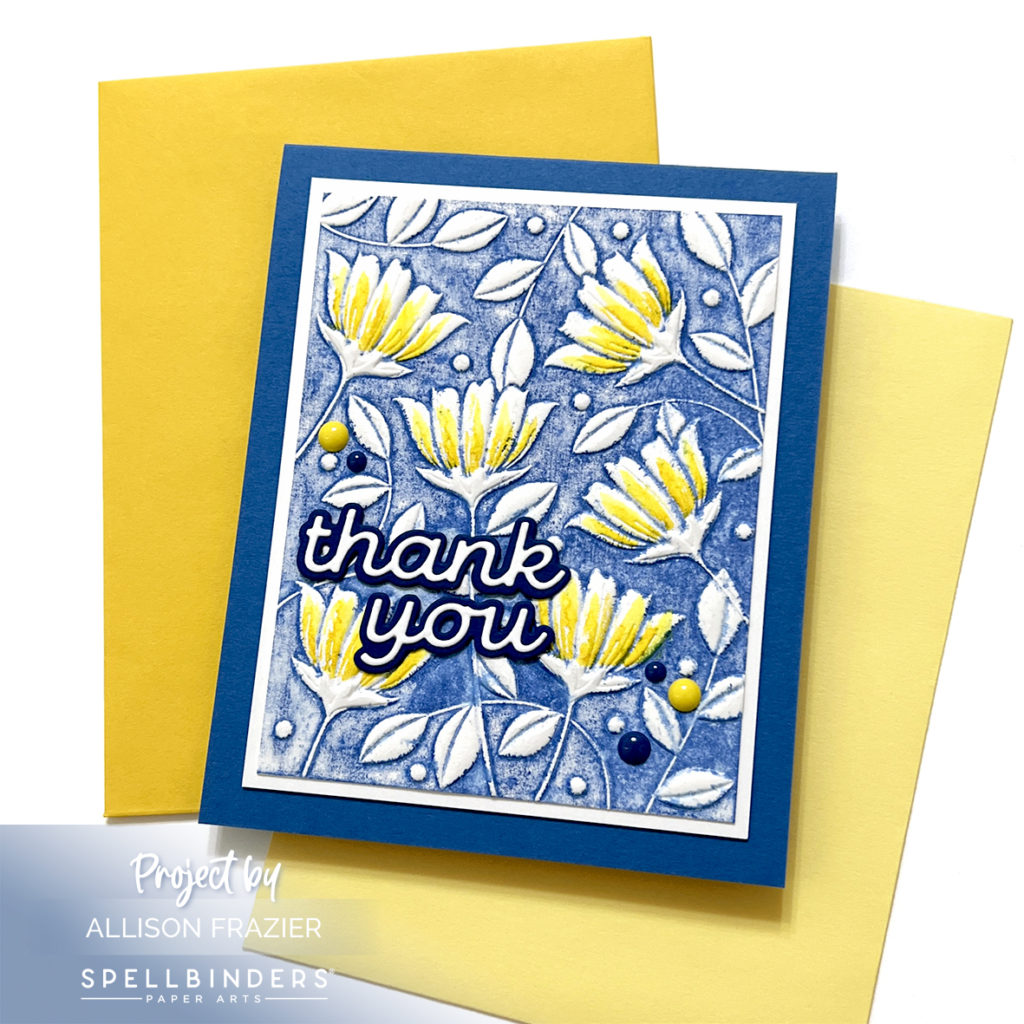
This last card features the 3D Embossing Folder of the Month. This month, the folder is called “3D Patchwork.” I focused on the innermost floral pattern of the folder. I swiped Distress Oxide ink on the flat side of the folder before running my paper through – this presses the ink into the areas around the flowers. I then used some yellow Zig watercolor markers to lightly color the flowers.

I hope these cards (and tags) put a smile on your face today. Leave me a comment and let me know which project is your favorite! And be sure to head over to YouTube to watch my video. I hope to see you there!
Wishing you all a crafty day,
Allison
SUPPLY LIST
Note: External links on my blog may contain affiliate links. This gives me the opportunity to earn a small commission when you click on the links and place an order. This comes at no additional cost to you. Thank you so much for your support! You can see more information on my Affiliate Disclosure page.