Hello and HI, Everyone! I have two fun cards to share today using some goodies from The Stamp Market. I know I have been sharing quite a bit from them lately. It’s mainly because I bought some stuff from them a month or so ago, and it’s been sitting on my desk on the top of my unused stash. Or at least that stack of unused stash – there’s a lot of it all over the place. But I always hope that I’ll randomly see something laying around and have some sudden inspiration. The Stamp Market also just came out with a new release that looks really amazing. The Rainbow Surprise Die looks sooo fun.
Card 1 Supplies
The Stamp Market – Floral Layering Stencil (see note below)
Waffle Flower – Mini Stencil Mat
Waffle Flower – Blending Brushes
Making the First Card
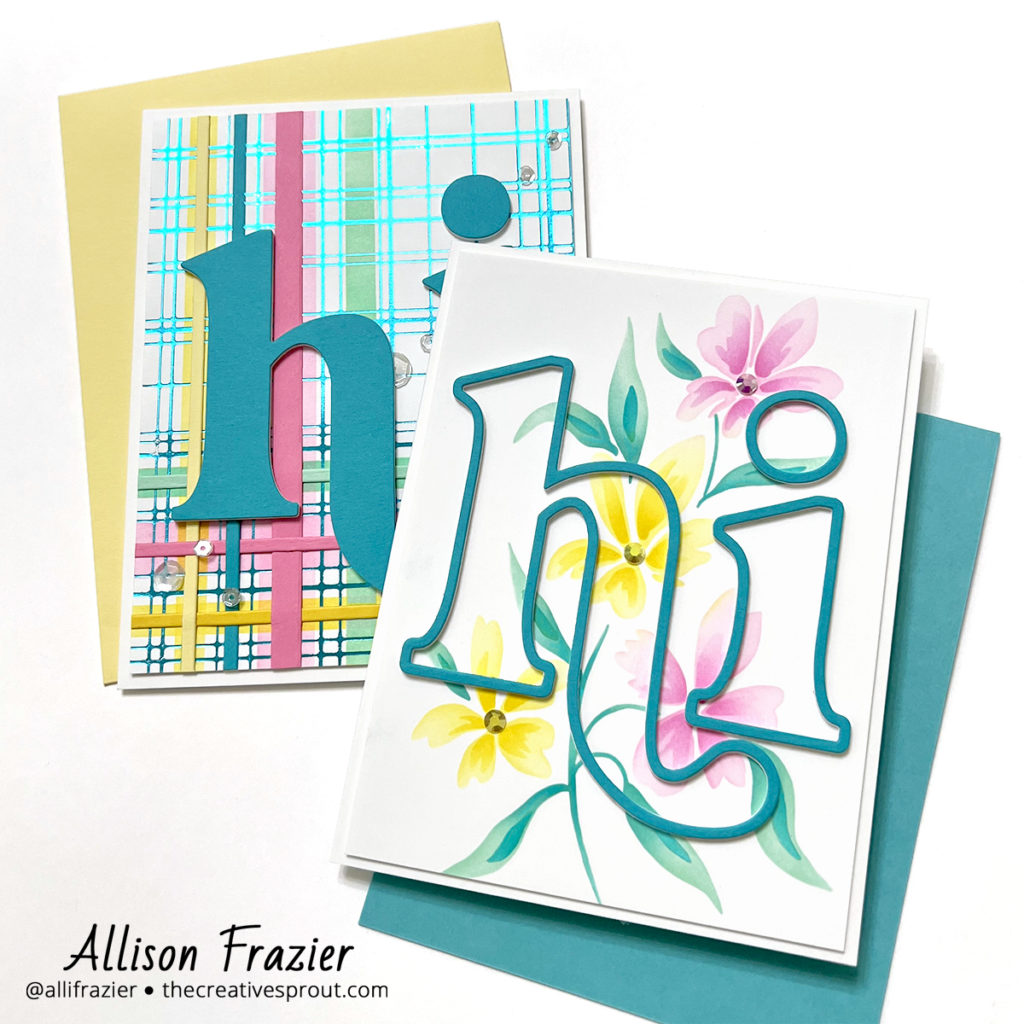
This card was super easy and quick to make. But first – the stencil. This layering stencil was a freebie with my last order. It may have been a special they were having for Mother’s Day. I looked on their site, and I don’t see this specific layering stencil for sale. But they do have a lot of other floral layering stencils, and this design most certainly would work with anything. I used Distress Inks to ink blend this design. Once I was finished, I trimmed the panel down, mounted it onto a white A2 card base, and then glued the Big Hi outline that I had cut from turquoise card stock. This outline is layered on top of 3 layers of white outlines that I had also cut out. The Big Hi Die cuts both the solid Hi and the outline at once, which offers a great two-for-one opportunity. I finished the card with some jewels in the center of the flowers.
Card 2 Supplies
The Stamp Market – Simply Plaid Hot Foil Plate
The Stamp Market – 1/4″ Quick Strip Dies
The Stamp Market – 1/8″ Quick Strip Dies
Spellbinders – Teal Hot Foil Roll
Spellbinders – Glimmer Hot Foil System
Waffle Flower – Blending Brushes
Making the Second Card
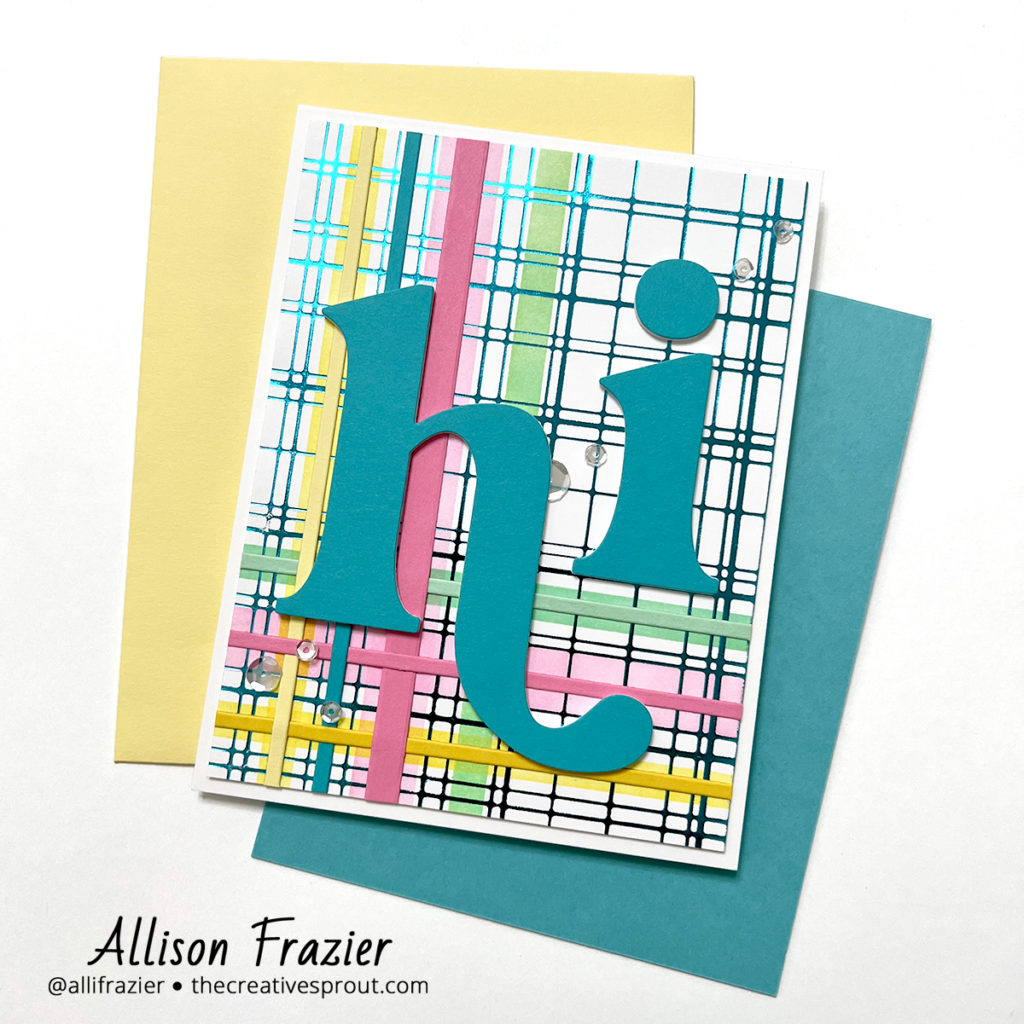
My second card actually started several weeks ago when I had a little hot foiling session with this Plaid plate and several other plates in my stash. The results have been laying around since then, but this panel finally got used! When I ordered this plate, I saw the plaid stencil that they sell with it, but I thought I was really smart (AKA frugal) by not ordering it. I figured I could just use some washi tape to create some lines and ink blend my stripes that way. Of course, after the order, I realized that you can’t put tape on a hot foiled panel, or it will pull up the foil! I solved it by making my own “stencil” using some vellum and really long sentiment strip dies from my stash. This definitely worked! I used the same yellow, pink, and green Distress Inks that I used on my first card.
Once I was done inking up more of a plaid design, I remembered that I have these strip dies in my stash, so I thought I would add more texture and more plaid! All that was missing was a huge HI, which is the other part of what I had created from the first card. The first card has the outline – this one has the solid part. And again, the turquoise is layered on top of 3 white layers for dimension. I finished the card by scattering some clear sequins around the design.
That’s it for my cards today. Thank you so much for visiting! Leave a comment to let me know which card you like the best.
Wishing you all a crafty day,
Allison
Note: External links on my blog may contain affiliate links. This gives me the opportunity to earn a small commission when you click on the links and place an order. This comes at no additional cost to you. Thank you so much for your support, as this helps me bring you more content.