Hello, Everyone! Welcome to my last post for the Penguin Palace Spring 2021 Release. But don’t worry – I’ll be sharing a Penguin Palace card every week for the next several months. Have I mentioned how excited I am to be on the design team? Everything from the new release is now available for pre-order in the Penguin Palace online shop. Any orders of $80CAD+ (≈ 65USD+) will be eligible for a free gift, and there is also an awesome giveaway – check out the Penguin Palace blog for details.
Today’s card features a new stencil in the Stencils 360°™ collection. If you’re not familiar with Penguin Palace’s innovative stencil system, check out the videos on their YouTube channel. This video is a great one to start with.
What I find really fun about these stencils, other than the spinning and rotating which is oddly satisfying, is that there are so many ways to change the outcome. Yes, there is a suggested rotation for each stencil. But, I am not always one who follows suggestions – ha!
Making the Card
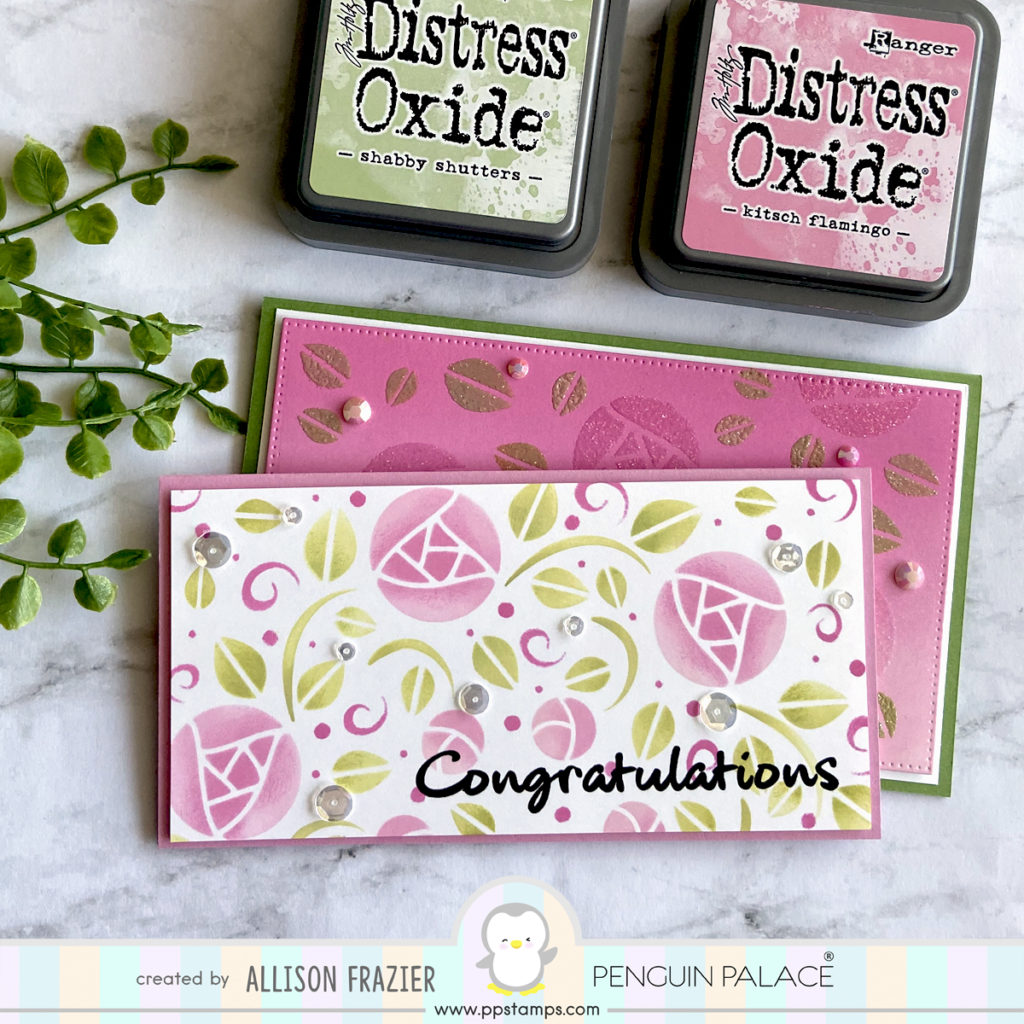
The stencil that I am introducing today is the Spring Blooms Stencil 360°™. For my first card, I used a 6″x6″ piece of white card stock and followed the suggested rotation of 60°. I used a couple shades of pink ink and a couple shades of green, all from Pinkfresh Studio. I used the darker shades of both colors to add a little bit of shading. Because there are about 6 different elements on this stencil, I could have used more colors. And even if I had used 6 colors, I still wouldn’t have had to clean the stencil until I was finished with the whole design. I love that!
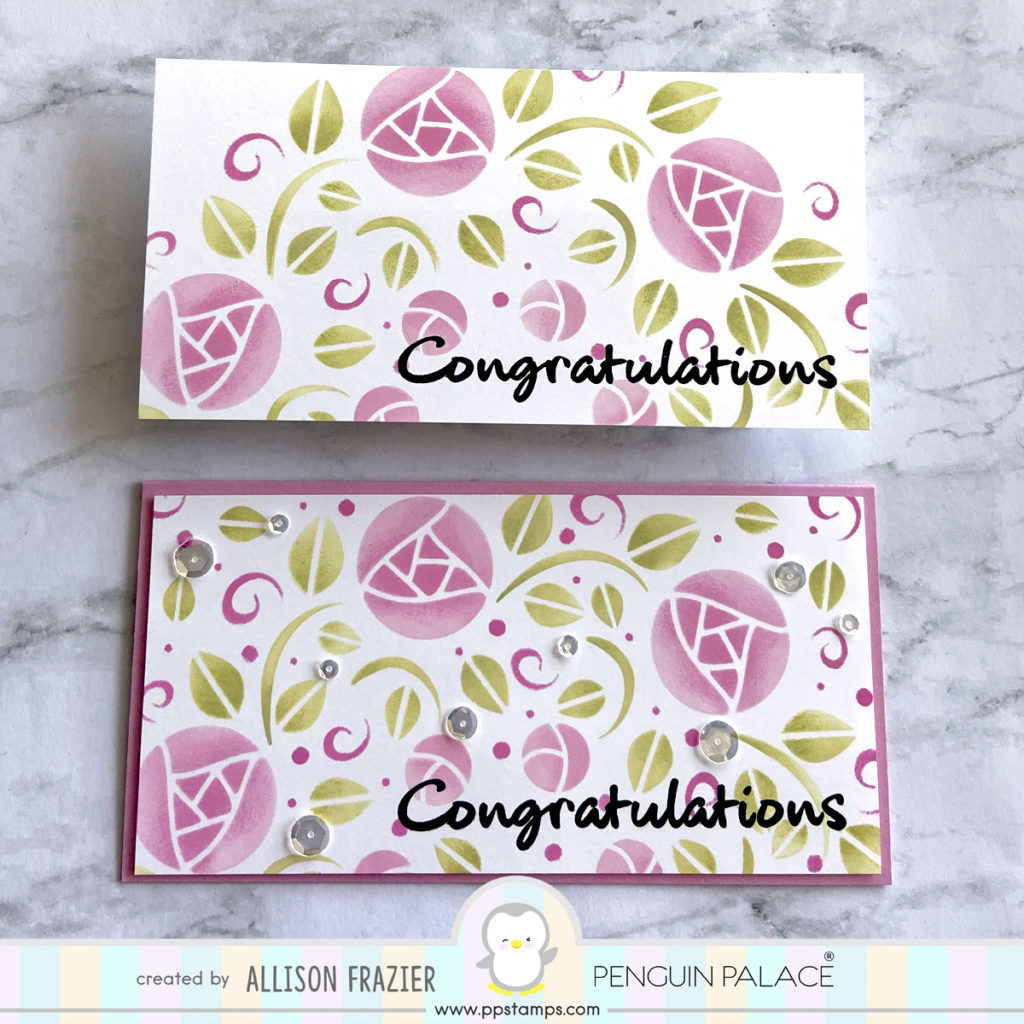
The cool thing about using a 6″ square is that you can have one big gorgeous design for a square card, or you can have a 2-for-1 and make two mini slimline cards. That’s what I did. In the picture above, you can see both halves of my original design (just flip the bottom one around in your head to see how they match up). The top one shows what it looks like with just the original rotation design. For my finished card on the bottom, I filled in some of the empty white space in the corners with more leaves and swirls. And then I may or may not have gone a bit crazy with adding more dots from the stencil! I finished the card off with some clear sequins and the sentiment from the Congratulations stamp set.

Let’s Make Another!
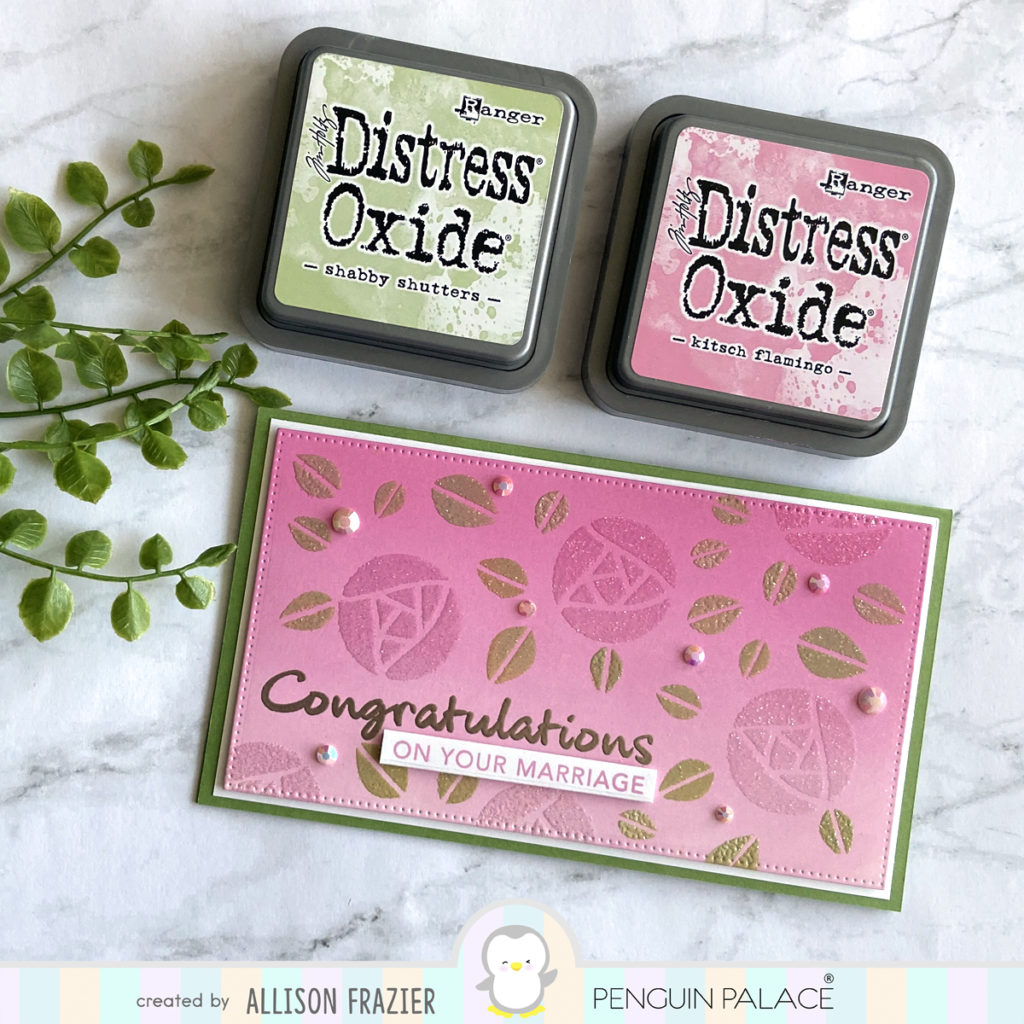
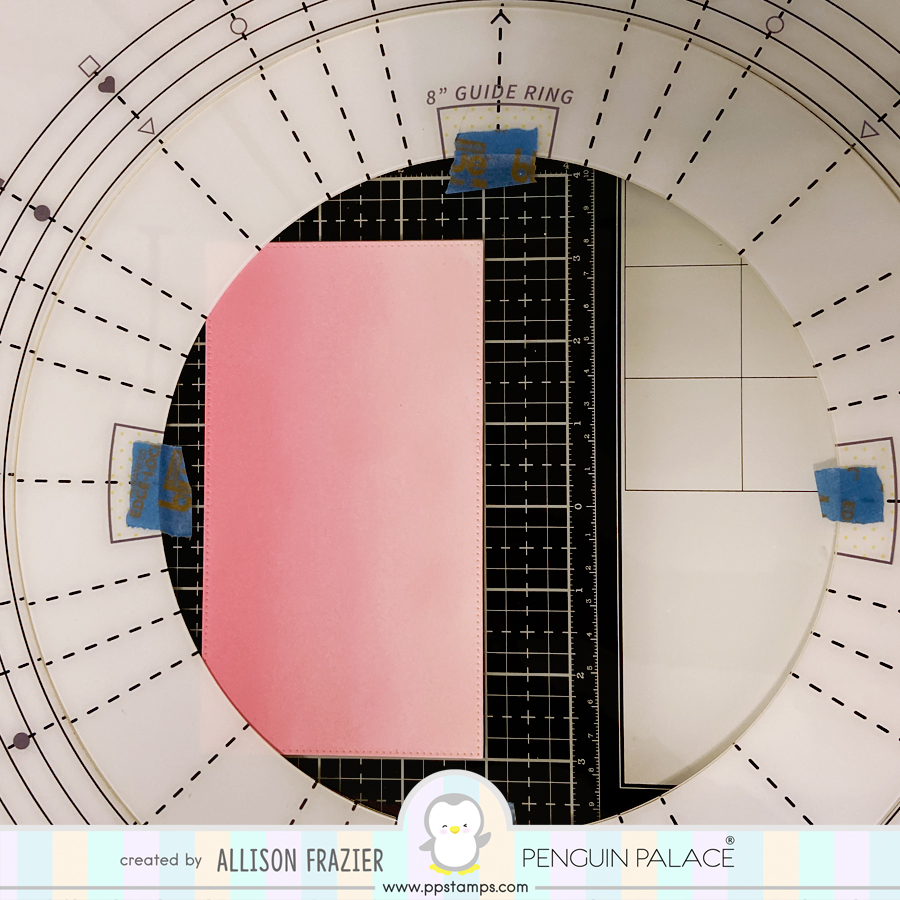
Because the stencil makes it so easy to create a card, I was ready to make another. But this time, I went rogue! When I saw the dotted panel die from the new Cinematic Shadow Box die set, I thought it would make a cool panel for a card base. It’s a little bigger than 6″x3″, so the finished card size once you mount it onto a base is larger than your standard mini slimline. I’m calling it the “small slimline”. I used the die to cut a piece of white card stock, and then I ink blended it with three shades of Distress Oxide – Spun Sugar, Kitsch Flamingo, and Picked Raspberry. I heat set it before moving onto the next step.
Instead of putting a square piece of paper into the stencil platform, I just took this panel and put it on the left half of where you would normally place a 6″ square piece of paper. You don’t have to do a full rotation of the stencil, after all.
I started by seeing where the large flower images would end up on my panel with different rotations. And while I initially started out by following a pattern, I ended up really just eyeballing where I wanted elements. This is mainly because I was using Versamark ink and sparkling clear embossing powder for the flowers (Distress Oxide and embossing powder for the leaves). Because I didn’t want to smudge any of the ink or embossing powder, and I was constantly using my anti-static bag, I was not inking up the whole thing at once like you normally would with the stencil.. So, that part of the process encouraged me to just put things where I wanted. And again, that’s the great thing about these stencils. You can do whatever you want, and this stencil collection provides so many more options for playing than a standard stencil does.
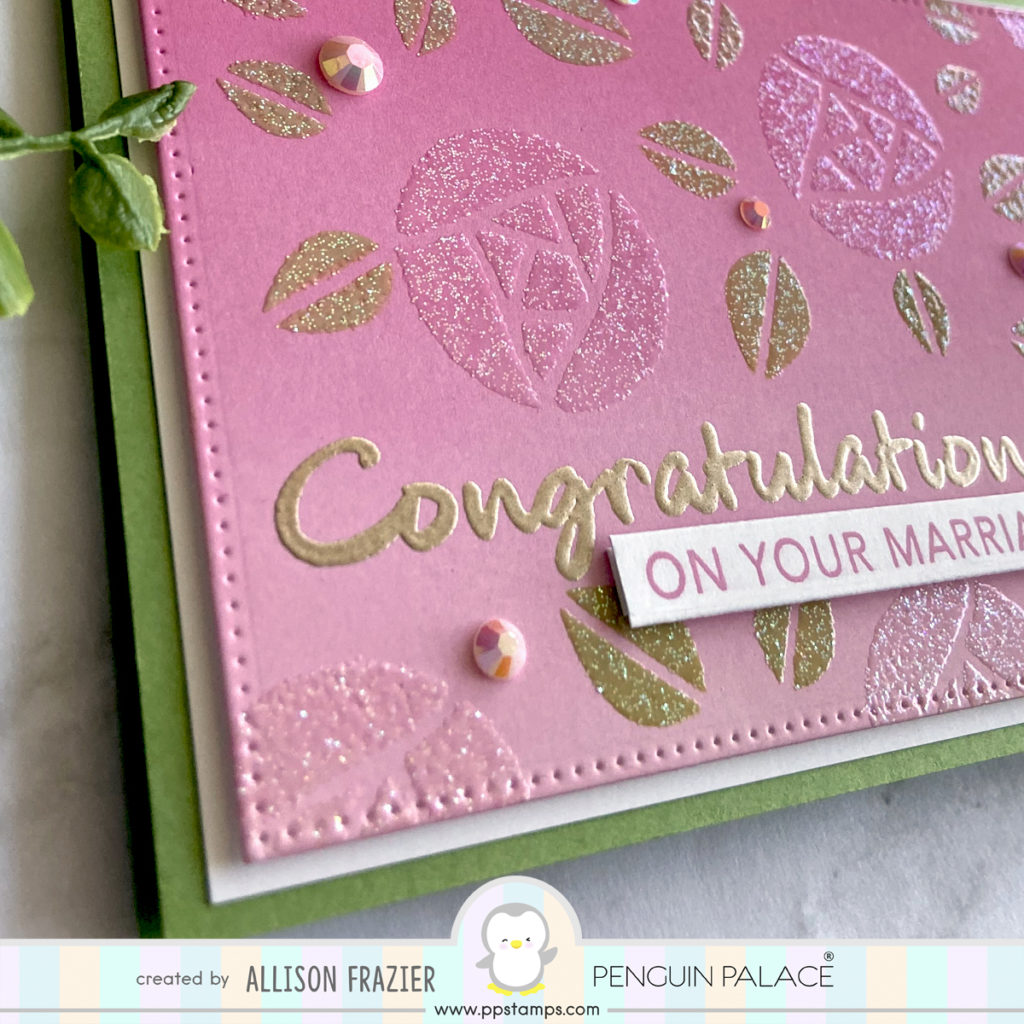
To finish up the card, I added some gemstones and heat embossed the sentiments from the Congratulations stamp set. I mounted the panel onto a larger white panel, and then everything onto a green card base. The final card measures 6.5″x3.75″.
I love how different these cards turned out, and I love the colors – perhaps because my anniversary is coming up, and these were our wedding colors! Be sure to check out the entire Spring Release in the Penguin Palace store, as well as the rest of the design team’s creations. Thanks so much for joining me this week!
Wishing you all a crafty day!
Allison
Note: External links on my blog may contain affiliate links. This means that I have the opportunity to earn a small commission when you click on the links and purchase from companies that I am affiliated with. This comes at no additional cost to you. Thank you so much for your support, as this helps me bring you more content.