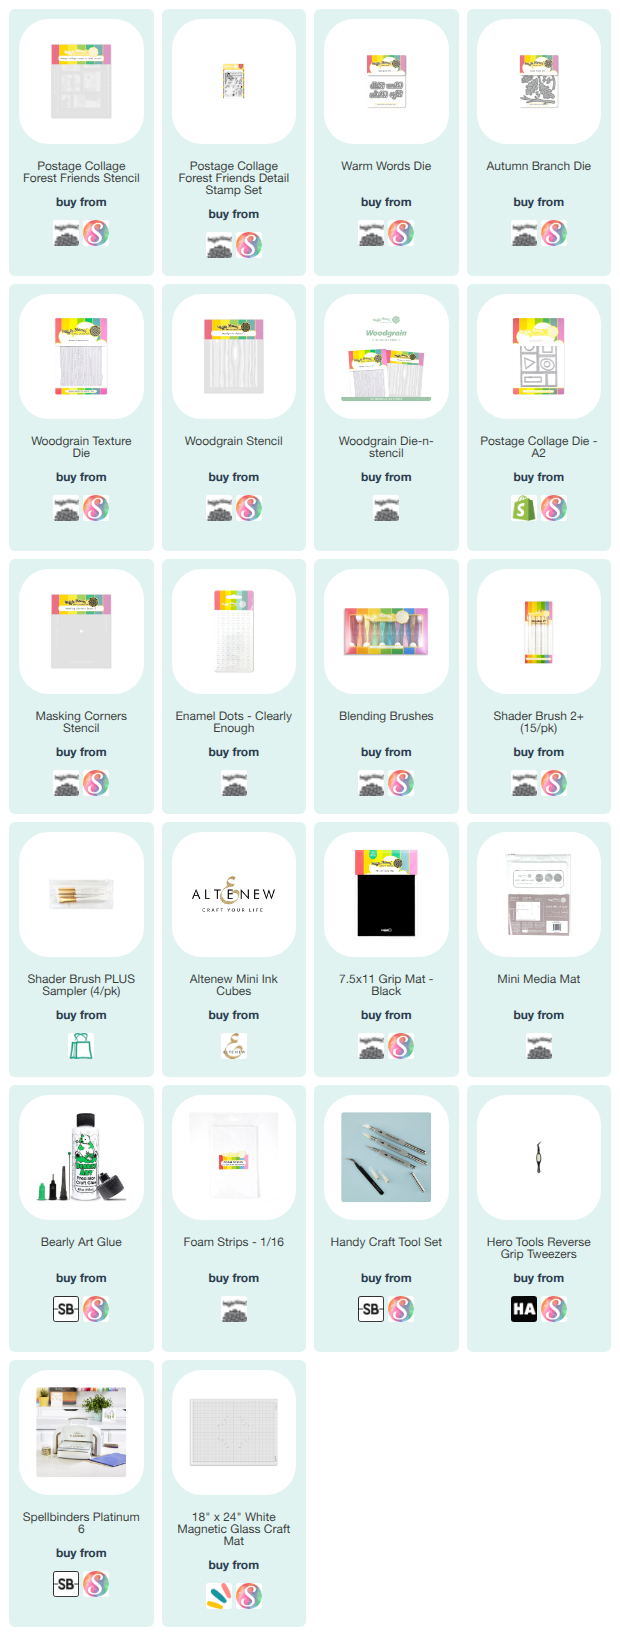
Hello, friends! I hope you have been doing well. There is a new release at Waffle Flower today called “Crisp Air”, and I am here to share one of my favorite products from the release…or at least part of it. The new Postage Collage Forest Friends Stencil captured my heart because, in case it wasn’t already obvious, I love critters! Especially forest critters. I grabbed some other products from my stash to pull this card together, but there are three products from the new collection that I used:
- Postage Collage Forest Friends Stencil
- Postage Collage Forest Friends Detail Stamp Set
- Warm Words Die
INSTAGRAM GIVEAWAY:
Head over to my Instagram page and be sure to follow me and comment for your chance at a $20 gift card to Waffle Flower! All rules are in my Instagram post, but note that this giveaway ends November 7th, 2026.
SPECIAL DISCOUNT:
If you have never used my Waffle Flower code at checkout before, you will get 10% off your entire purchase by using my code – ALLISON. You can find individual links to the store throughout my blog posts, but they are also always in the thumbnails at the end of my blog posts. Note that my code can only be used once.
FREE GIFT:
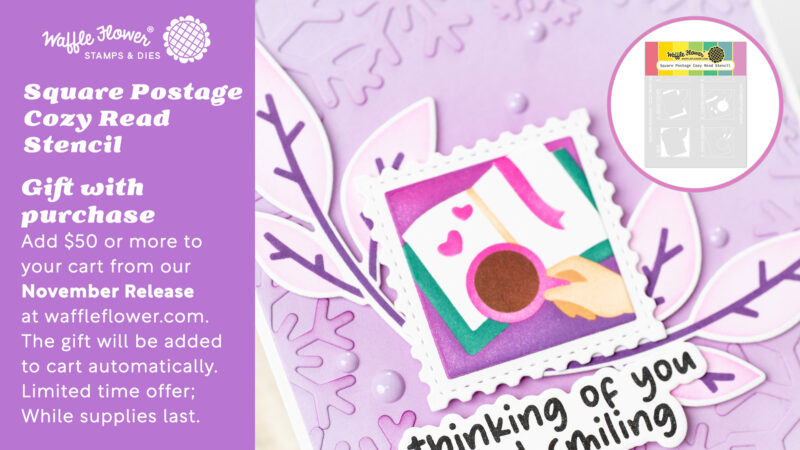
Waffle Flower is offering a free gift with purchase! If you purchase $50 or more from the November release, you will get the new Square Postage Cozy Read Stencil. There is no code necessary. Offer good while supplies last.
NOTE: all supplies are linked to multiple sources in the thumbnails at the end of this blog post.
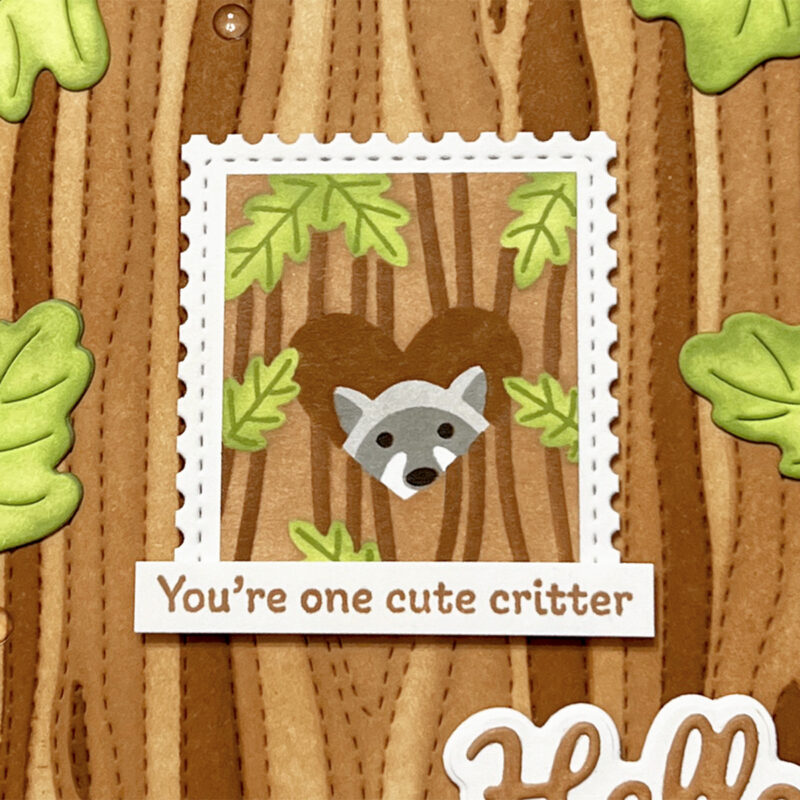
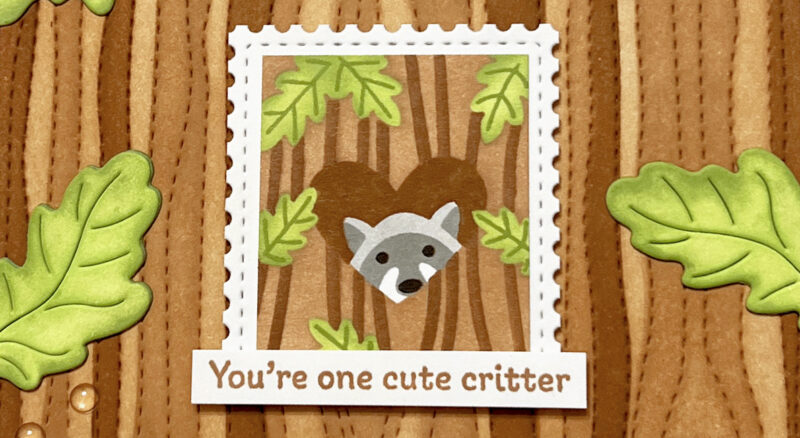
My card today features the new Postage Collage Forest Friends Stencil. This stencil set has 5 different stencils and coordinates with the original A2 Postage Collage Die. There are 6 windows/boxes in the Postage Collage Die, and there are six different critters that you get when you stencil this entire set. I actually did stencil the whole thing onto an A2-sized panel of white card stock, with the intention of adding the frame from the Postage Collage Blocks Die on top. But, I just loved this little guy so much that I wanted to build a card design just around him. I used the following colors of ink for this portion of the stenciled design:
- Almond Butter (Altenew)
- Milk Chocolate (Altenew)
- Lime (Altenew)
- Fresh Leaf (Altenew)
- Lost Shadow (Distress Ink)
- Rocky Slope (Pinkfresh Studio)
- Pure Graphite (Altenew)
After stenciling, I grabbed the coordinating Postage Collage Forest Friends Detail Stamp Set to add details. This set includes small stamps to add the lines to the leaves all around the stencil. I stamped the leaf lines with Altenew Fresh Leaf. Once I was finished with the design, I trimmed that part of the stenciled panel down with my paper trimmer. I then cut another piece of white card stock with the A2 Postage Collage Die and used my scissors to cut that coordinating stamp shape out. It’s really easy to cut the Postage Collage Die into separate stamp shapes with a scissors. You just go right down the middle of the circles that divide the boxes from each other. Once I had these two pieces, I glued the stenciled critter scene onto the white stamp shape.
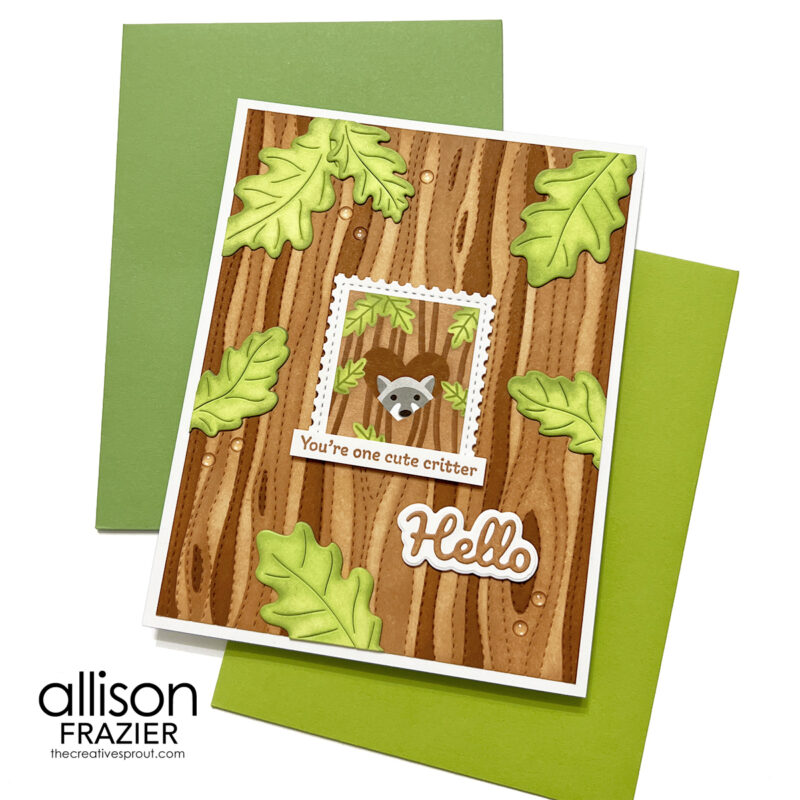
I wanted to recreate the scene from the stencil onto my card base, and this is where I grabbed some items from my stash. For the background, I took an A2-sized panel of white card stock and die cut it with the Woodgrain Texture Die. This die adds the piercing marks – it doesn’t actually cut anything. I ink blended some Altenew Hazelnut ink over the entire panel. I then used the coordinating Woodgrain Stencil to enhance the design. There are two stencils in this set. I used Altenew Almond Butter for the first stencil and Altenew Milk Chocolate for the second stencil. Once I was done, I lightly ink blended Almond Butter over the entire panel just to cut down on some of the contrast.
For the leaves, I used the Autumn Branch Die, which just came out a couple months ago. I cut those out of white card stock and ink blended them with Altenew Lime ink. I then came in with one of my Shader Brush 2+ brushes to add a bit of shading around the edges with Altenew Fresh Leaf. I arranged them on the panel in similar positions that the leaves are on the stenciled scene. After glueing them down, I trimmed off all the excess that was hanging off the panel. I then glued the panel to a card base measuring 4.5″ 5.75″.
I popped the stenciled scene/stamp up on thin foam tape right in the middle of the panel. I then added a sentiment strip to the bottom. This sentiment comes from the Postage Collage Forest Friends Detail Stamp Set, and I stamped it with Altenew Almond Butter ink. I also added the “hello” sentiment, which comes from the new Warm Words Die set. I cut both layers in white and then ink blended the word with the same Almond Butter ink. For a finishing touch, I added a few clear drops around the panel.
I hope this card brings a smile to your face today. As always, I appreciate you visiting my blog.
Wishing you all a crafty day,
Allison
SUPPLY LIST
Note: External links on my blog may contain affiliate links. This gives me the opportunity to earn a small commission when you click on the links and place an order. This comes at no additional cost to you. Thank you so much for your support! You can see more information on my Affiliate Disclosure page.