Hello, friends! Here we are in March, and it’s time for a brand new release from Waffle Flower! The Baking Fun Release has so many fun products, and I have packed quite a lot of them in my card today. I also brought in some oldies but goodies to help set my little scene. I used the following products from the new release:
- Baking Fun Die
- Just Mitts Die-n-stencil
- A7 Piercing Texture Die
- A7 Fringe Frames Die
- Baked with Love Sentiments Combo
- Table Add-on Cake Die
INSTAGRAM GIVEAWAY:
Head over to my Instagram page and be sure to follow me and comment for your chance at a $20 gift card to Waffle Flower! All rules are in my Instagram post, but note that this giveaway ends March 7th, 2026.
SPECIAL DISCOUNT:
If you have never used my Waffle Flower code at checkout before, you will get 10% off your entire purchase by using my code – ALLISON. You can find individual links to the store throughout my blog posts, but they are also always in the thumbnails at the end of my blog posts. Note that my code can only be used once.
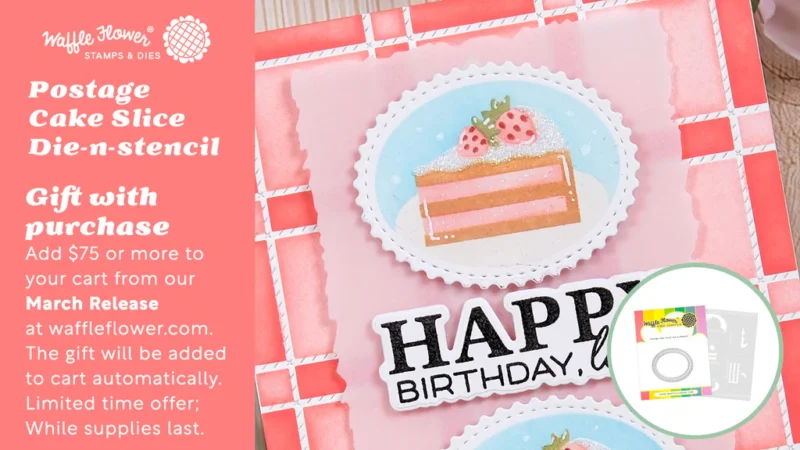
FREE GIFT:
Waffle Flower is offering a free gift with purchase! If you purchase $75 or more from the Baking Fun release, you will get the new Postage Cake Slice Die-n-stencil. There is no code necessary.
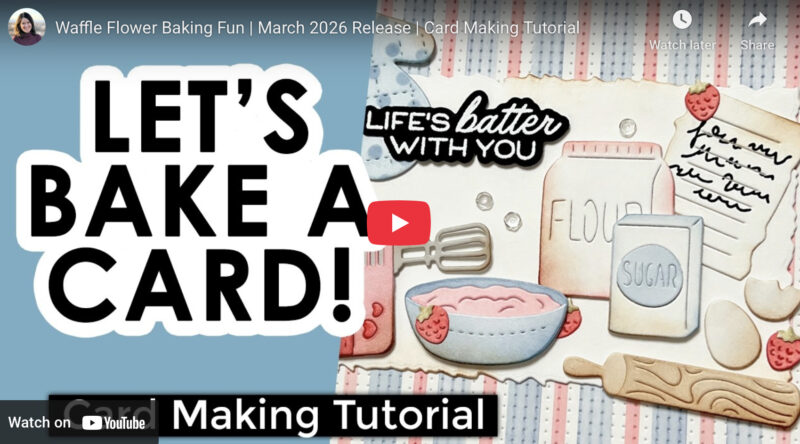
NEW VIDEO:
I do have a new video showing how I made my card today. You can CLICK HERE to watch on YouTube, or you can view below.
NOTE: all supplies are linked to multiple sources in the thumbnails at the end of this blog post.
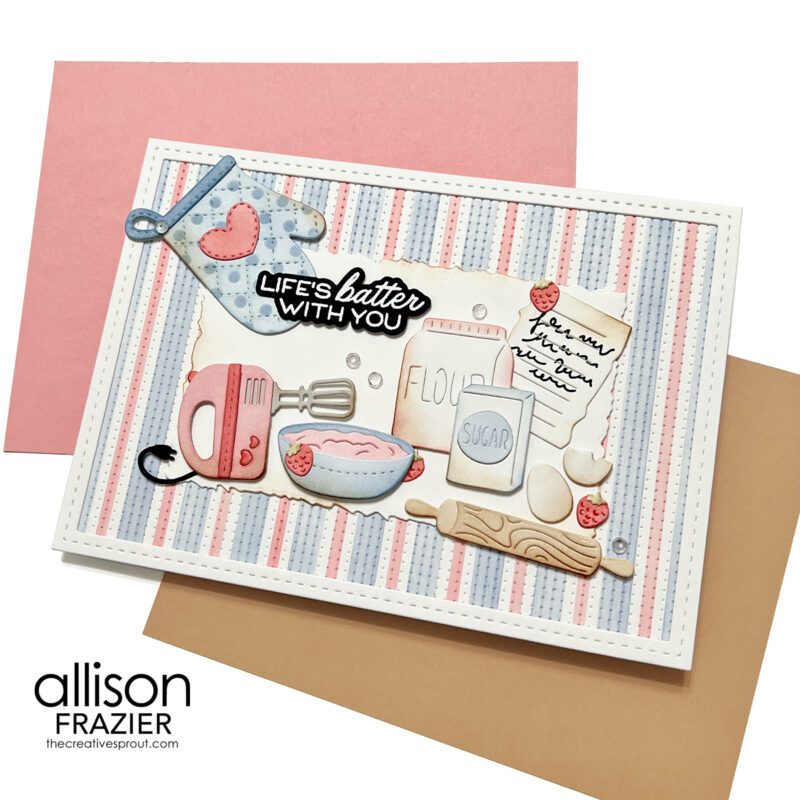
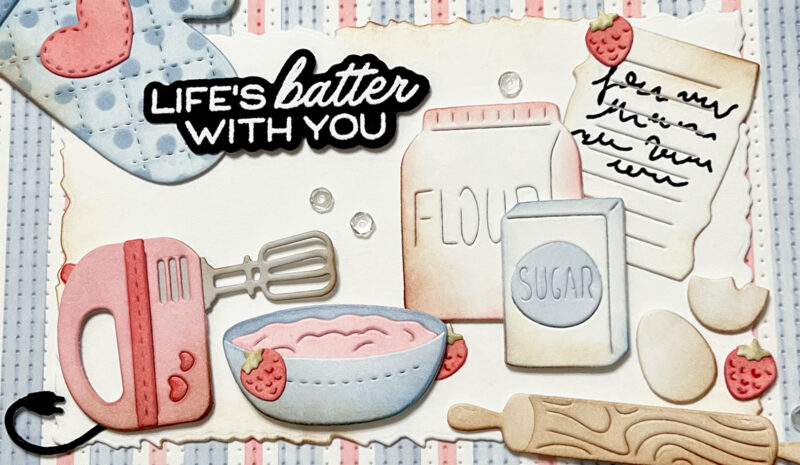
As I mentioned above, my card features a lot of the new products featured in the release. The main focal point is the Baking Fun Die. I love all the elements in this set. I didn’t use them all, so there is still a lot of fun to be had. My card is 5×7, and I started off with the new A7 Piercing Texture Die. I thought this die would be a great jumping off point for creating the look of a kitchen towel. I used the Two-step Mixed Stripes Stencil (released last year). You can see in my video how easy it is to stretch this stencil from its original A2 size to fit my A7 panel. I used Faded Jeans and Festive Berries Distress inks. You can see that I also used some Vintage Photo, both to color the rolling pin and to add some aging to the other elements.
Speaking of aging, I wanted to incorporate an old recipe card. I found what I needed in the Postage Collage Mini Seals Die. This die set from last year has come in handy lately – I used it on my recent bunnies card! The writing on the “recipe card” comes from the Postage Collage Dear Santa Stamp Set.
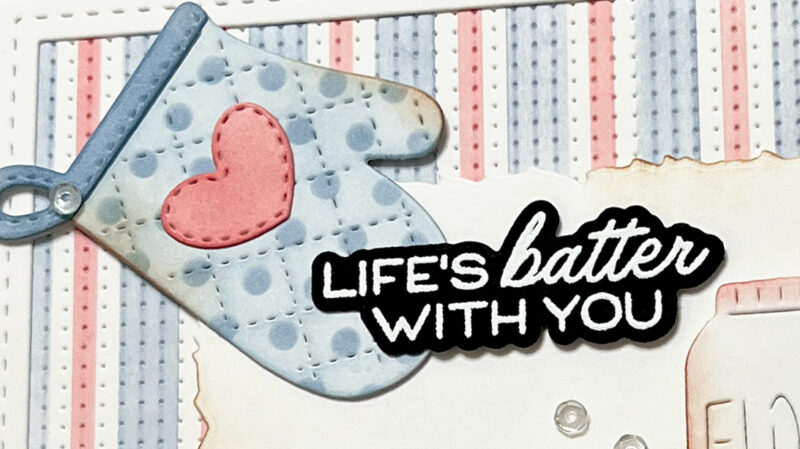
The adorable oven mitt is from the Just Mitts Die-n-stencil set. The stencil set includes four different patterns to color your mitts. Patterned paper would also be fun! In my video, you will see me use the floral pattern to make a mitt. I did end up swapping it out for the polka dot pattern that you see on the card. I heat embossed my sentiment on black card stock, using the matching die. There are so many fun sentiments in this Baked with Love Sentiments set. The white fringe panel that I placed all my elements on is from the new A7 Fringe Frames Die set. To complete the card and give it a more finished look, I used the frame from the older A7 Stitched Rectangles Die Set.
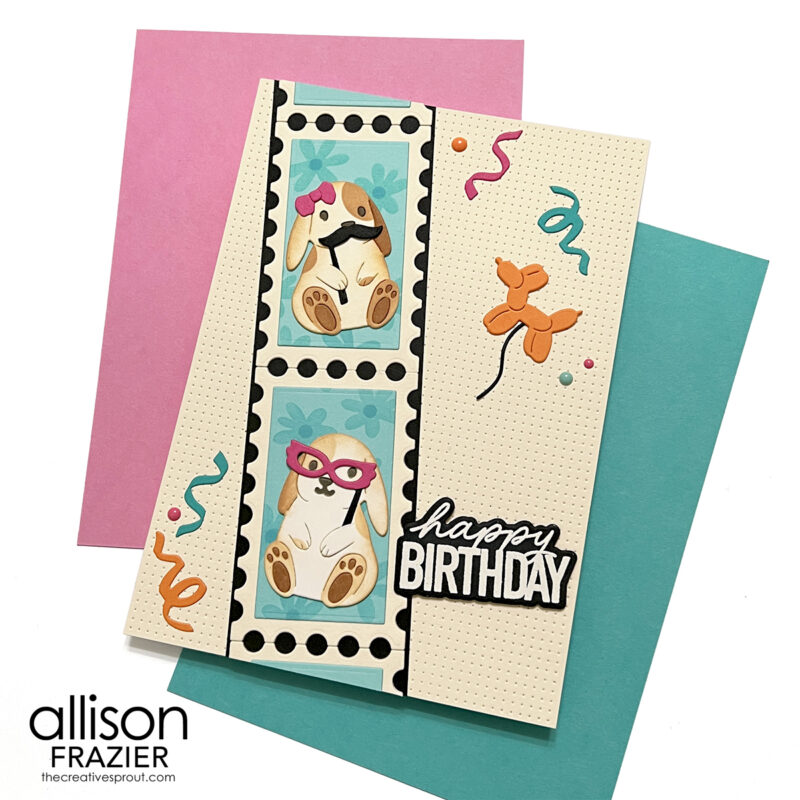
If you watched my video, then you saw me share an idea for another card, where these bunnies would be going to a party with a photo booth. I will have more info about this card in a future video, but I brought this card to fruition with the following new products:
I hope these cards bring a smile to your face today. As always, I appreciate you visiting my blog.
Wishing you all a crafty day,
Allison
SUPPLY LIST
Note: External links on my blog may contain affiliate links. This gives me the opportunity to earn a small commission when you click on the links and place an order. This comes at no additional cost to you. Thank you so much for your support! You can see more information on my Affiliate Disclosure page.
This is darling. Love how you used older items like the piercing plate w/ the newer items.
Lori S in PA