Hello, friends and happy Wednesday! I am back, albeit a bit later than planned, with some more inspiration featuring the Say Cheese Classic Mouse Collection from Spellbinders. This time, I have two cards featuring the Steamboat Willie Press Plates & Die Set. If you missed my introduction post and video for this collection, you can CLICK HERE to see that.

Huge Sale: Check out the Spellbinders “Star Spangled Savings event with up to 40% off a large selection of products!
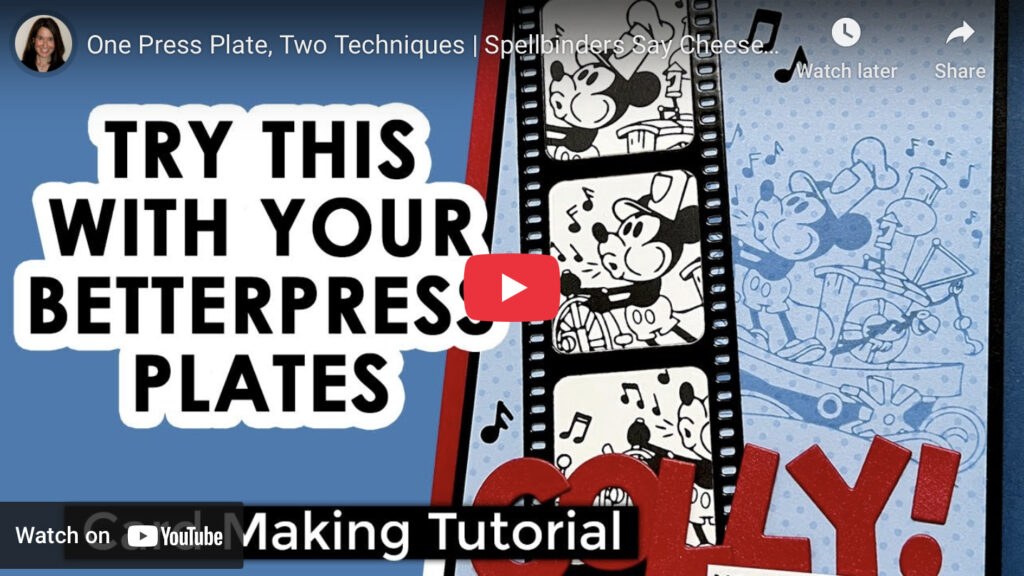
I have a new video sharing my cards today. You can CLICK HERE to view it on YouTube, or you can view it below.
NOTE: all supplies are linked to multiple sources in the thumbnails at the end of this blog post.
If you live outside of the United States/North America, you might want to head over to the Spellbinders UK website.
My first card features the typical technique for inking up your BetterPress plates. I used the following products:
- Steamboat Willie Press Plates & Die Set
- Classic Mouse Alphabet
- Classic Mouse Numbers & Punctuation
- Classic Mouse Borders
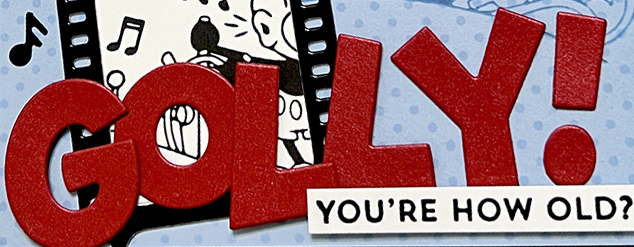
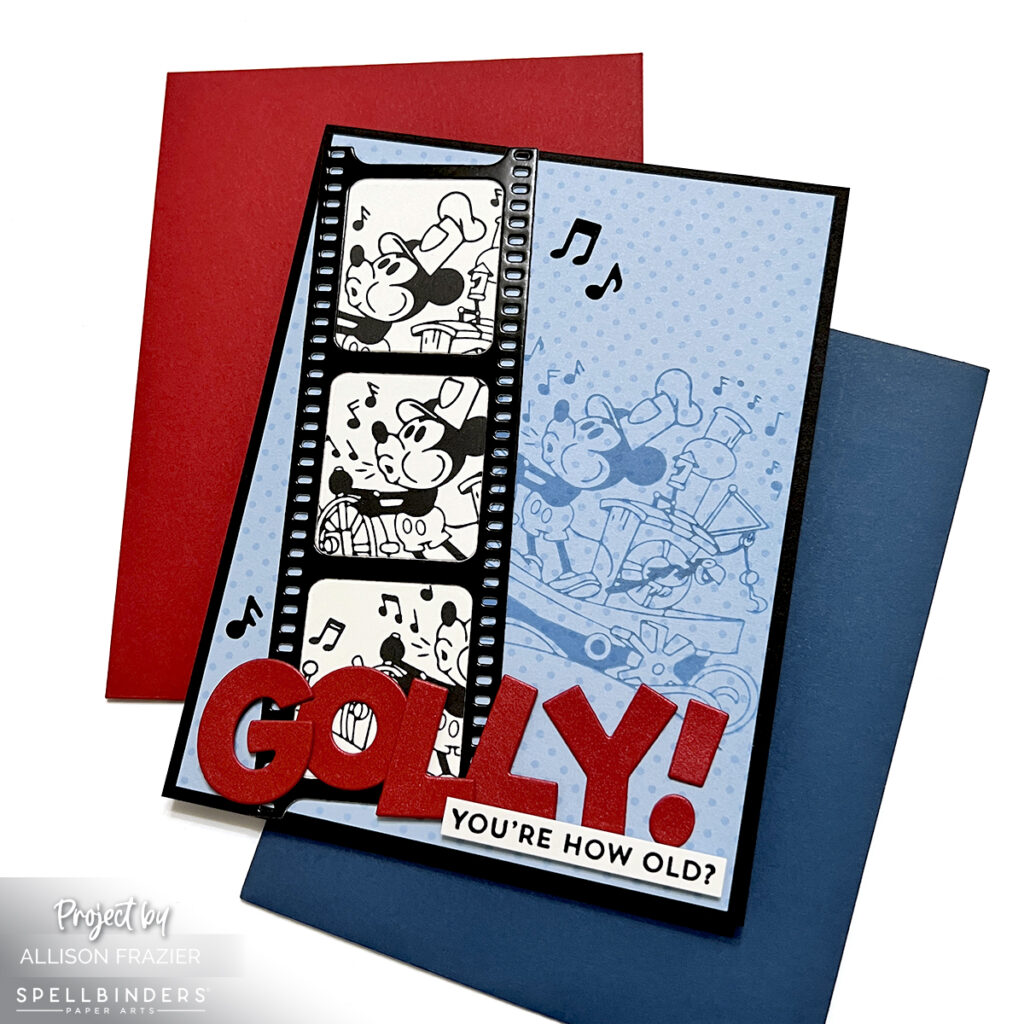
I first inked up the Steamboat Willie Press Plate with black pigment ink and “stamped” it on white card stock. I did this three separate times so that I could have three similar images for the filmstrip, which is from the My Life In Pictures Die Set. I cut the main filmstrip piece out of black glossy paper. I then used blue ink with the Press Plate to stamp it onto my background patterned paper. I cut the “GOLLY” letters using red metallic paper. The funny subsentiment is from an old MFT stamp set from my stash. To finish the card, I added a few tiny musical notes which come from the Classic Mouse Borders set.
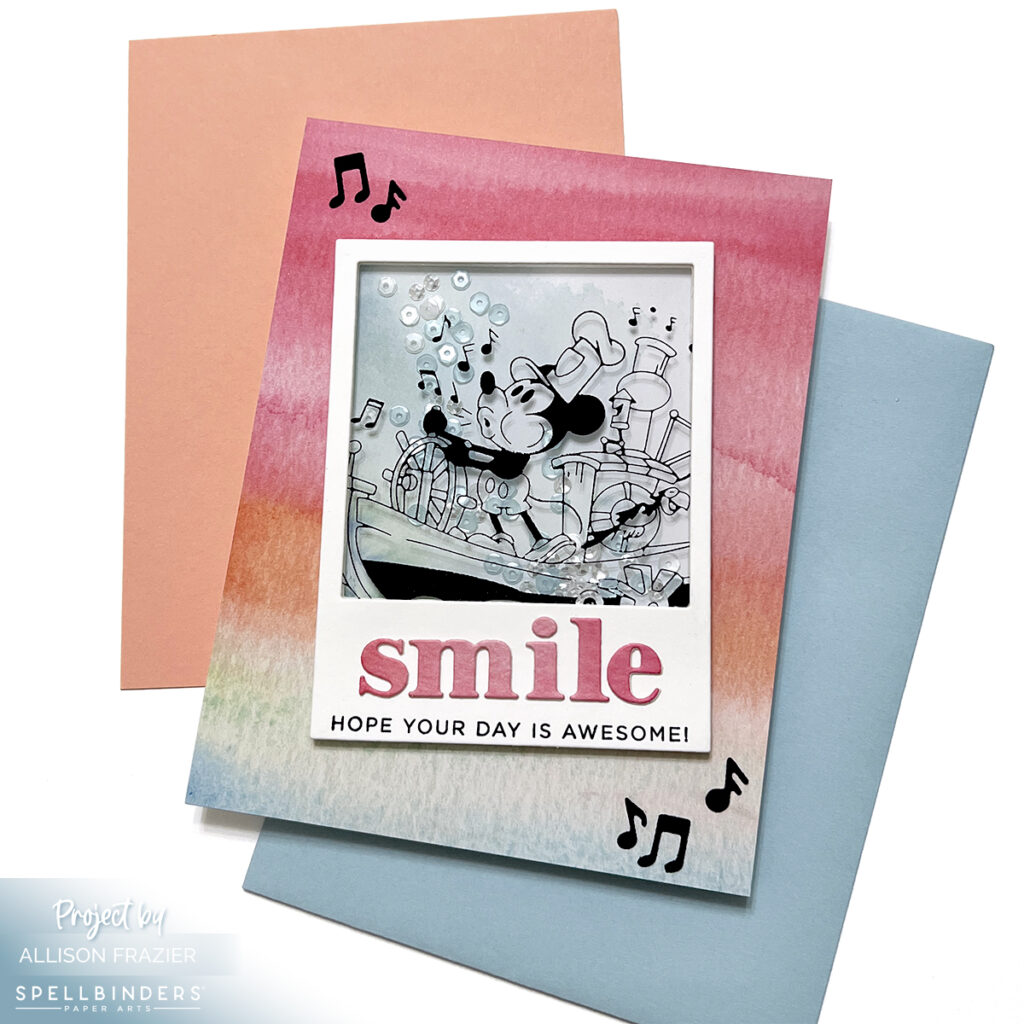
My second card is a fun and whimsical shaker card. I started by hot foiling the Steamboat Willie Press Plate onto a piece of acetate. I created the shaker by stacking layers of the Polaroid die, which is from the Memory Frames die set. Stacking these layers created the well for my shaker bits instead of having to use foam tape. Not using foam tape came in handy when I decided to dismantle the first shaker because I thought the shaker beads that I had chosen were a bit busy. Do people become less decisive as they get older? Asking for a friend! Anyway, I left the creation of that first shaker in the video so that you can see how it came together. You’ll also see how easy it was to fix it. This shaker that you see here is the same one I created in the video. I just had to swap out the back and stamp a new front piece (the polaroid piece). Because I had foiled the image on the acetate, I didn’t have to redo that part! Instead of foiling on acetate, you could create the same exact shaker by stamping the image on the back piece and then having a clear piece of acetate on top, like you normally would with a shaker. I think it’s fun that the image is on top – it keeps it a bit more visible, as well. Plus, I just love foiling on acetate – it’s so easy!
The Smile sentiment is from the Hello Smile die set, which comes with shadow dies, as well. I cut it from the same paper that I used in the background, which is from a beautiful Craft Consortium paper pad. Once again, I found a sub sentiment in my stash of birthday stamps.
I hope these cards bring a big smile to your face today. As always, I appreciate you visiting my blog.
Wishing you all a crafty day,
Allison
SUPPLY LIST
Note: External links on my blog may contain affiliate links. This gives me the opportunity to earn a small commission when you click on the links and place an order. This comes at no additional cost to you. Thank you so much for your support! You can see more information on my Affiliate Disclosure page.
These are sweet! TFS – I imagine this Steamboat Willie stuff will sell out pronto.
Lori S in PA