Hello, friends and happy Friday! I am popping in to share a really fun card today. It’s round, it shakes, it’s see-through, and best of all, it was really easy to make! I used products from the new Take Note Collection from Spellbinders. I also created an easel for displaying the card after the recipient opens it.
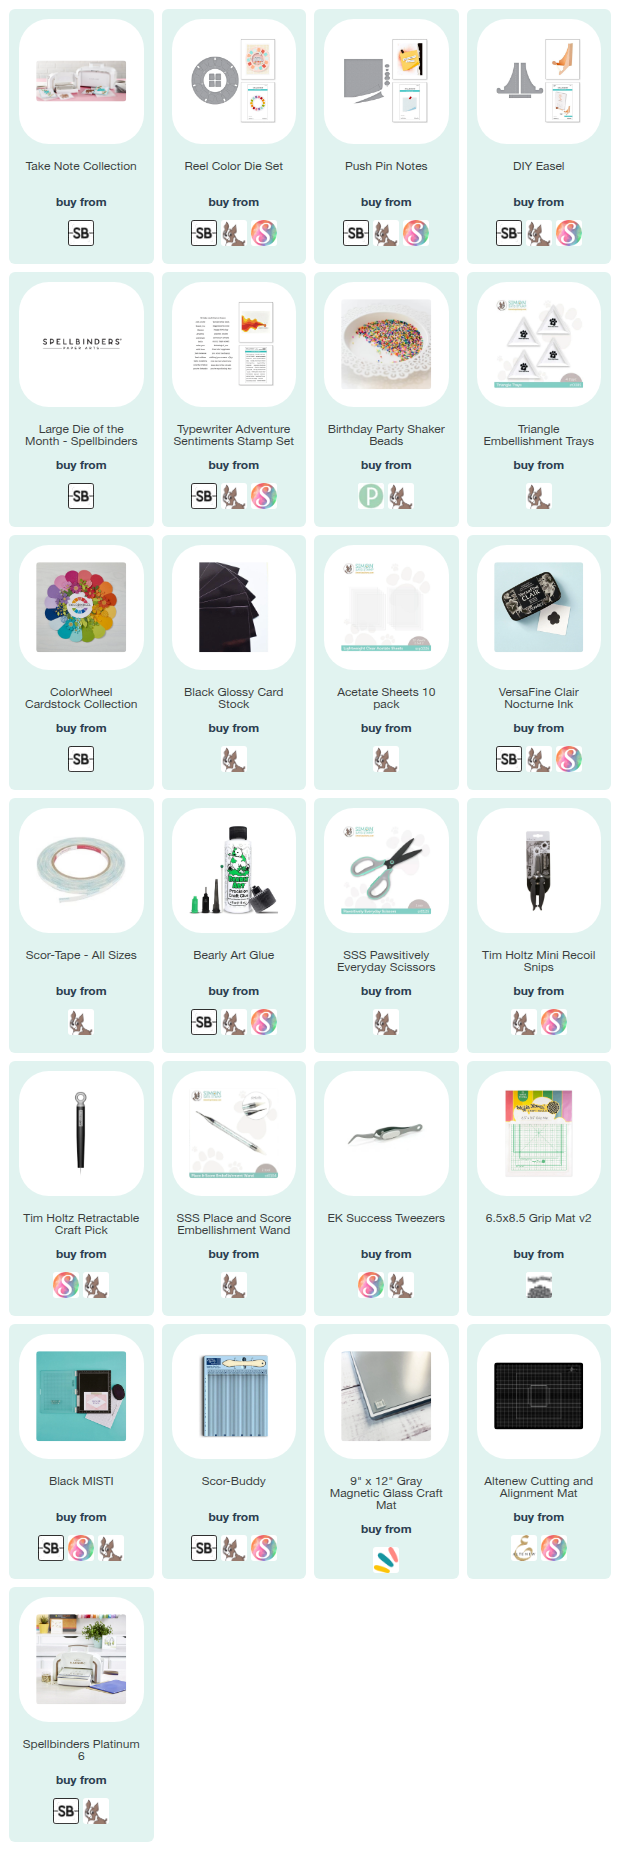
My card today features the following main products:
BIG SALE
Spellbinders is having its annual Pre-Summer Super Sale! Select products are up to 50% off.
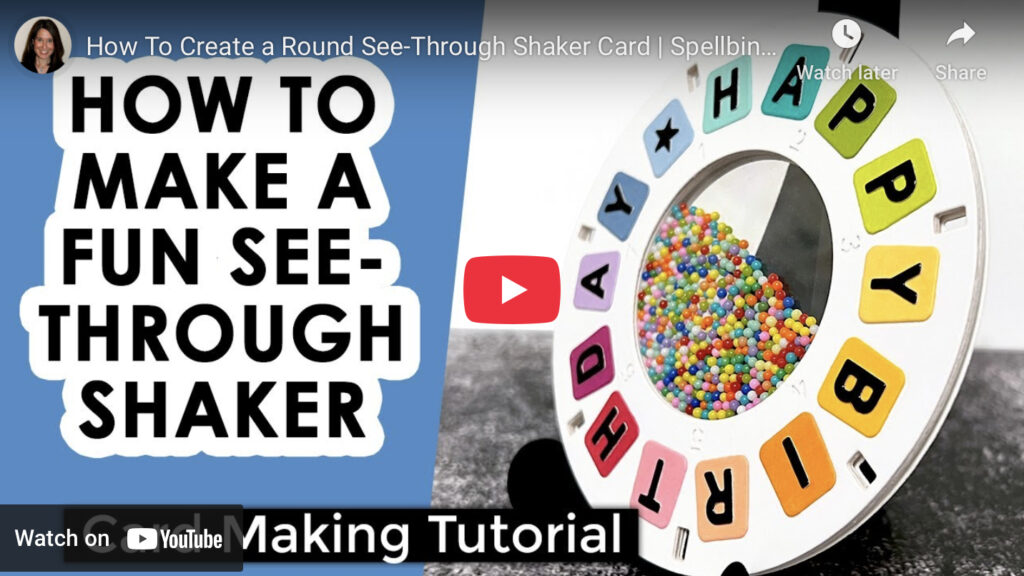
Let’s get to the card! I have a new video sharing the entire process. You can CLICK HERE to view on YouTube or watch it below.
NOTE: all supplies are linked to multiple sources in the thumbnails at the end of this blog post.
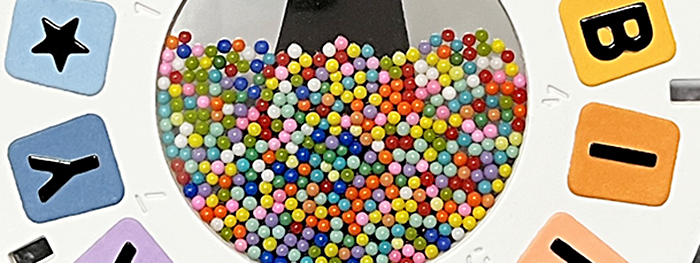
I created the front and all of the other layers of the card using the Reel Color Die Set. This die is so nostalgic. I know I’m about to age myself, but who else remembers playing with a View-Master when they were young? It seemed so magical at the time. I went through my new pack of ColorWheel Cardstock to pick all of the colors for this card. I cut the letters from black glossy cardstock. The letters come from the May Large Die of the Month – the “Spell It Out Fridge” set. You know that I’ve been having a lot of fun with that set! By the way, the clubs are still available to new subscribers through May 27th. I did add a star to one of the spaces, since there was one space leftover after spelling happy birthday. The colorful shaker beads, which are perfect for this card, are from Pretty Pink Posh.
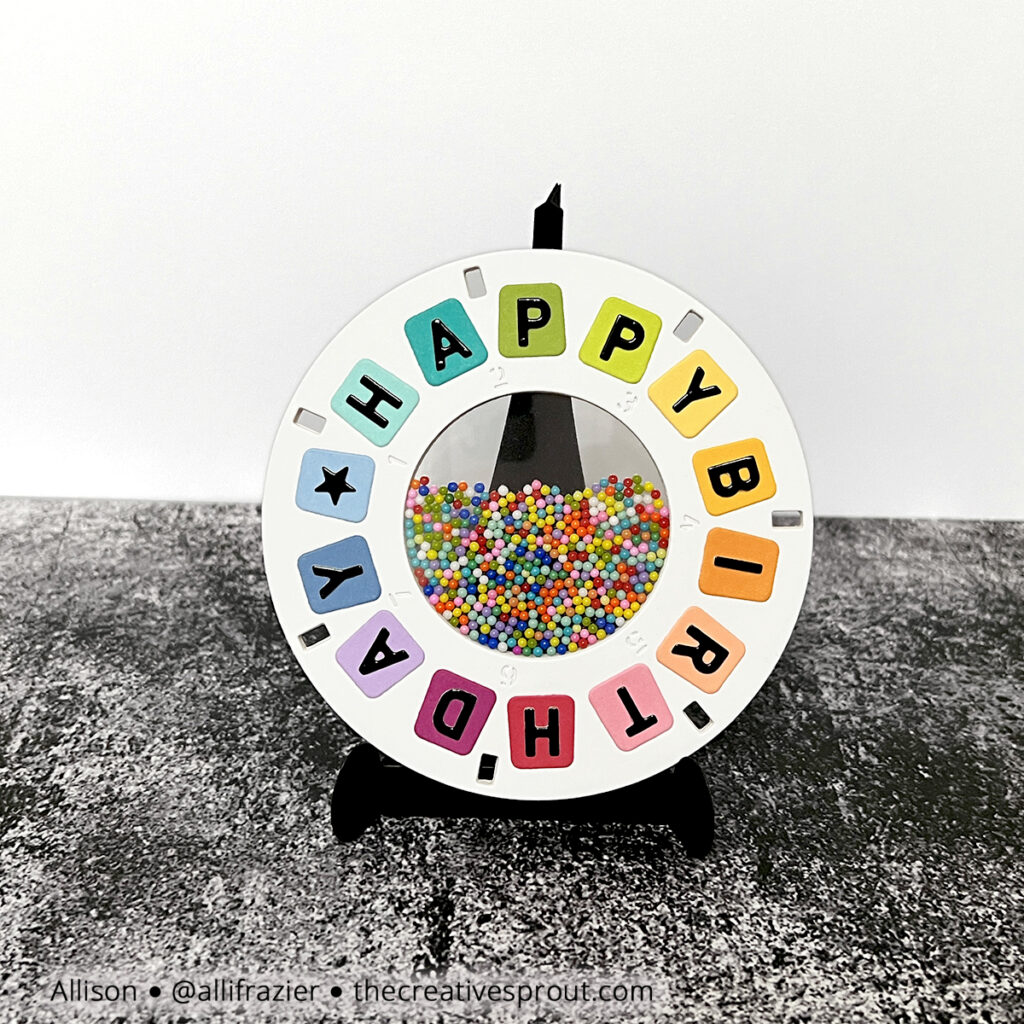
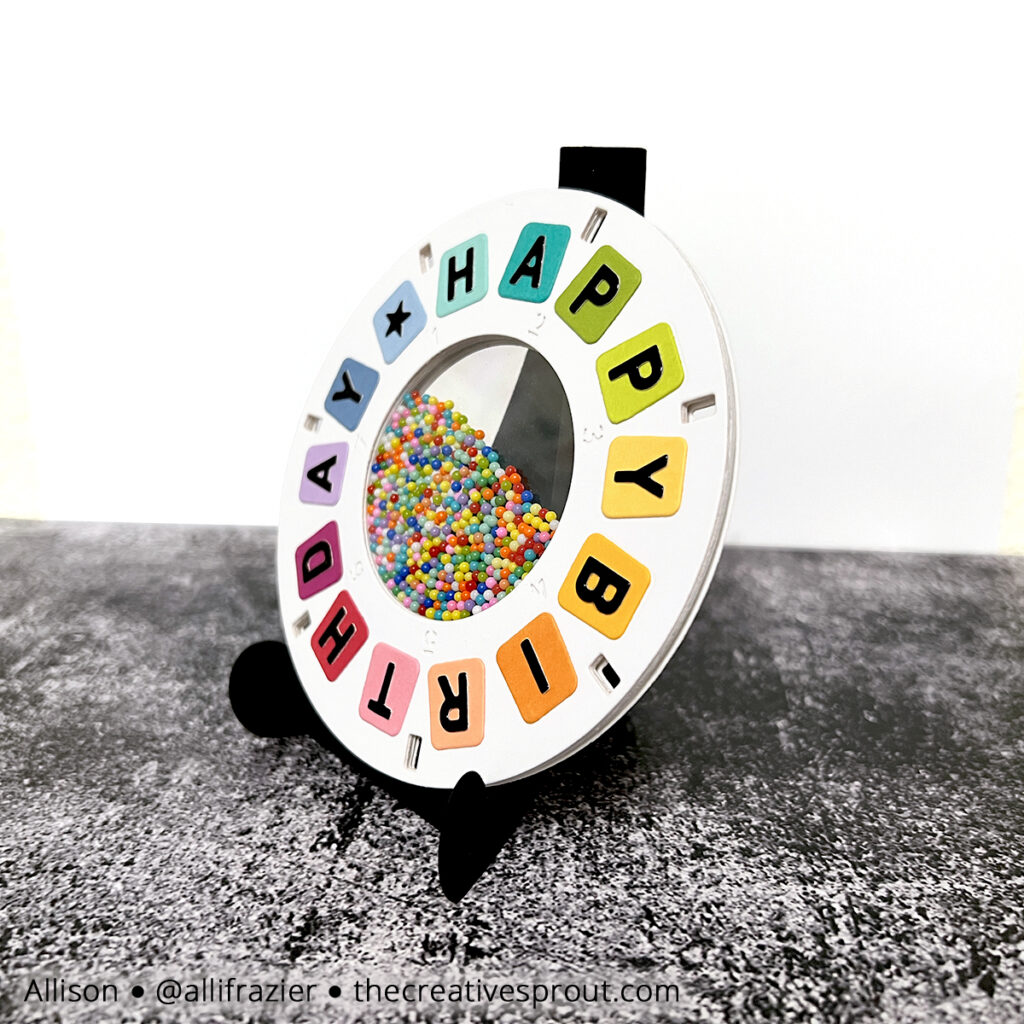
Building the shaker was really just a matter of glueing all the layers together and then adding a piece of acetate to each side. This is what makes it different from a typical shaker, where you would normally have a solid back holding the shaker bits in. Because it’s a round card, the other trick is to create a hinge so that it can open. Once I finished the shaker, I thought it would be fun to create a way to display it because, of course, nobody would want to throw this fun card away after receiving it. Right?? I used the DIY Easel die set, and it couldn’t have been easier. You can watch the video to see how it all came together.
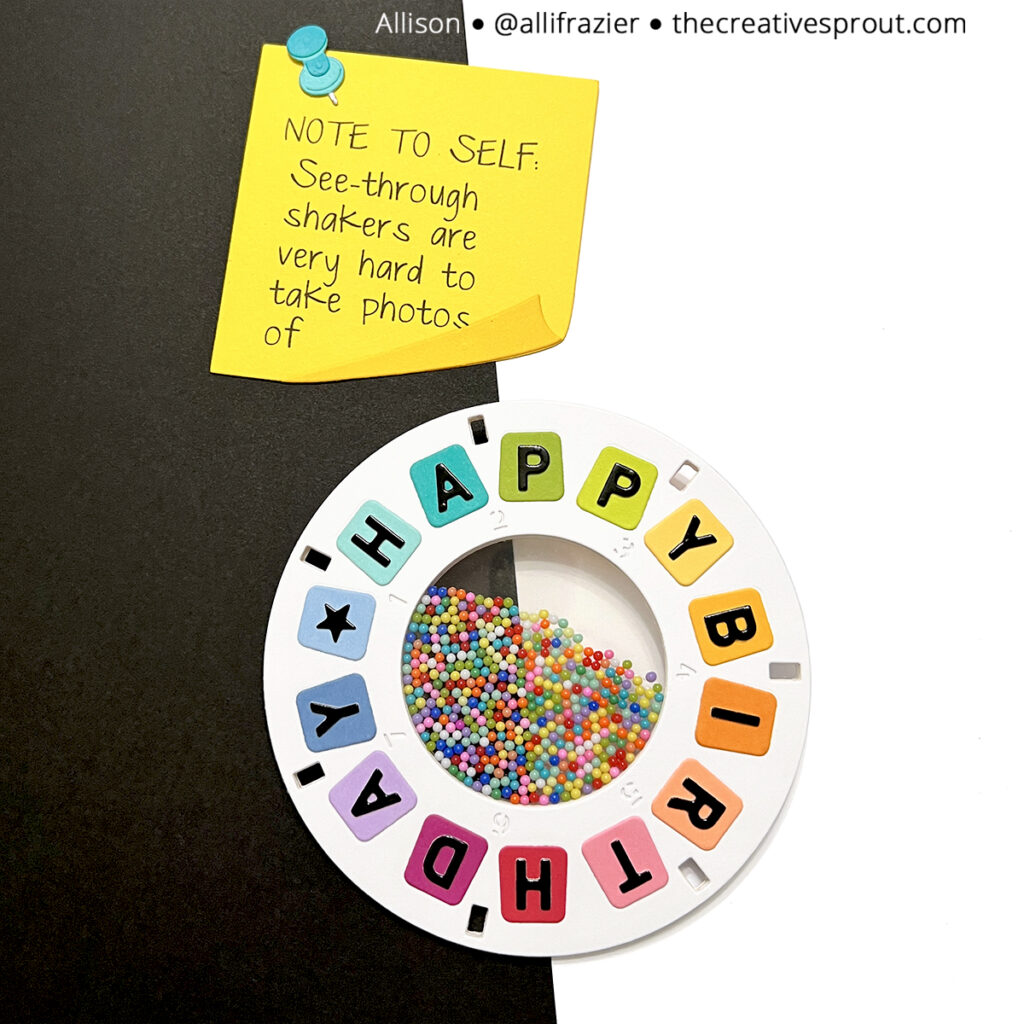
Truth by told, the hardest part of this card was taking a photo of it. Well, not taking the photo. Just trying to figure out how the photo would convey what this card actually is! I usually lay my cards on colored envelopes for my photos, but laying this card flat made it look like it had a solid back. Anyway, I know I obsess about ridiculous things, but I then decided to make this funny little Push Pin Note. I printed the sentiment out from my computer on yellow paper and used the dies to cut it out and make the pin. I hope this gives you a chuckle!
That is it for my card today. I hope it brings a smile to your face. As always, I appreciate you visiting my blog!
Wishing you all a crafty day,
Allison
SUPPLY LIST
Note: External links on my blog may contain affiliate links. This gives me the opportunity to earn a small commission when you click on the links and place an order. This comes at no additional cost to you. Thank you so much for your support! You can see more information on my Affiliate Disclosure page.
Hi, Alli –
This is FANTASTIC!! I recently ordered this item and I love your card!!! I might have to copy it a little!
Lori S in PA