Hello, friends! I hope you are enjoying your weekend. I am back to share a few more cards that I made with the Quilted Hugs Release from Waffle Flower. There are several stencil sets in the release that were designed to work with one of the new cover dies. I wanted to show how these stencils can be used on their own, as well. So, one of my cards today uses the die, and the other doesn’t. And, I love them both! By the way, if you missed the original set of cards that I made with the release, CLICK HERE to see those.
Free Gift:
Waffle Flower is offering a free gift – or TWO! If you purchase over $25 from the Quilted Hugs Release, you will get the Postage Collage Circle Sentiments Matching Die. If you purchase $75 or more from the Quilted Hugs Release, you will get both the Postage Collage Circle Sentiments Stamp Set and the matching die. NOTE: In order to receive the free gift(s), make sure to ADD the product(s) to your cart and then apply code “G2505A” during checkout (for the die) or code “G2505B” (for both the stamp and die).
Extra Savings:
If this is your first time ordering from Waffle Flower, and you use my links, you should receive an additional 10% savings!
Let’s get to my cards for today, which feature the following main products from the new release:
I do have a new video showing how I made my projects today. You can CLICK HERE to watch on YouTube, or you can view below.

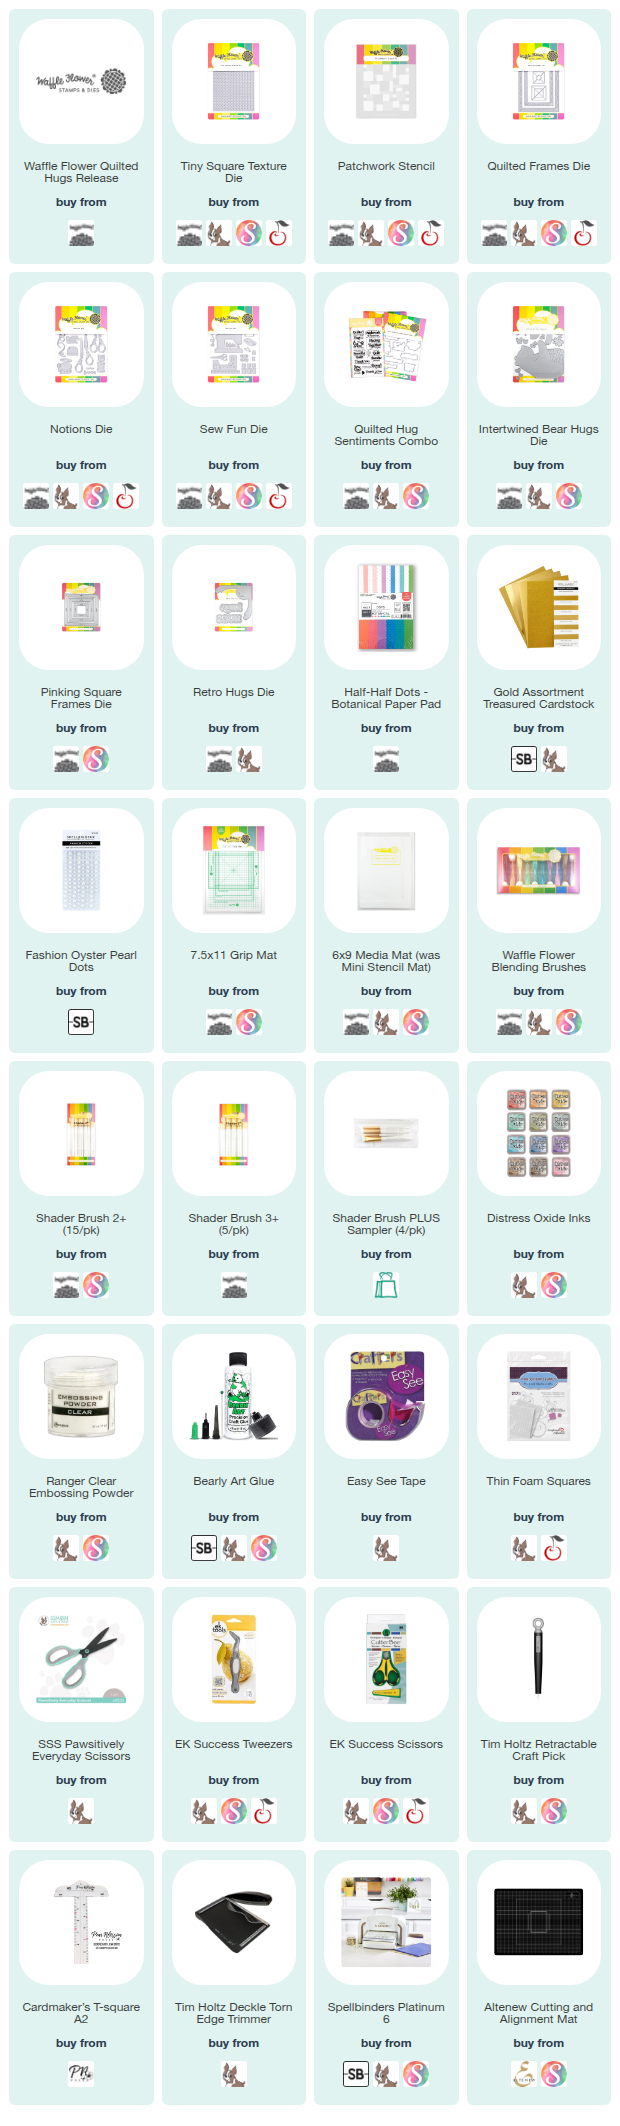
NOTE: all supplies are linked to multiple sources in the thumbnails at the end of this blog post.

Both of my cards today feature the new Patchwork Stencil. I wanted to show how it can be used with and without the new Tiny Square Texture Die. This die is so versatile, and there are several other stencil sets that Waffle Flower designed for it. My first card shows how the stenciled design looks with the die. I die cut my white panel before stenciling. There are three stencils in the set, and they are all really easy to line up. For my colors today, I decided to continue with a color trio that I discovered on a previous card for this release. I used Distress Oxide Ink in Tattered Rose, Frayed Burlap, and Speckled Egg.
The beautiful scissors and pin cushion come from the new Notions die set. You can check out the video to see how I made the handles of the scissors look like they have an enamel finish. The rest of the accessories come from the Sew Fun Die set. Because I have so many elements on this card, I decided to add some vellum in order to mute the background. The new Quilted Frames Die was the perfect way to separate the vellum from the rest of the card panel. To finish the card, I chose a sentiment from the Quilted Hug Sentiments Combo.

This second card shows how you don’t need to have the Tiny Square Texture Die in order to use the Patchwork Stencil. I think it looks just as great without it! I chose to use the same colors for stenciling this second card so that it would be easier to compare the two. I decided to pull out some dies from my stash for this card. This bear is the smallest bear from the Intertwined Bear Hugs set. The flower is also from that set. I used the same Distress Oxide colors to color the bear and the flower/stem. I did pull in some Uncharted Mariner Distress Ink to add some darker tones to the stem so that it would stand out more. The frame is from the Pinking Square Frames, and the adorable word die is from the Retro Hugs Die.
That is it for my cards today. I hope they bring a smile to your face. As always, I appreciate you visiting my blog.
Wishing you all a crafty day,
Allison
SUPPLY LIST
Note: External links on my blog may contain affiliate links. This gives me the opportunity to earn a small commission when you click on the links and place an order. This comes at no additional cost to you. Thank you so much for your support! You can see more information on my Affiliate Disclosure page.