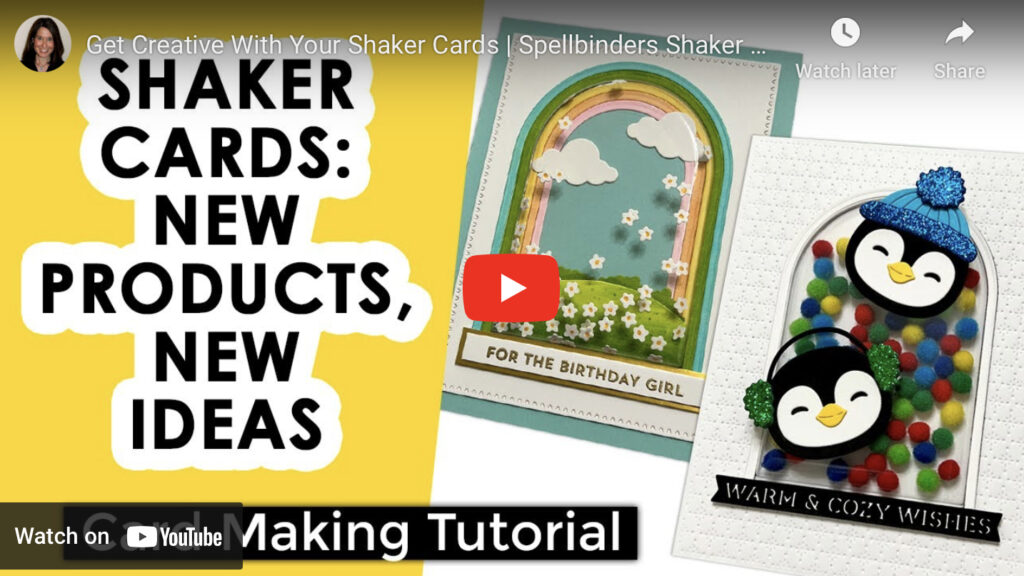
Hello, friends! I hope you are all doing well. I am back today with two cards that I made using the new Shaker Domes collection from Spellbinders. This collection has five different shapes of shaker domes (or pouches), each of which match a nesting die set that was previously released by Spellbinders. I am featuring the Arch Shaker Domes today, which coordinate with the Essential Arches nesting die set. These shaker domes make it so easy to create shaker cards. There is no need to fuss around with foam tape or create multiple layers with card stock. And because they are domed, you can really add a lot of dimensional, fun shaker bits in there. I decided to use “alternative” shaker bits as opposed to the typical sequins or glitter that we all usually put in our shaker cards. Without completely spilling the beans (or shaker bits), I will say that I also used another new collection to make one of my cards today, and that is the Beads of Friendship collection.
I have a new video sharing today’s cards. You can CLICK HERE to view on YouTube or watch it below.
NOTE: all supplies are linked to multiple sources in the thumbnails at the end of this blog post.
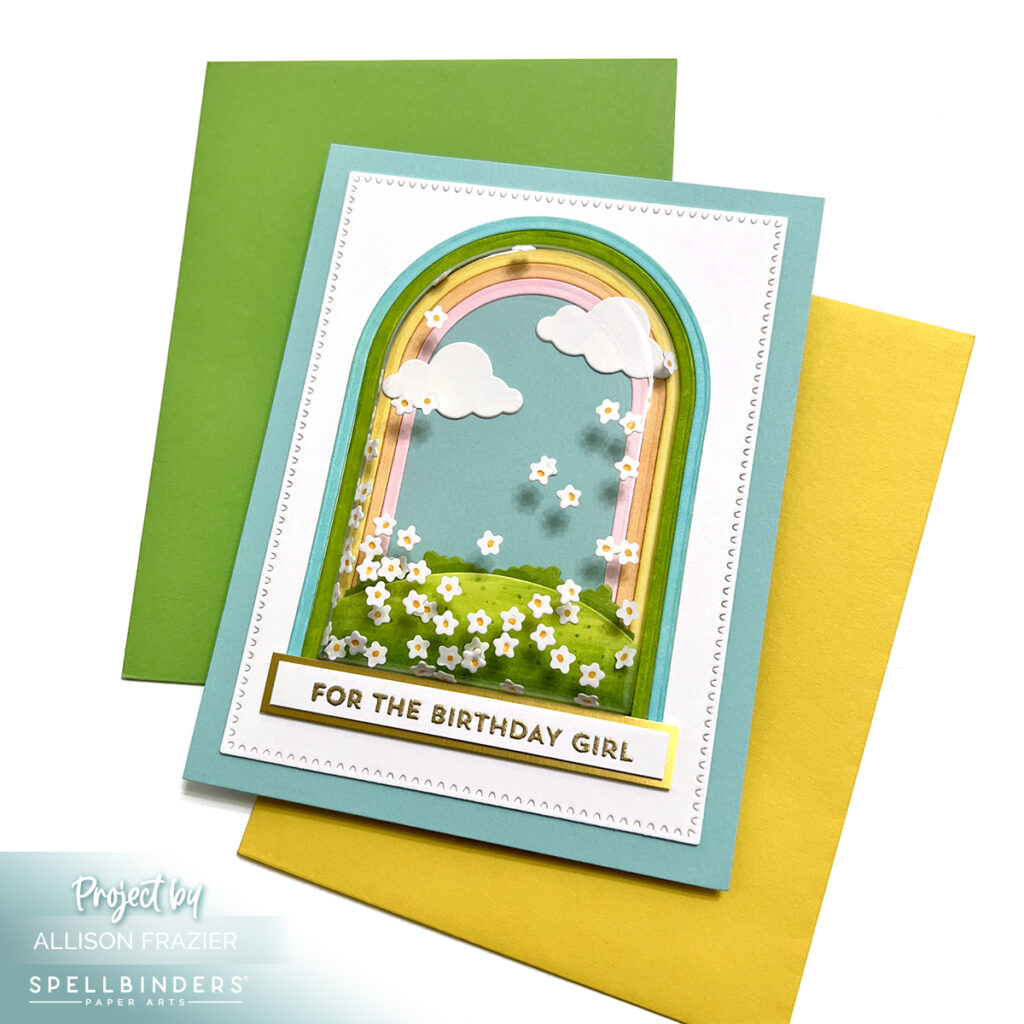
My first card features a scene using dies from the Over The Rainbow die set. This die set has its own arches to create a similar scene, but the arches were not the right shape for this shaker dome. The great thing about having a Nesting die set is that you can create thin frames using two of the dies, and that’s what I did with the Essential Arches set. I used six total dies to create the five rainbow colored arches on my card. Three of those fit inside of my dome, and the other two act as frames on the outside of the dome. And one of those dies also cuts out the opening on the card panel for the shaker dome to fit into. I love this arched shape shaker dome because you can create scenes that look like snow globes. My scene clearly is not snowy, but it is flowery! And, yes I made those shaker bits! I used a die from the Bestie Beaded Bracelets set, which has lots of little shapes that you can make shaker bits from. I just used a very fine marker to add a yellow dot in the center of my flowers, and I forgot to mention in my video that I added this dot to both sides of each flower. The sentiment is from one of my favorite birthday sentiment sets from My Favorite Things, but sadly it is retired.
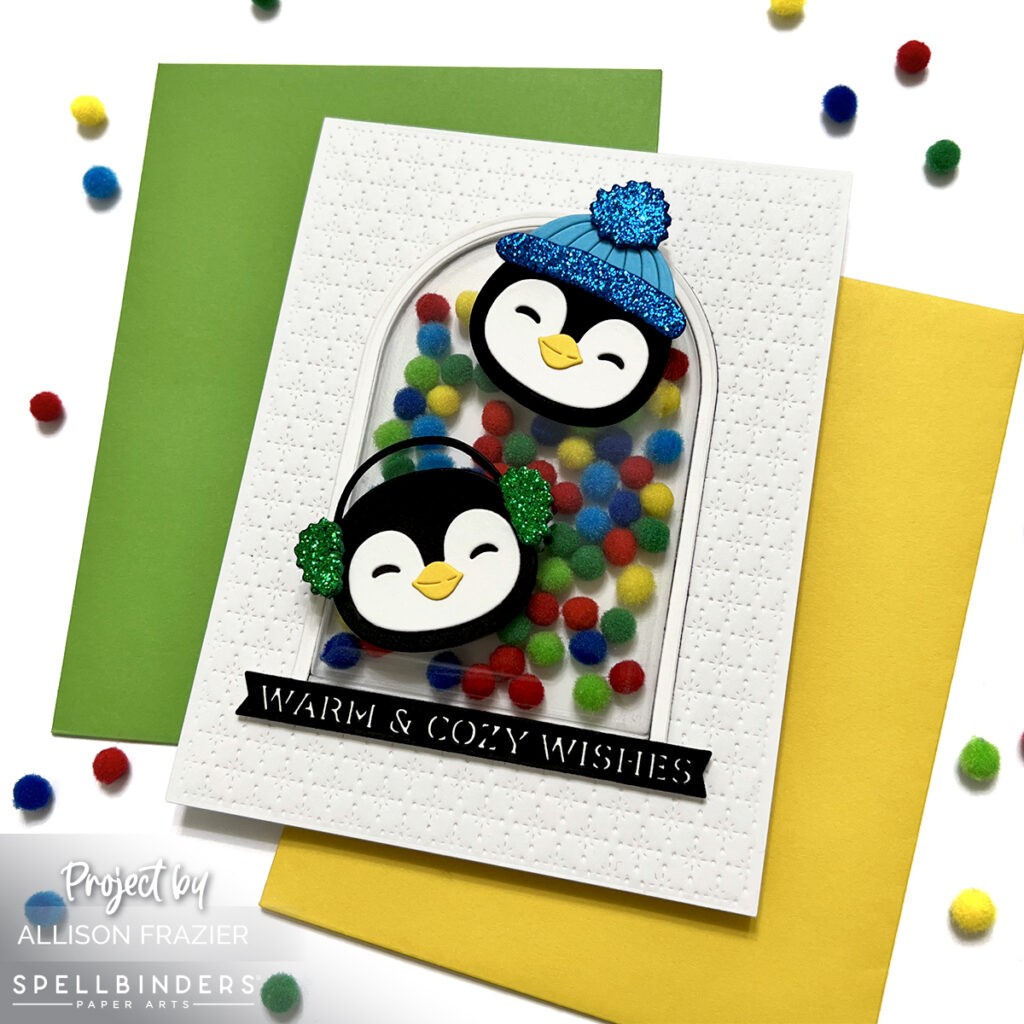
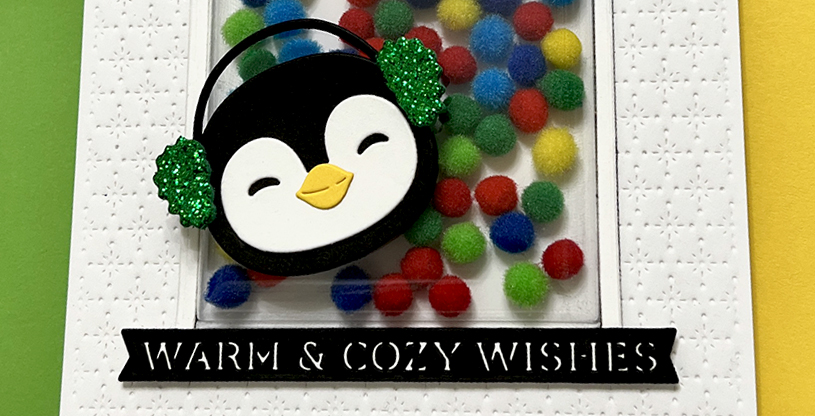
For my second card, I knew I wanted to use my stash of tiny pompoms as my shaker bits, and this dimensional dome allows you to do that! This card was obviously a lot easier to make than the first one, since I don’t have a little scene that I had to fit inside the dome area. You just cut the arch shape into your top panel, use double-sided tape to attach the dome, fill the dome, and then adhere a panel (or your card base) on the back to enclose the shaker. And voila! I did add some detail to my white panel by embossing it with the Starshine Background die. The only drawback to this adorable shaker is that it doesn’t make that satisfying shaker sound LOL. But the visual makes up for it. I added some of my glitter pop-up foam to the earmuffs and hat to tie in with the fuzzy shaker bits. The penguins and the sentiment all come from the October Large Die of the Month. We will see if this set gets added to the regular inventory, but I think that only happens when it doesn’t sell out. I’m sure you have other penguins or winter critters that you could add to a card like this!
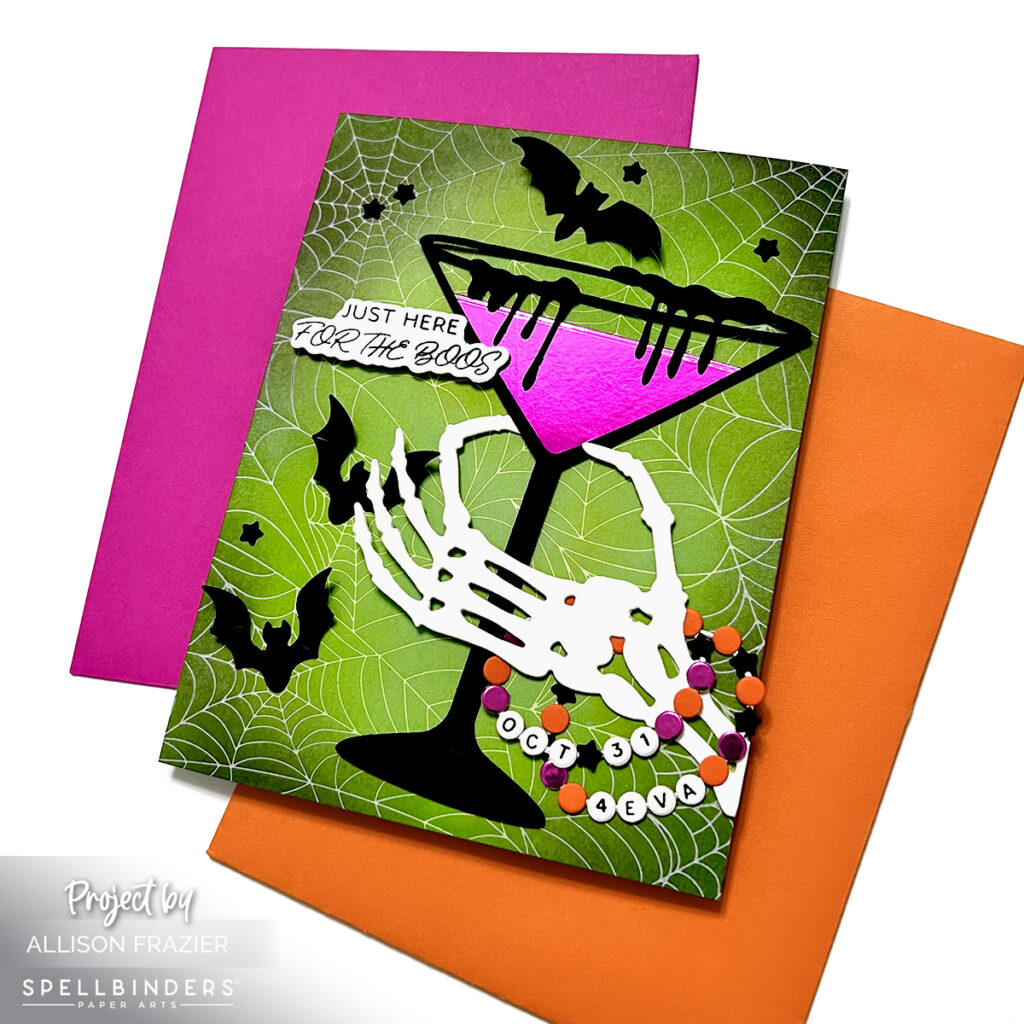
I couldn’t leave well enough alone once I discovered my alternative use for the Bestie Beaded Bracelets set. I had to find another fun way to use this collection. I shared this card on my Instagram page on Halloween, and isn’t it so fun? And silly, of course! This guy clearly has not had access to Reese’s pumpkins and may need to get these bracelets resized soon. Unfortunately, I cannot relate.

And here is one last fun alternative use for the Bestie Beaded Bracelets set…decorate an ornament with the letters! These letters come from the Bestie Alphabet Beads Press Plate & Die Set, and guess what! I actually used this press plate with ink. And that means that I finally bought the Betterpress System. I have talked about why I hadn’t yet purchased it in several videos. I just have always enjoyed hot foiling with my press plates and didn’t see a big reason for it. Plus, I tend to get distracted by new toys LOL. However, now that I have it, it is just fabulous for plates like the ones I used on this card. That includes the Buffalo Plaid Press Plate that I used for the background. I have had this plate for awhile, and it just doesn’t foil as well as it inks. That goes for some other plates that I have which have large solid areas to them. So now I am excited to pull some plates out of my stash and play!
I hope these cards bring a smile to your face today. I had fun making all of them! As always, I appreciate you visiting my blog.
Wishing you all a crafty day,
Allison
SUPPLY LIST
Note: External links on my blog may contain affiliate links. This gives me the opportunity to earn a small commission when you click on the links and place an order. This comes at no additional cost to you. Thank you so much for your support! You can see more information on my Affiliate Disclosure page.

