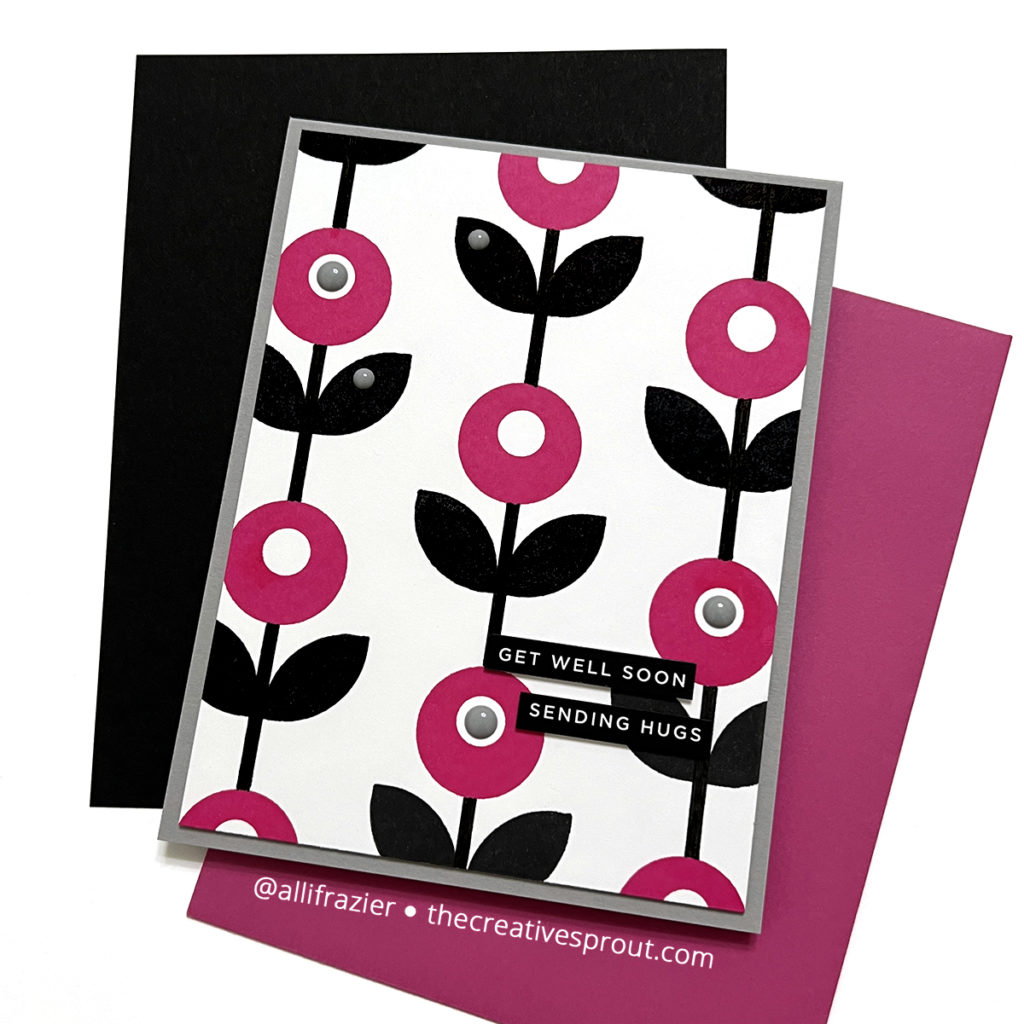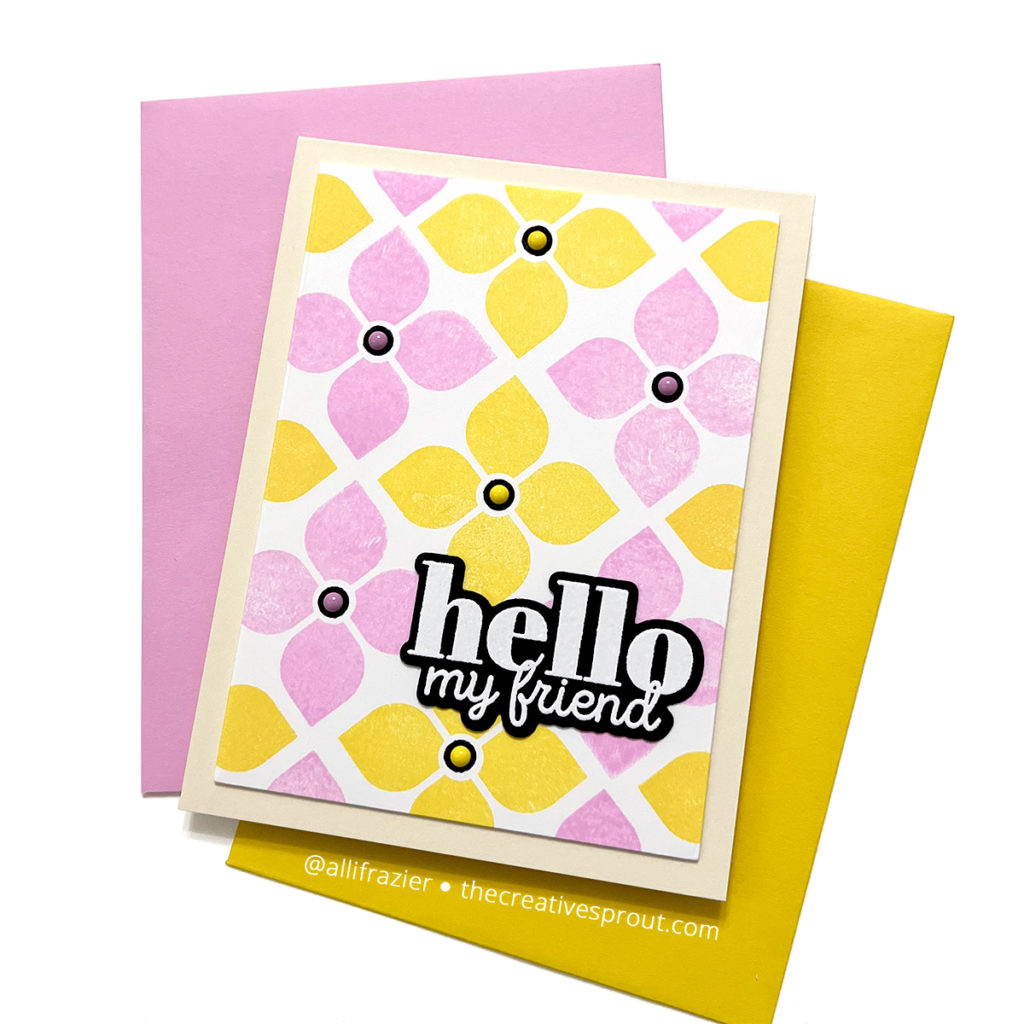
Hello, friends! I hope you all have been enjoying your weekend. I am popping in today to share a couple cards that I made using one of my favorite stamping techniques – repeat stamping. You could also call it pattern stamping. I love making backgrounds like this with bold, geometric looking stamps. Not only did I go bold with these cards, but I went BIG as well. These are both 5×7 cards, which I don’t normally make.
Both of my cards feature the new Christmas Block Art stamp set, which is part of the 2024 STAMPtember® collection from Simon Says Stamp. This stamp set does have matching dies, but I just used the stamp set for today. Let’s get started!
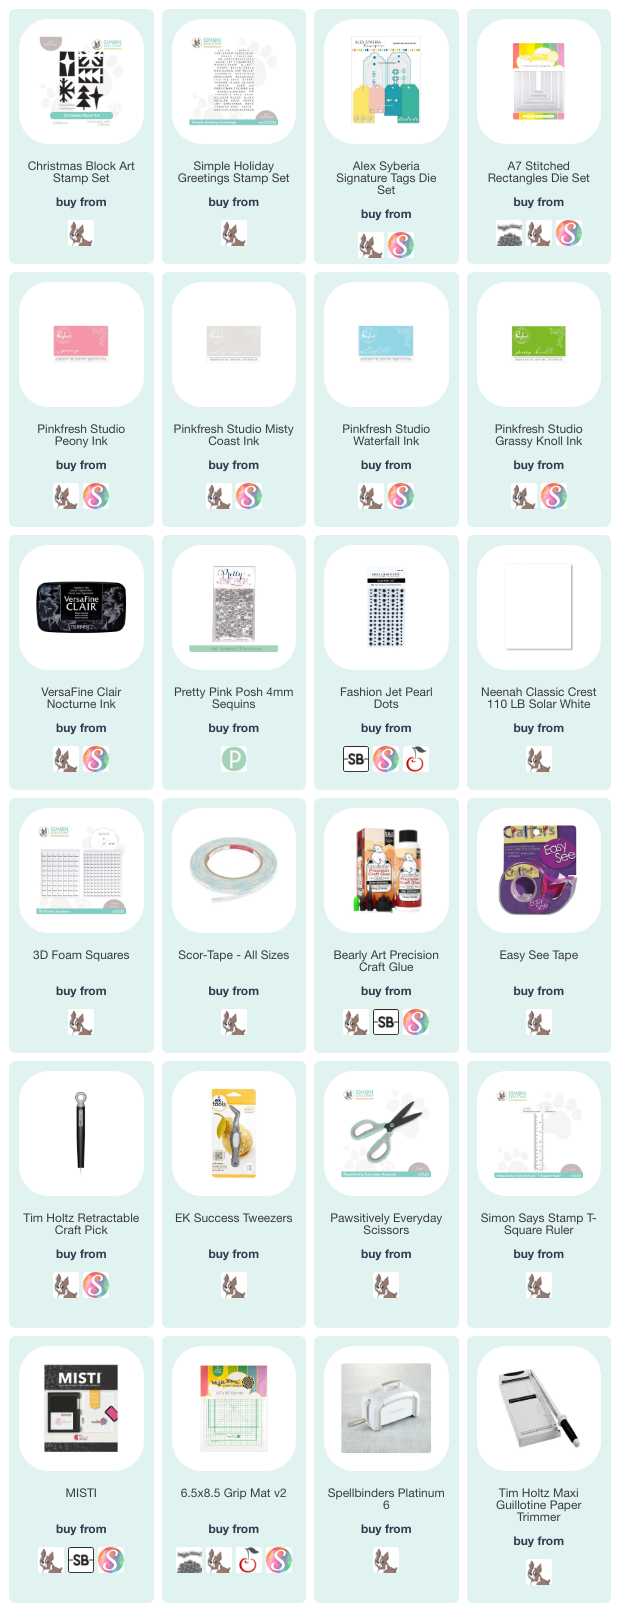
NOTE: all supplies are linked in the thumbnails at the end of this blog post.

Whenever I do repeat stamping like this, I first practice on some copy paper. And, being left brained, I tend to go for symmetrical patterns! Once I am happy with my pattern, I use that as a template for my actual cards. I just cut a sheet of white card stock to be the same size as my copy paper template. I put my card stock into my MISTI (on my grip mat) and then lay the template over it. I line the stamp up with one of the trees on the template, grab the stamp with my MISTI door, remove the template, and stamp! And then repeat! For this first card, I used four different colors of ink, all from Pinkfresh Studio. I used Peony, Waterfall, Grassy Knoll, and Misty Coast.
Once I was done with my background, I cut a white tag and stamped a green tree on it. I then took some sentiments from the Simple Holiday Greetings stamp set and stamped them with black pigment ink along the lines of the tree. I fed some string through the hole in the tag and then popped the tag up on my panel with foam dots. I framed this card with the largest frame from the A7 Stitched Rectangles Set from Waffle Flower. I love how these dies cut a frame and a stitched panel all at once! You can see the resulting stitched panel in the photo below (the pink and gray panels that are behind the second card).
To finish my card, I added some black enamel pearls to the background.

My second card features the same exact pattern and method as the first, but this time I just used the gray ink for all the trees. I wanted the color on my tag to pop. This is the same Peony ink as I used on the first card, but I stamped it one or two more times to make it darker. The big difference in this card is that it’s a flat shaker. Once I was done stamping the background panel, I used the packaging from the stamp set itself to create the flat shaker. You just cut a piece of packaging a little larger than the panel, put double-sided tape along the perimeter of the BACK of the panel, and then fold over the packaging to adhere to that tape. But don’t adhere the fourth side until you put your shaker bits in there! I like to use smaller, flatter embellishments when I make shaker cards, and I find the 4mm sequins from Pretty Pink Posh to be perfectly sized.
Below are some other cards that I have made in the past using this same technique. Again, big geometric shapes, or even sentiments are great for this!

The card above features the Joyful Greetings stamp set.

The card above features the Lots of Luck stamp set.

These next two cards feature the Geo Flower Building Stamp Set.

Like I said, I love this technique! I hope these cards inspire you to make your own backgrounds. And, I hope these cards bring a smile to your face today. Thank you so much for joining me on my blog.
Wishing you all a crafty day,
Allison
SUPPLY LIST
Note: External links on my blog may contain affiliate links. This gives me the opportunity to earn a small commission when you click on the links and place an order. This comes at no additional cost to you. Thank you so much for your support! You can see more information on my Affiliate Disclosure page.


Great post. I am often so stumped about what to do with a small stamp. Inspiring!