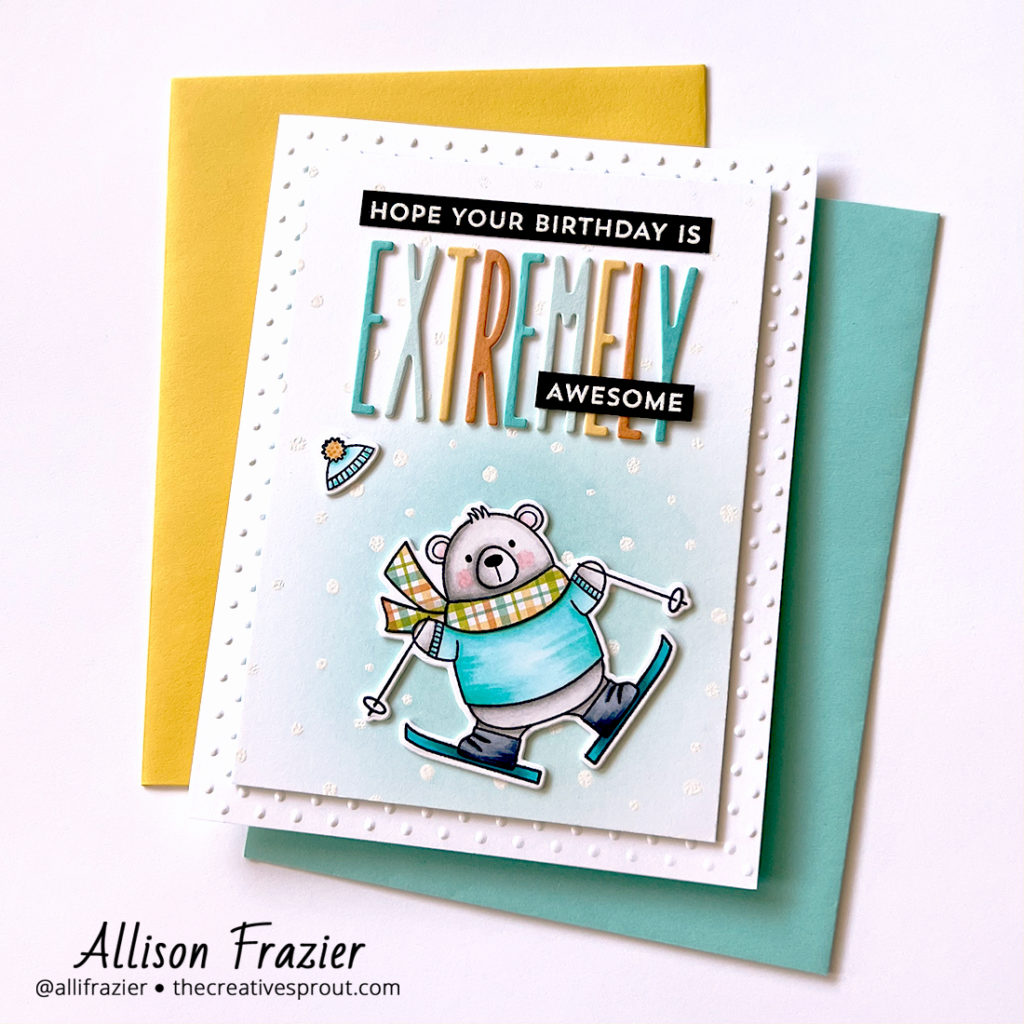
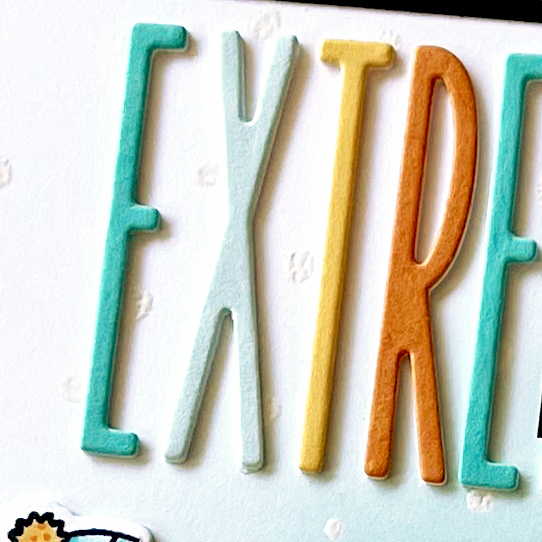
Hello again, crafty friends! Living in Colorado means that there are always occasions for a fun ski-themed card. But this card, to me, is more about these alphabet dies from The Stamp Market. They are small and skinny enough to create any custom message that you want.

Supplies
The Stamp Market – Mini Skinny Upper Alphabet Die
MFT – Bitty Birthday Wishes Stamp Set
MFT – Ski-sons Greetings Stamp Set (Retired)
Tim Holtz – Tiny Dots Embossing Folder (Retired)
Pinkfresh Studio – Sky Blue Premium Dye Ink
Gina K. Designs- Snowfall Stencil
Disclaimer: Yes, I used another retired MFT stamp set. I bet, though, that these skiing bears will make a comeback in one of MFT’s vault releases. But if they don’t, the Ready, Set, Snow Stamp Set would be just as cute for this card with its snowboarding critters. In fact, I did use a sentiment from that set for the inside of this card, which reads “Happy Brrrthday.”
Making the Card
I started out by stamping, coloring and die cutting the polar bear and his hat. I did paper-piece his scarf from a scrap of plaid patterned paper from my stash. I then moved on to my background. I pressed VersaMark ink through the Snowfall stencil onto a panel of white card stock and then heat embossed it with white embossing powder. Once it cooled off, I softy blended some of the Sky Blue ink over the panel. I wanted the darker part behind where the bear would be, so that the snow pattern would really pop. I cut that panel down to roughly 3.75″ x 5″ and adhered it to a white A2 card panel that I had previously embossed using the Tiny Dots embossing folder. I was going to dry emboss the card front with the same Snowfall stencil as the panel, but I’m trying to use more products from my stash.

Now let’s talk about these alpha dies. Aren’t they awesome?? I love the cool font and the fact that you can easily fit long words on an A2 card. For this card, I layered each letter on top of one white letter that I had cut out of thick card stock. If the background was busier, I would have added a few more layers behind each letter to make them pop, but I didn’t feel it was necessary on this card. I did arrange the letters so that they were roughly the width of my top sentiment. To make sure they were even, I first lined them up on a sticky grid, and then I picked them all up at once with a long piece of Post-it tape so that I could glue the back and adhere it all down as one word.
I cut the sentiment “Hope your birthday is awesome” apart so that I could place the “awesome” across the bottom of the letters. That is another thing I really love about these tall letters – it gives you the opportunity to place a sentiment over them without worrying about being able to read the word.
This card was really fun to make, and I think the birthday boy will appreciate it. Thank you so much for joining me, and I’ll see you next time!
Wishing you all a crafty day,
Allison
Note: External links on my blog may contain affiliate links. This gives me the opportunity to earn a small commission when you click on the links and place an order. This comes at no additional cost to you. Thank you so much for your support, as this helps me bring you more content.
