Hello, crafty friends! I am excited to be sharing some new Simon Says Stamp products that are part of their new Hugs Release! There are so many fun products in the release, so be sure to check out all the rest of the goodies, too.
My first two cards today feature the new Spun Glass Embossing Folder and the Stained Glass Heart Die.
Card 1 Supplies
Simon Says Stamp – Spun Glass Embossing Folder
Simon Says Stamp – Stained Glass Heart Die
Simon Says Stamp – Etched Berry Branch Die
Simon Says Stamp – Geometric Builder Hearts Die Set
Simon Says Stamp – Playful Messages Stamp Set
Tim Holtz – Distress Oxide Inks
Making the First Card
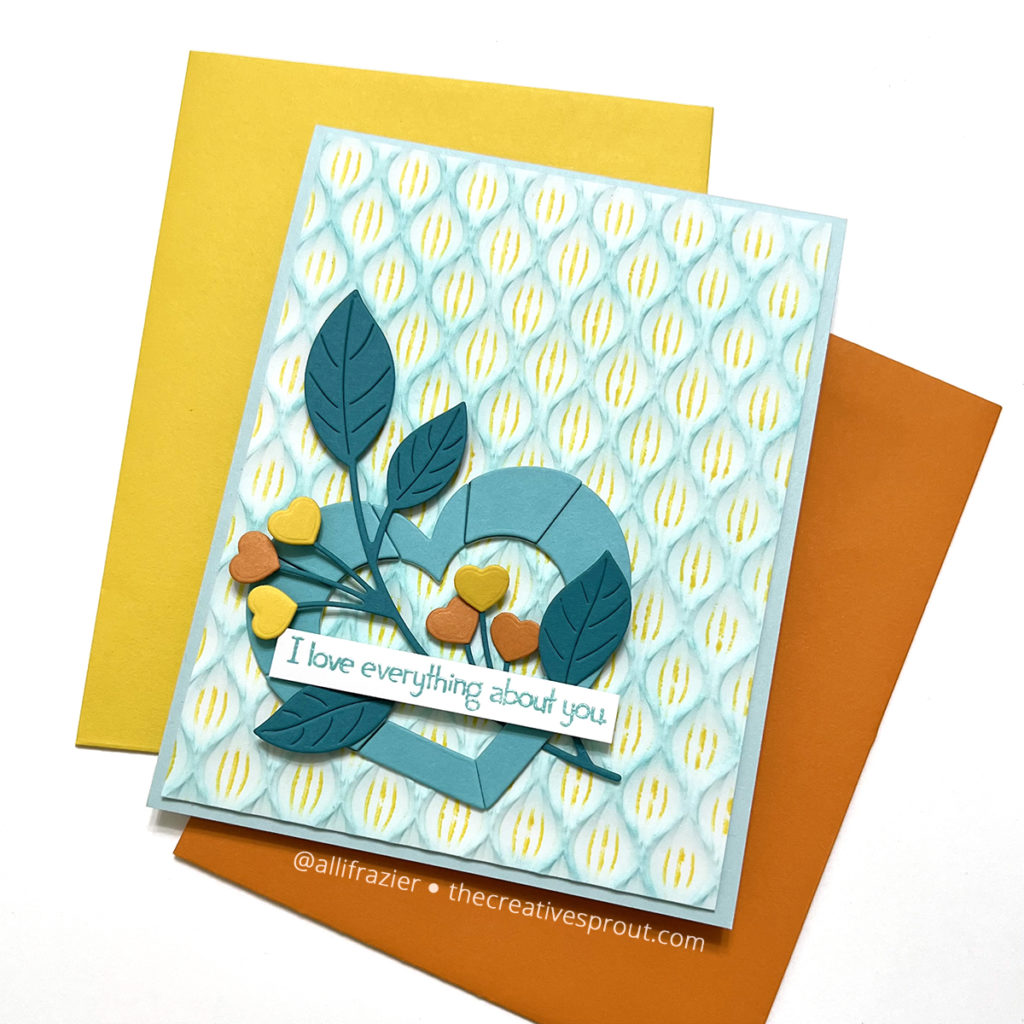
To make my background, I first inked up the raised side of the Spun Glass Embossing Folder with Sweet Mustard Pinkfresh Studio ink. I placed a piece of white card stock inside and ran it through my die cutting machine. By inking the raised parts of the embossing folder, it pressed the yellow ink into the valleys of the paper. After removing the panel from the folder, I then took a large blending tool and blended some Turquoise Sea Gina K. ink over the raised edges of the panel. I think the results are so fun, and there are obviously so many different color combos and techniques that you can do with this folder.
For my Stained Glass Heart Die, I chose to keep it all in one color. However, I staggered the dimension by adding two extra layers to every other piece. It’s hard to see in the picture, but very obvious in person. I cut the Etched Berry Branch out of a darker teal card stock and then instead of adding berries, I added little hearts. These little hearts come from the Geometric Builder Hearts set. I finished with a sentiment from the Playful Messages set, which I heat embossed using Salvaged Patina Distress Oxide and clear embossing powder.
Card 2 Supplies
Simon Says Stamp – Spun Glass Embossing Folder
Simon Says Stamp – Stained Glass Heart Die
Simon Says Stamp – Love You Greetings
Making the Second Card
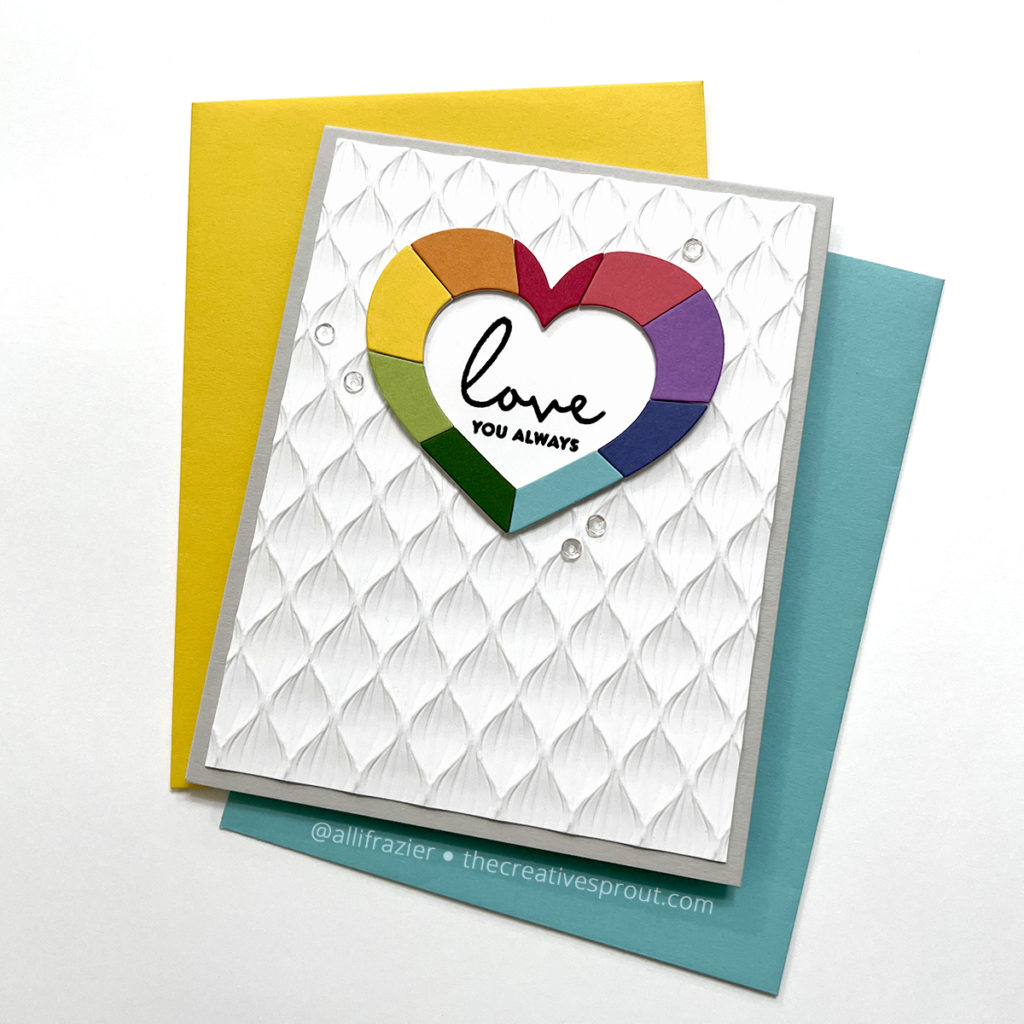
I started this card by embossing a panel of white card stock with the Spun Glass Embossing Folder. The Stained Glass Heart die just screams for rainbow colors, doesn’t it? I couldn’t resist. Because the heart makes such a statement, I decided to keep this card clean and simple. I just added a greeting from the new Love You Greetings set and sprinkled a few clear sequins around the heart.
Card 3 Supplies
Simon Says Stamp – Layered Love Letters Stencil Set
Simon Says Stamp – Love You Greetings
Simon Says Stamp – Fog Gray Ink
Making the Third Card
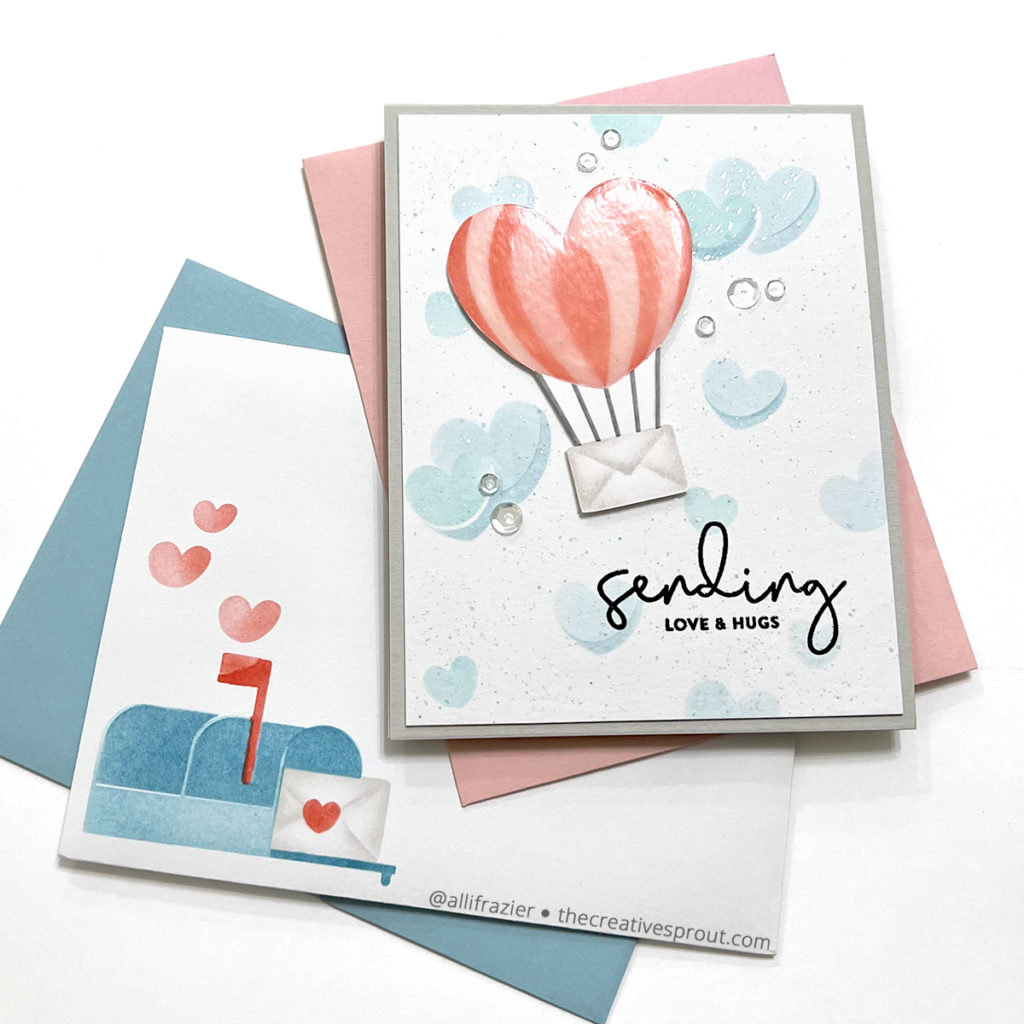
For this card, I used the fun Layered Love Letters Stencil Set. I started by blending some of the hearts onto a white card panel with several shades of blue Distress Ink. My thought was that these hearts would mimic clouds in the sky. I also splattered the panel with some of the blue ink (watered down), as well as some silver paint. On a separate piece of white card stock, I blended the hot air balloon using two shades of pink Distress Ink. For the envelope, I used Fog Gray Ink. I fussy cut the balloon out and then popped it up with foam tape on the panel with the blue heart clouds. I then used Nuvo Crystal Glaze to give the balloon a glossy look. Crystal Glaze is similar to Glossy Accents, although I find that Crystal Glaze comes out of the bottle easier, so I like using it for bigger spaces. I added a sentiment from the new Love You Greetings.
Because this stencil set is so fun and has so many elements to it, I wanted to create something else. So, I made a matching envelope for my card by stenciling the mailbox to the lower left corner of a white envelope.
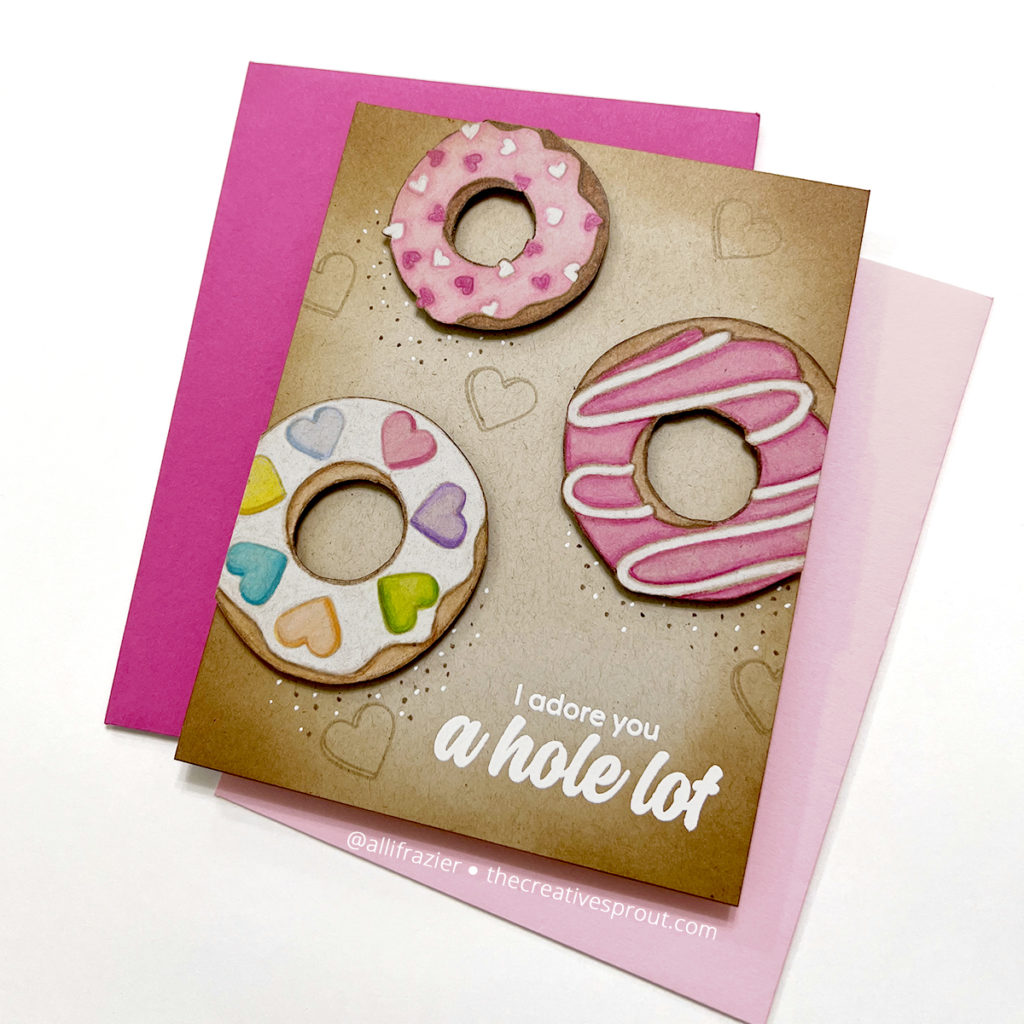
Card 4 Supplies
Simon Says Stamp – A Glazing Day Stamp Set
Prismacolor Premier Colored Pencils
Making the Fourth Card
For my fourth card, I decided to push myself and try something new. So, I did some no-line coloring with my Prismacolors. I stamped the donuts from the A Glazing Day stamp set onto Kraft card stock using VersaMark ink. I colored the donuts with the pencils and then fussy cut them out. I took an A2 Kraft card base and stamped the heart image from the stamp set in various places with VersaMark. I also white heat embossed my sentiment before popping the donuts up with some foam tape. I finished by adding some “crumbs” with a dark brown pencil and white gel pen.
That’s it for my cards today! I really love how they turned out. I hope they put a smile on your face. Thank you so much for visiting my blog today and be sure to check out all of the other fun new products in the Hugs Release!
Wishing you all a crafty day,
Allison
Note: External links on my blog may contain affiliate links. This gives me the opportunity to earn a small commission when you click on the links and place an order. This comes at no additional cost to you. Thank you so much for your support, as this helps me bring you more content.