Hello again, Friends. I hope you’re all doing well. I am back today with a card that I made with some products from the new Sealed by Spellbinders release. This release centers around Spellbinders’ new wax seal collection, although it also contains a bunch of dies, stamps, and hot foil plates that can be used as they normally would be, without the wax seal products. When I first saw that there was going to be a wax seal collection, I have to be honest and say that I was totally uninterested…UNTIL I saw all of the fabulous projects that people are making with it! It looks pretty addicting, and I think we should place some wagers as to how long I am able to hold out before giving into temptation!
Supplies
Spellbinders – Geometric Diamond Background Glimmer Hot Foil Plate
Spellbinders – Layered Geometric Diamond Stencils
Spellbinders – Sealed Birds Die
Spellbinders – Yana’s Special Sentiments Hot Foil Plate and Die Set
Spellbinders – Petite Floral Potpourri Die Set
Simon Says Stamp – Pawsitively Saturated Inks
Spellbinders – Hot Foil – Pewter
Spellbinders – Glimmer Hot Foil System
Simon Says Stamp – Large Blending Brushes
Making the Card
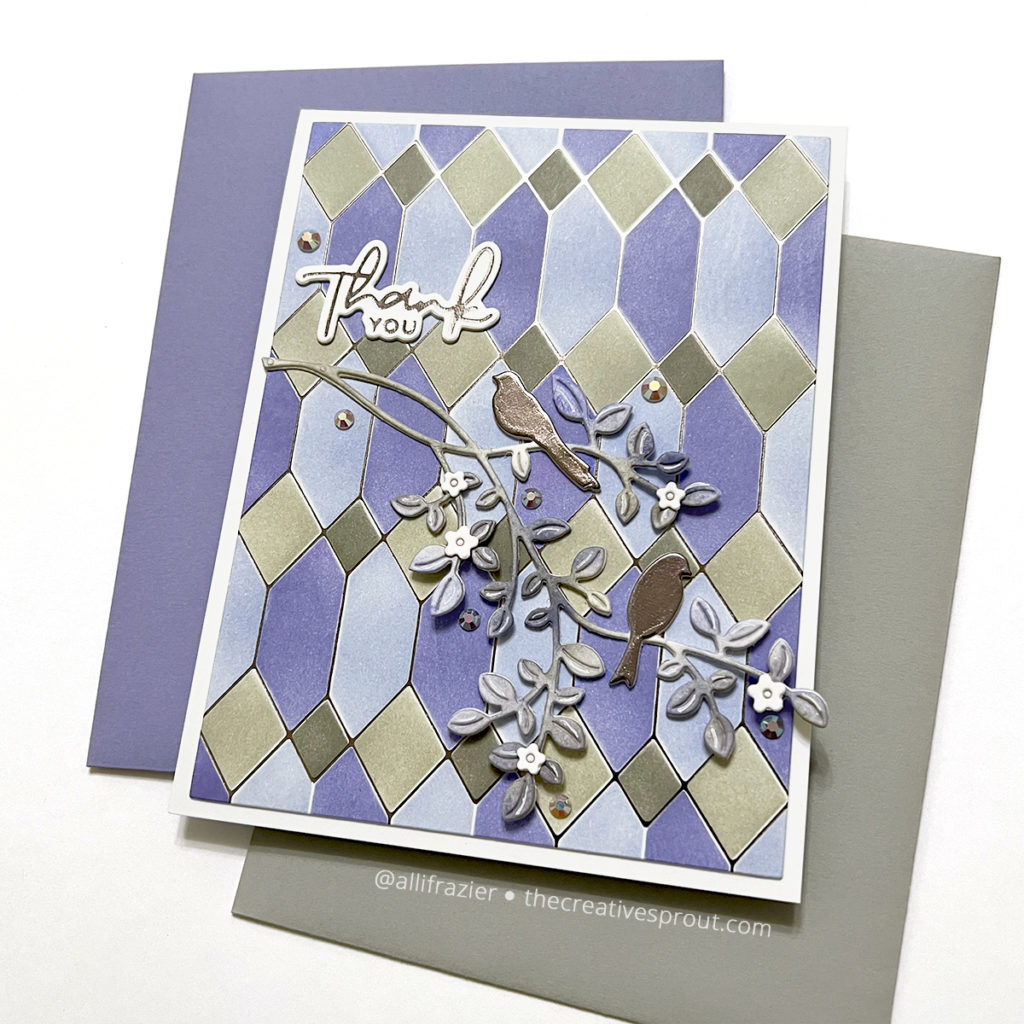
I may not have the wax seal products yet, but I was able to play with this fabulous Geometric Diamond hot foil and stencil combo. I love products like this that help you color foiled designs, especially since the foil acts as a resist and will not dull when you ink blend over it. All you have to do is wipe the ink off with a cloth.
I started by hot foiling the design onto white card stock with Pewter hot foil. I saved the negative piece of foil and hot foiled that with a solid hot foil plate. I set that aside for future use, although I did end up using a bit of it for my birds.
Next, I took the stencil set (4 stencils) and blended four colors of ink that I have been wanting to use for awhile now. I used Pawsitively Saturated Inks in Heather, Violet, Fawn and Cozy. When I was finished stenciling, I trimmed the panel down to 4″x5.25″ and adhered it to a white A2 card base.
I die cut the Sealed Birds die twice from white card stock and adhered those two layers together. I took the leftover ink that was still on my blending brushes and swiped the brushes across the branches and leaves.

There is a separate die in the set that cuts just the birds, and I used that to cut the paper that has the solid Pewter image so that my birds would match the pewter foil on the card. I adhered the stacked die cut on the card front, only glueing the back of the birds and the long part of the branch on the lefthand side. I intentionally did not glue the rest down because I wanted it to look more dimensional. Speaking of Pewter foil, I also used that to hot foil my sentiment. I wanted to add a bit more detail, so I added some white gel pen highlights to the leaves and some gem stones around the branches. And just when I thought I was done, I decided to add some tiny die cut flowers.
I love how this card turned out, and I hope it put a smile on your face today! Thank you so much for visiting.
Wishing you all a crafty day,
Allison
Note: External links on my blog may contain affiliate links. This gives me the opportunity to earn a small commission when you click on the links and place an order. This comes at no additional cost to you. Thank you so much for your support, as this helps me bring you more content.