Hello, crafty friends! Today I am sharing a card that features a little bit of old and a little bit of even older. While some of the products used for this card are relatively new, the actual elements themselves were recycled from a previous card. I also used one of the very first stencils I ever purchased – I think I bought this for art journaling before I even started making cards.
Supplies
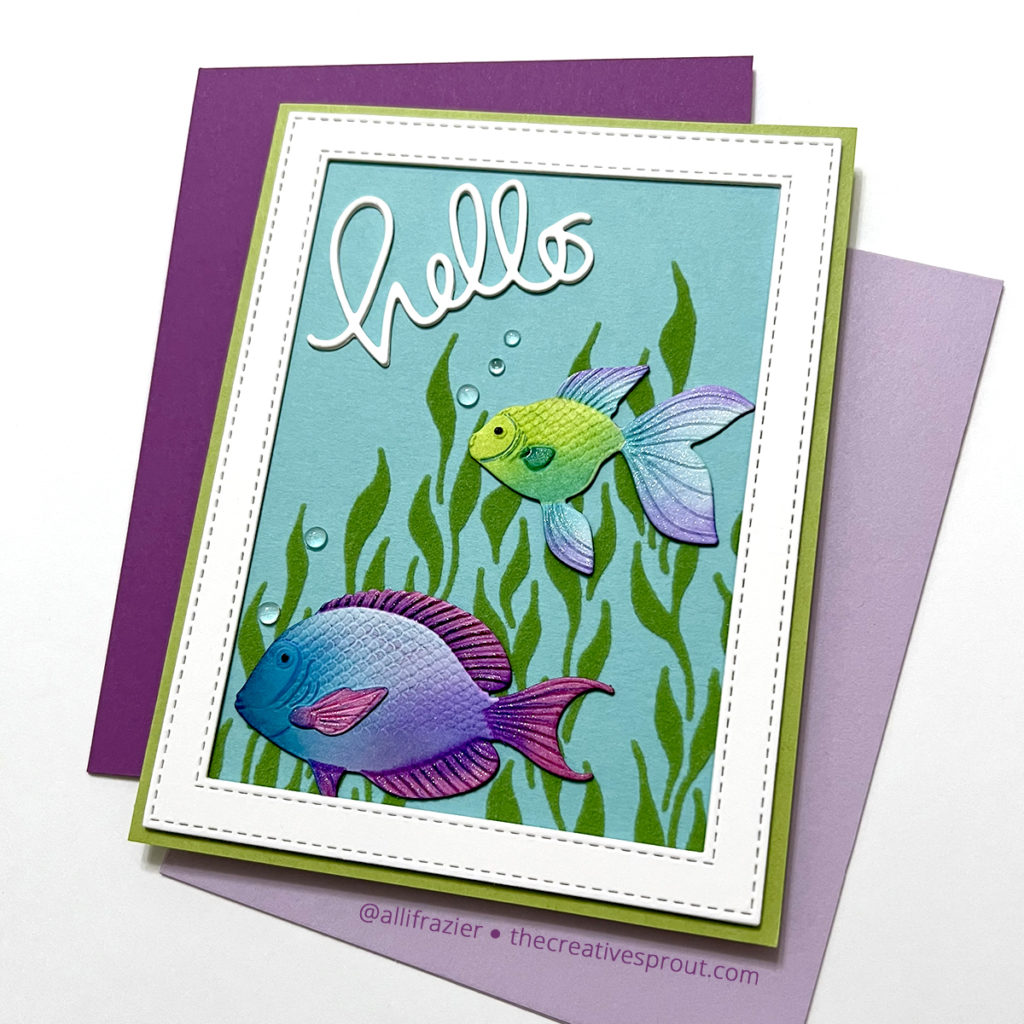
The Crafter’s Workshop – Mini Moving Vines Stencil
Memory Box – Ocean Fish 3D Embossing Folder and Dies
Memory Box – 3D Ocean Fish Layering Stencils
Simon Says Stamp – Small Hello Die
My Favorite Things – Stitched Rectangle Frames
Therm O Web – Green Envy Flock Transfer Sheets
Therm O Web – Transfer Gel Duo
Memory Box – Clear Fairy Drops
Making the Card
This whole card came about when my son came home from camp last month. I send lots of cards to him when he is away, and he’s pretty good about keeping them. This year, I found them at the bottom of his duffle. One of the cards that I had sent him was this round card with the new embossed fish from Memory Box. You can read that blog post to see how I made the fish. While most of the card was pretty beat up, these two fish somehow survived the journey unscathed. I decided to give them a second life and pair them with a background that I had just flocked last week.
I posted a couple cards recently that featured flocked backgrounds – click here to see that post and read about the process of flocking. I created today’s background at the same time as those. This stencil has been in my stash from the very early days of my art journaling and card making hobby, and it’s one of my favorite ones to flock. I think it makes the most perfect looking seaweed.

Since I had the fish, and I had the flock, this card took no time at all to assemble. I did freshen the fish up with some Wink of Stella on their fins. The only other thing I needed to do was die cut the frame and the “hello” sentiment. I cut both of these twice out of white card stock and stacked them for dimension. I added everything to an A2 card base using liquid glue, and then I embellished with a few clear drops to mimic bubbles.
I love how this card turned out – even more than the original! I hope it put a smile on your face. Leave a comment and let me know if you ever recycle elements from previously made cards. Thank you so much for visiting – I appreciate you stopping by today.
Wishing you all a crafty day,
Allison
Note: External links on my blog may contain affiliate links. This gives me the opportunity to earn a small commission when you click on the links and place an order. This comes at no additional cost to you. Thank you so much for your support, as this helps me bring you more content.