Hello, crafty friends! I hope you have all had a wonderful week and are looking forward to the weekend. My family is getting ready for our first camping trip of the summer, and I figured it was a perfect time to use these adorable forest animal dies from My Favorite Things.
Card 1 Supplies
My Favorite Things – Friendly Forest Faces Die-namics
My Favorite Things – Slimline Stitched Square Trio Die-namics
My Favorite Things – Stitched Square STAX Die-namics
My Favorite Things – Friends Like You Stamp Set (Retired)
Spellbinders – Fluted Classics Slimline Die Set
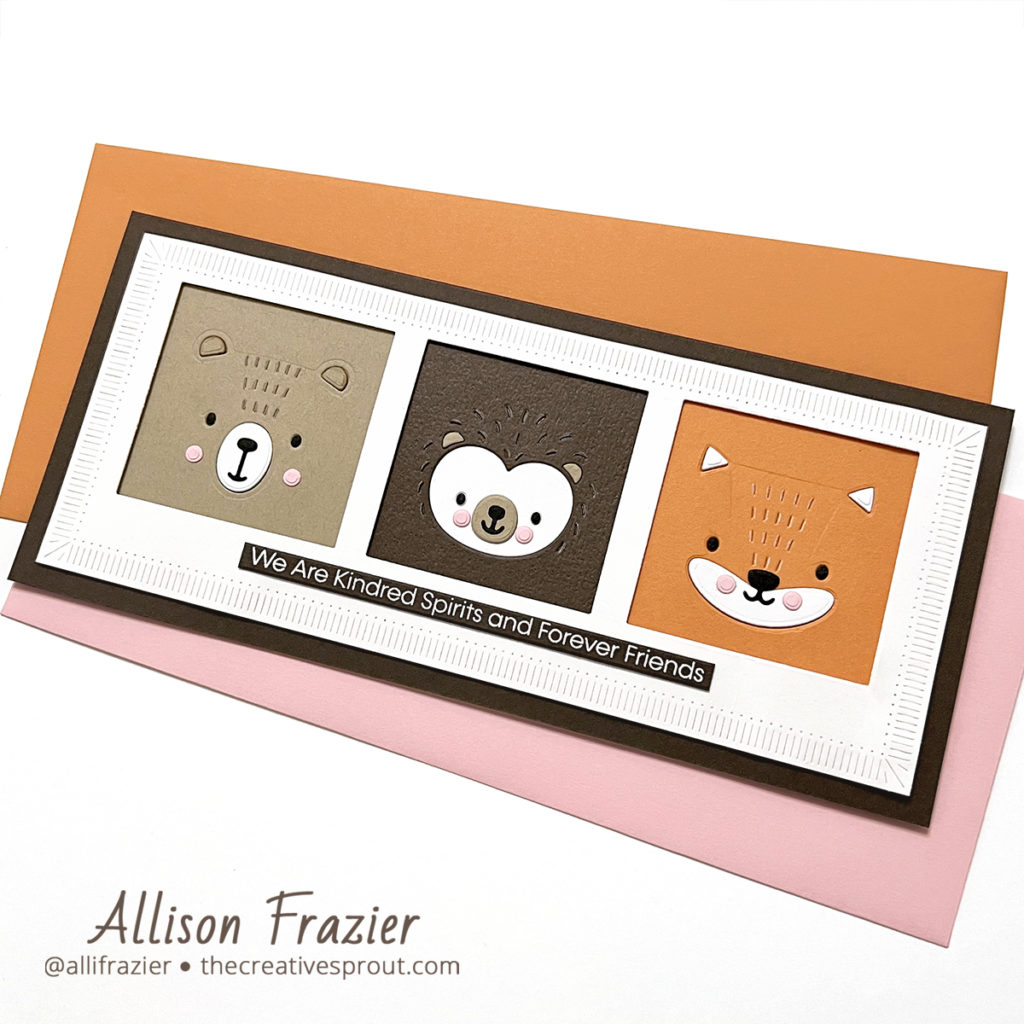
Making the First Card
This is a fairly simple card to put together, assuming that you don’t encounter the hiccups that I did. I started with a 3.5″ x 8.5″ panel of white card stock and die cut it with the largest fluted slimline die from Spellbinders. I love the detail that this die leaves along the edges of the card panel. My idea was to cut the square windows into this panel using the Slimline Stitched Square Trio die. However, as soon as I cut them, I realized that the stitching detail around the squares was fighting with the fluted detail around the edges of the panel. So, I went into my stash and grabbed my square nested die set. Now, this die set also has a stitched detail, but only on the actual square. I was able to find a square that was just slightly larger than the ones left from the slimline die, and I used that to cut a slightly bigger hole and eliminate the stitched border.
Small hiccup, but that doesn’t even compare to the bigger hiccup that I encountered later on with foam tape. But we’re not going to talk about that. And I am not going to mention which foam tape I used! I really should throw it away, but I keep telling myself that I’ll just use it up. I have recently found a new roll of foam tape that is FANTASTIC, and I wish I had used it on this card. Am I the only one who hoards things? It’s a problem. Anyway, if you’re looking for a new foam tape, I highly recommend the one from Altenew.
Moving on to the adorable animals – these are easy to put together. I just chose a small scrap of colored card stock for each animal and die cut the main animal shape. I adhered a piece of white copy paper behind these colored pieces so that I could inlay the little details (noses, eyes, cheeks). I used white, black and pink card stock scraps to cut these little details. Once the faces were finished, I popped the white panel up on foam tape, centered the animals behind the windows, and then adhered it to a 4″ x 9″ brown card base. (Notice that I didn’t mention the foam nightmare) The sentiment comes from a retired stamp set, although it is still available from some online resellers. I really like this set because it has a bunch of long, slimline length sentiments. I white heat embossed the sentiment onto brown card stock, cut it with a long sentiment die from my stash, and adhered it to the card panel. 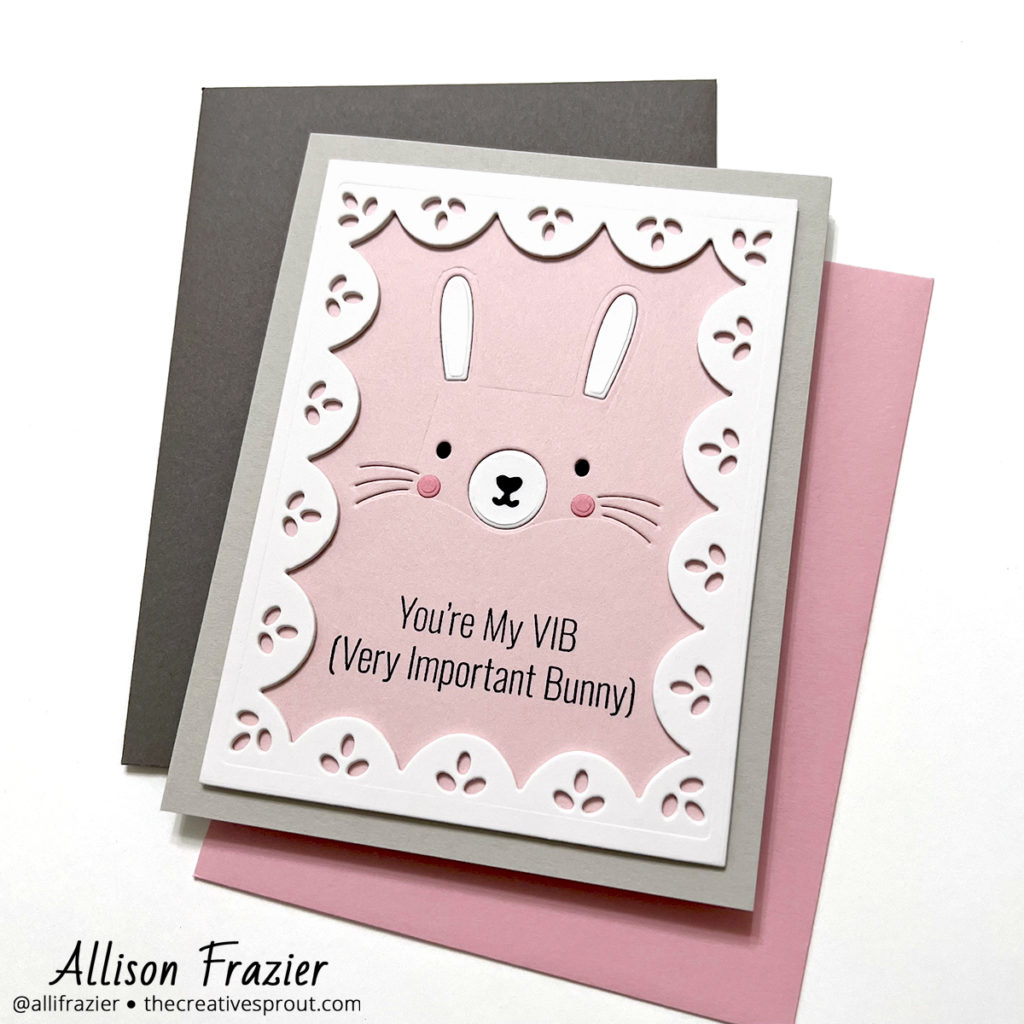
Card 2 Supplies
My Favorite Things – Friendly Forest Faces Die-namics
My Favorite Things – Favorite Somebunny Stamp Set
The Stamp Market – Scalloped Frame Die
Making the Second Card
My second card is sweet and simple. I started with a panel of pink card stock and die cut the bunny. I cut the detail pieces from black, white and pink card stock. I cut two pieces of heavy white card stock using the Scalloped Frame die and adhered them together for dimension. I cut the pink bunny panel down to the same size as the window frame and then positioned my sentiments for stamping. I did perform some stamp surgery to get the sentiment onto two lines, and I’m glad I did. I can always put them back together if I ever want them to be all on one line again. Don’t be afraid to cut those sentiment stamps! Once I was finished stamping, all I had to do was adhere the white frame to the pink panel, and then adhere that to a gray A2 card base. Once I adhered the panel to the card base, I finished the bunny’s face by inlaying the tiny die cuts.
I love these sweet little animal faces, and I hope these cards made you smile. As always, thank you for visiting!
Wishing you all a crafty day,
Allison
Note: External links on my blog may contain affiliate links. This gives me the opportunity to earn a small commission when you click on the links and place an order. This comes at no additional cost to you. Thank you so much for your support, as this helps me bring you more content.