Hello, Crafty Friends! Have you ever taken a deep breath after you’re done sending out your holiday cards, only to realize that you still have more to make? I get super burned out after I’m done sending out all the cards, so it’s hard to come back into the craft room to make more. Not to mention, the craft room looks like a holiday bomb exploded in it! Don’t get me wrong, I could make holiday cards every day – they’re so fun. But, having to make more cards to send out in a quick manner can feel daunting. But thanks to these awesome cover panel dies from Waffle Flower Crafts, I was able to knock out three cards this morning.
Supplies
Waffle Flower – Stars Panel Die
Waffle Flower – Christmas Tree Panel Die
Waffle Flower – Poinsettia Panel Die
Waffle Flower – Classic Snowflake Die
Waffle Flower – Nesting Stars Dies
Concord & 9th – Mix & Match Holiday Sentiments
Pinkfresh Studio – Perfect Sentiments Holiday hot foil plate
Pinkfresh Studio – Perfect Sentiments Holiday Die
Pinkfresh Studio – Solid Hot Foil Plate
Pinkfresh Studio – Essentials Jewels Mix
Papertrey Ink – All is Bright Die
Spellbinders Glimmer Hot Foil System
Card 1
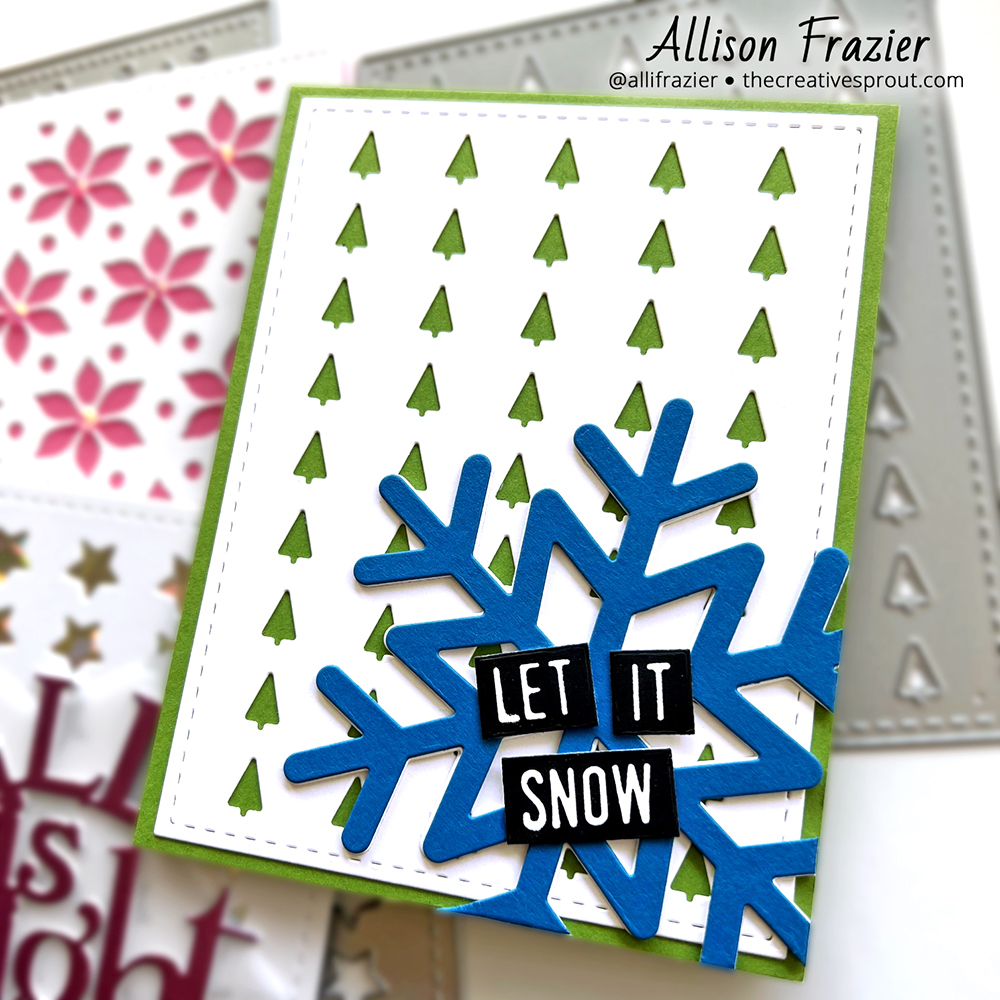
This first card was the quickest to come together. I cut some white card stock with the Christmas Tree Panel Die and then glued the panel to a green A2 card base. I cut blue paper with the Classic Snowflake Die and then stacked that onto three layers cut from white card stock. I glued the dimensional snowflake to the bottom of my card and cut off the excess that was hanging off of the card base. This card is for a man, and I think this color combo is perfect for a masculine card.
Part of the reason this card was so fast is that I already had the Concord & 9th sentiments in my stash. The Mix & Match Holiday Sentiments are great because you stamp all of the sentiments at once and then die cut them all at once.
Card 2
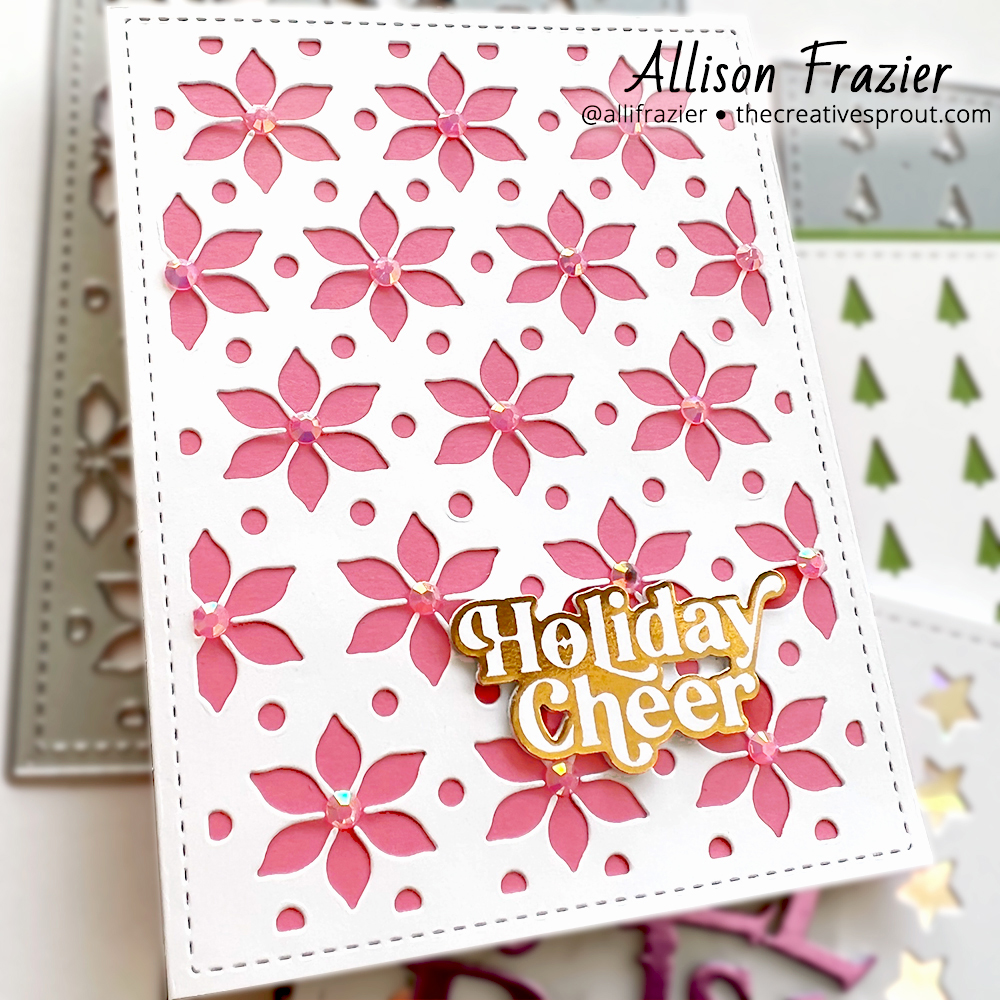
Card number 2 was also quick, thanks to having the foiled sentiment in my stash. I cut a piece of white card stock using the Poinsettia Panel Die and glued that to a pink card base. I glued pink jewels to the center of each flower. The sentiment was in my stash thanks to the Pinkfresh Perfect Sentiments hot foil plate and matching die. This is similar to the Concord & 9th sentiments, where you hot foil all the sentiments at once and then die cut them all at once. Now, this particular sentiment that I used takes that process one step further because it uses the negative foil leftover after the original foiling. And that is done thanks to the Solid Hot Foil Plate.
Card 3

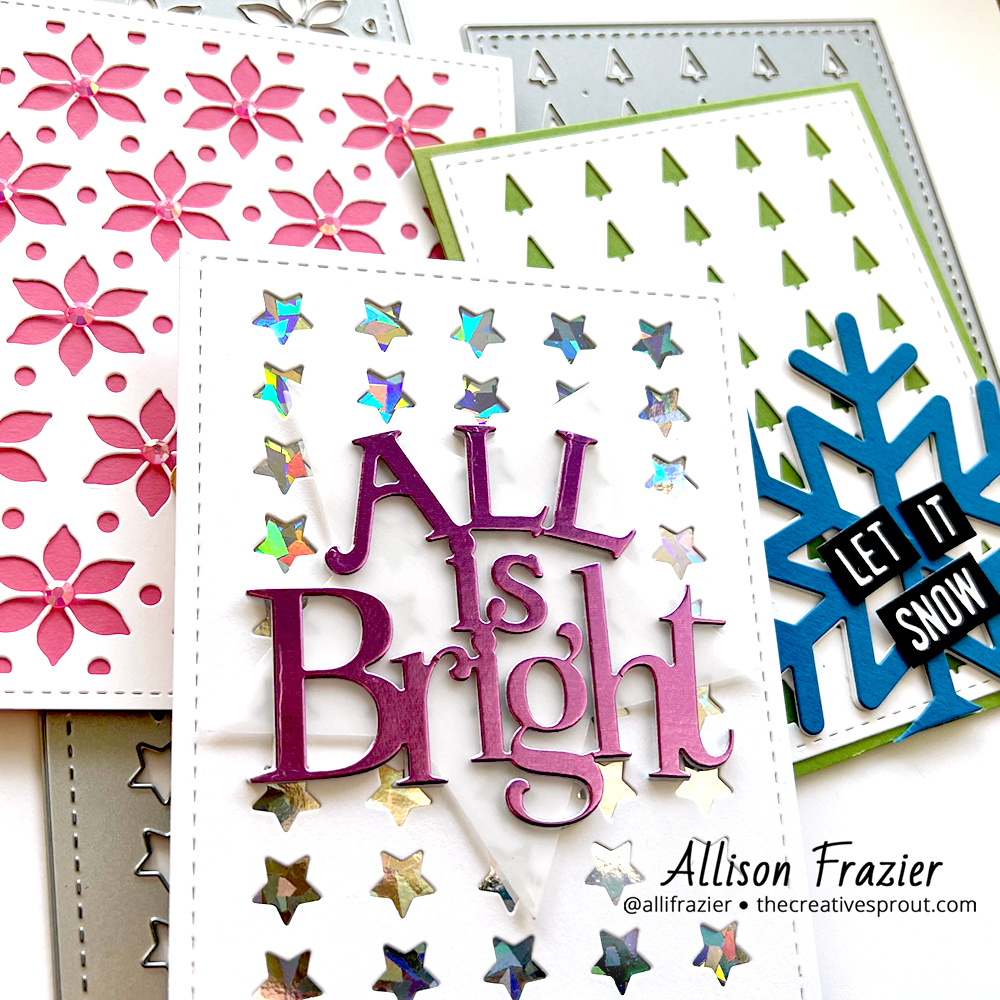
My third card is definitely the shiniest, thus the sentiment! I cut a piece of white card stock with the Stars Panel Die and then adhered the panel to a white A2 card base that I had already covered with a piece of holographic card stock. I cut a piece of vellum with the star die. I used the All is Bright die to cut three pieces of white card stock and one piece of purple metallic card stock. I glued the purple die cut to one of the white die cuts, glued that to the vellum star, and then popped that up onto the other two white die cut sentiments. Adding this dimension allows the shiny sentiment to stand out against the really shiny background.
That’s it for my cards today. I love the bold, graphic look of them. Thanks so much for joining me. Leave a comment and let me know which card is your favorite.
Wishing you all a crafty day!
Allison
Note: External links on my blog may contain affiliate links. This gives me the opportunity to earn a small commission when you click on the links and place an order. This comes at no additional cost to you. Thank you so much for your support, as this helps me bring you more content.