
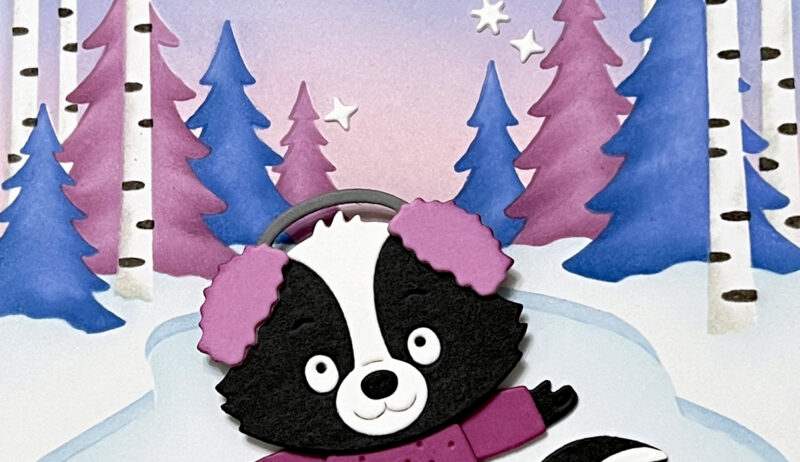
Hello, friends! I am back today to share more of my new Winter Vacation Collection with Spellbinders! Today, we’re going to look at the Wintertime Memories Layered Stencil. This set of stencils turned out even more magical than I had hoped, and it’s also so versatile. There are many ways to use it, and whichever way you decide, you’ll end up with a wonderful background for your cards.
Although the focus of today is the Wintertime Memories Layered Stencil, I also used the following products from the new collection:
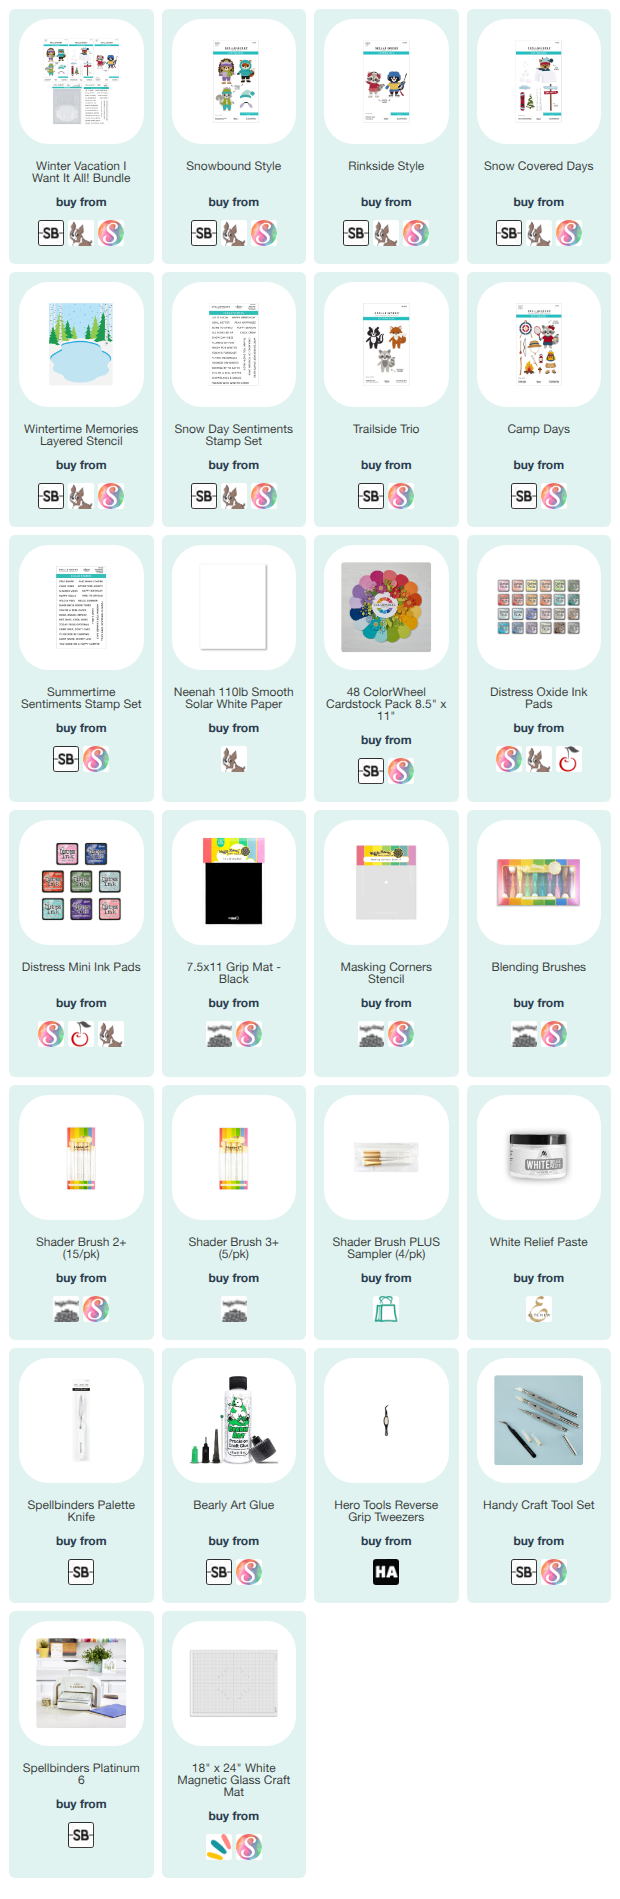
NOTE: all supplies are linked to multiple sources in the thumbnails at the end of this blog post.
If you live outside of the United States/North America, you might want to head over to the Spellbinders UK website.
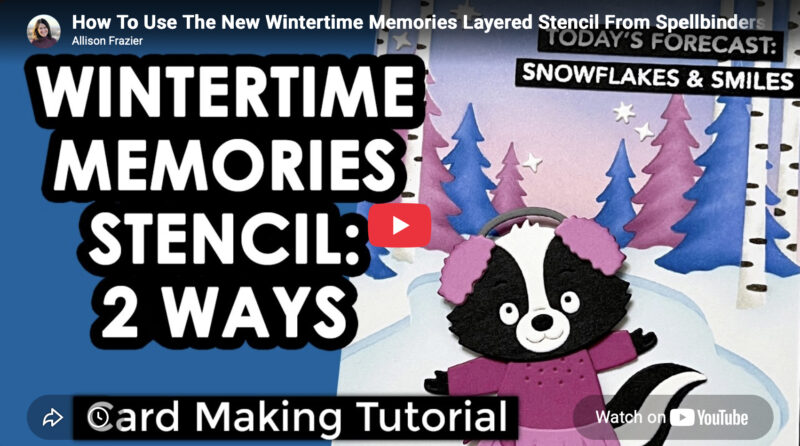
NEW VIDEO: I have a new video on YouTube today showing how I used the stencil set in two different ways. I also talk about various other options, and I plan on sharing more soon!
CLICK HERE to view today’s video on YouTube, or you can view it below.
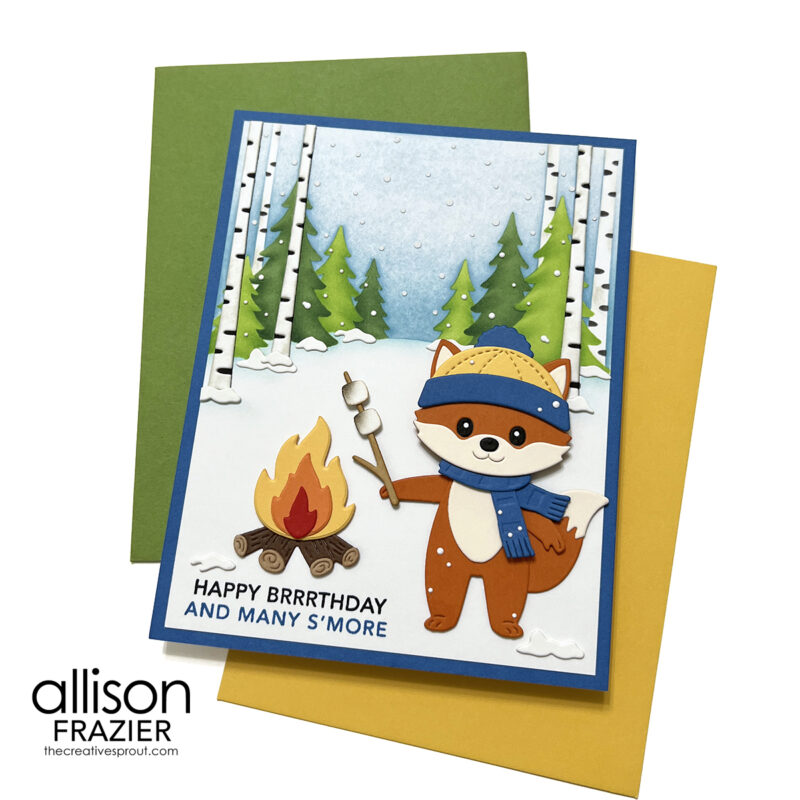
My first card features a winter forest scene where this little guy is trying to stay warm by the fire! I used the following products:
- Snowbound Style
- Snow Covered Days
- Wintertime Memories Layered Stencil
- Snow Day Sentiments Stamp Set
- Trailside Trio
- Camp Days (the s’mores and campfire)
- Summertime Sentiments Stamp Set
For the stenciled scene, I added some shading details to the trees, which you can see me do in the video. I stenciled the falling snow using White Relief Paste from Altenew. I also added in some die cut trees from the Snow Covered Days die set. The little snow mounds at the bottom of the trees are from the die that creates snow layers to put on top of the pine tree from Snow Covered Days. I have been using those pieces a lot for other things! I also added teeny tiny die cut snow to the scene. I have several dies in my stash that create little tiny circles. I like the look of dimension that tiny die cut snow gives versus splattering.
For my scene, I borrowed a few things from the Summer Camp Collection. The campfire and s’mores come from the Camp Days die set, and the second part of the sentiment comes from the Summertime Sentiments Stamp Set.
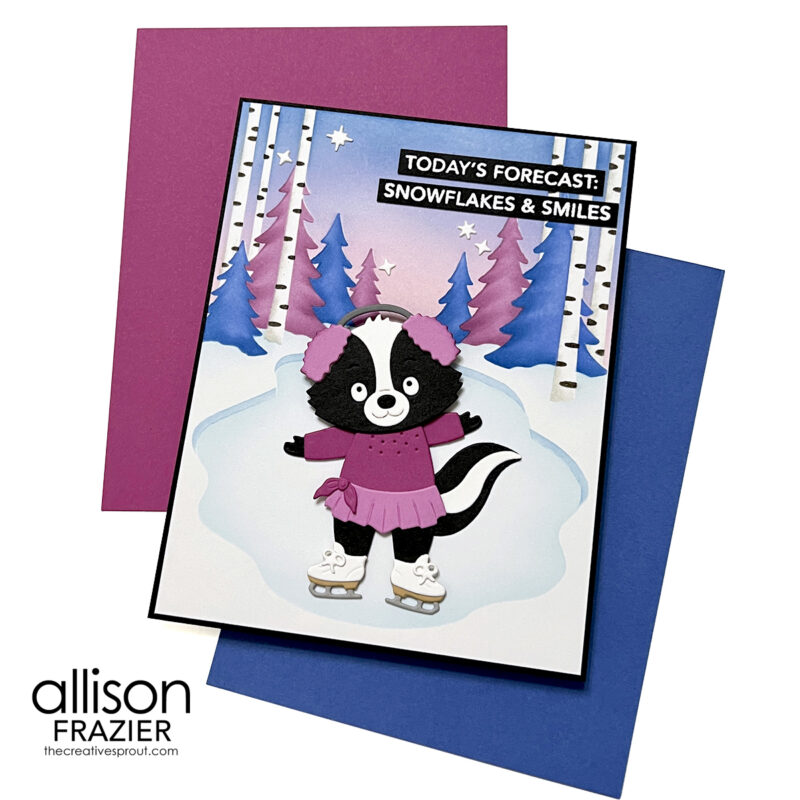
For my second card, I added in the frozen pond so that this little cutie could practice her double axels! This card features the following products:
- Rinkside Style
- Snowbound Style
- Snow Covered Days
- Wintertime Memories Layered Stencil
- Snow Day Sentiments Stamp Set
- Trailside Trio
I stenciled this scene similar to the first one, but obviously with some alternative colors. I did a bit more with the sky, creating a beautiful early morning sunrise blend. Instead of stenciling the snow in the sky, I added some small die cut snowflakes from the Snow Covered Days set. The frozen pond comes together easily with the very last stencil in the set. I love how it is an option that results in two different scenes!
Her adorable outfit is from the Rinkside Style set. I will have more videos coming where I share assembly tips for all the new clothing, so stay tuned!
I hope these cards bring a smile to your face today. As always, I appreciate you visiting my blog.
Wishing you all a crafty day,
Allison
SUPPLY LIST
Note: External links on my blog may contain affiliate links. This gives me the opportunity to earn a small commission when you click on the links and place an order. This comes at no additional cost to you. Thank you so much for your support! You can see more information on my Affiliate Disclosure page.
Just when you think these critters couldn’t get any cuter, they get all dolled up for winter activities. And I’ve modified the layering background stencils to look like my high desert environment by judiciously using different parts of layers. I’ve had so much fun with the Camping and Autumn collections and I can’t wait to receive my order of these Winter dies. Kudos to you, Allison, for a great collection..
You’ve done a phenomenal job w/ this line! I love these cards.