Hello, crafty friends! I hope you have been doing well. I am rejoining the land of the living after being sick for the past week! I am happy to be feeling a bit better, and I am ready to start sharing some cards that I have been working on. I have three cards and a video featuring products from Altenew. They just released White Relief Paste and Crystal 3D Gel this month, and you’ll see me play with both in my video.
Exclusive Discount:
I have an exclusive discount to share with you. Receive a free Mini Blending Brush (Flat Bristles) on orders over $79. Be sure to add the Mini Blending Brush to your cart of at least $79 and use the code ALLIBRUSH at checkout. This discount is good through April 3, 2026 at 11:59 pm EST. It is good for one-time use only, and it cannot be combined with other codes.
I do have a new YouTube video today. You can CLICK HERE to view it on YouTube, or you can view it below.

NOTE: all supplies are linked in the thumbnails at the end of this blog post.

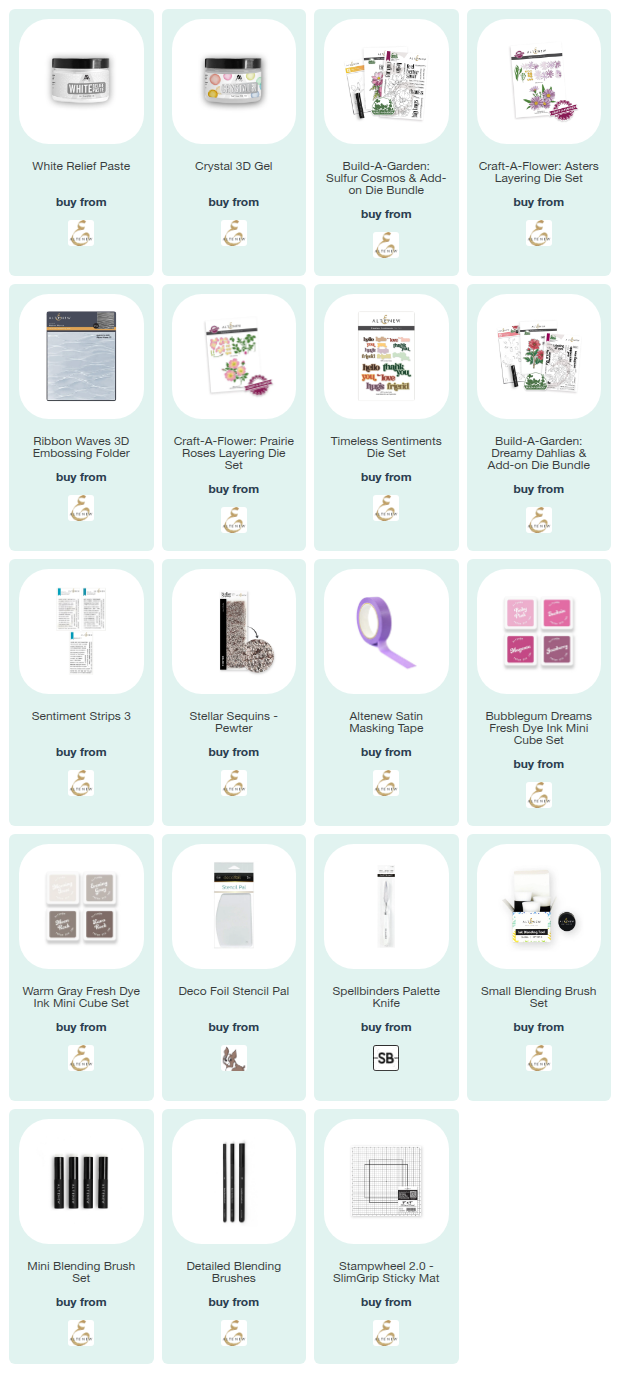
For my first card, I used the new White Relief Paste in a pretty traditional way – with a stencil. This stencil comes from the Build-A-Garden: Sulfur Cosmos set. It’s kind of the “bonus” stencil included in that set. This paste dries really opaque, with a crisp white finish. I really love it. The flowers on this card are from the Craft-A-Flower: Asters Layering Die Set. I stamped and embossed a sentiment from the Sentiment Strips 3 stamp set.

My second card also features the White Relief Paste, but this time I used it in a rather unexpected way, with the help of the Ribbon Waves 3D Embossing Folder. You can watch how I created the texture on the white panel in my video. I also used the Ribbon Waves folder for the pink panel in the back. The flower is from the Asters Layering Die Set, but I pulled some leaves from the Prairie Roses Layering Die Set. The hello word die is from the Timeless Sentiments Die Set.

My third card features the new Crystal 3D Gel. This is a water-based product that dries to a translucent shine. I used the gel through the last detailed stencil on the flowers. (You’ll see it better in the close-up below). The flowers and the sentiment are from the Build-A-Garden: Dreamy Dahlias & Add-on Die Bundle. I colored the florals using the matching stencils and inks from the Bubblegum Dreams Fresh Dye Ink family and the Warm Gray Fresh Dye Ink family.

For the center of the flowers, I used the smallest set of sequins from the Pewter Stellar Sequins set.
I had fun playing with this paste and gel, and I hope my cards bring a smile to your face today. As always, I appreciate you visiting my blog.
Wishing you all a crafty day,
Allison
Note: External links on my blog may contain affiliate links. This gives me the opportunity to earn a small commission when you click on the links and place an order. This comes at no additional cost to you. Thank you so much for your support! You can see more information on my Affiliate Disclosure page.