
Hello, friends! Hero Arts has some fun collections this month, and I wanted to pop in and share them with you. The first is the adorable Beary Sweet collection, designed by Carly Tee Minner. If you are familiar with Carly, you know she loves making shakers, and this collection is her to a “Tee”! One thing that I wanted to mention is that there is a BUNDLE available for this collection, which not only includes all of the products, but also includes a FREE class kit to create along with Carly on March 27th.
The second collection is the super fun Friends With Flair collection. If you were a child of the 80’s like me, you will love this one! You’ll really appreciate the Suspenders Die Set, especially if you were a fan of Mork & Mindy. If you had told me back then that I would one day live near Boulder, where the show took place, I probably wouldn’t have believed you!
I was hoping to have some videos ready for these collections, but the days keep going by faster and faster. Instead, check out all of the details below for the cards that I made.
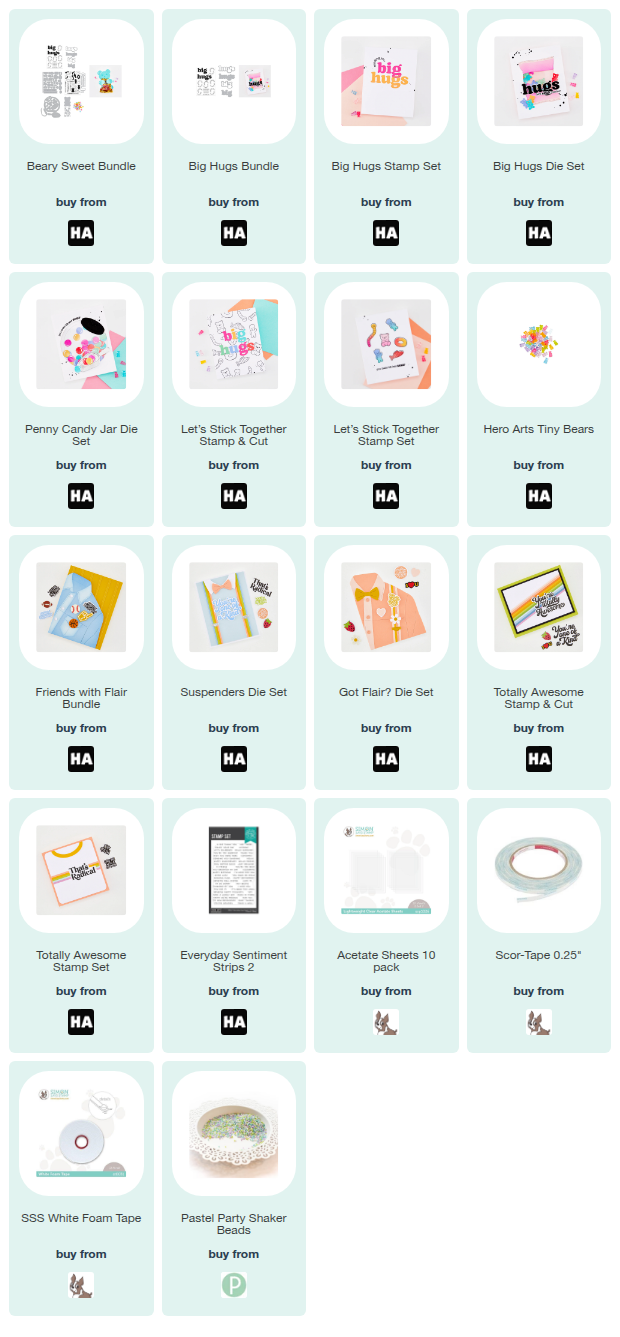
NOTE: all supplies are linked to multiple sources in the thumbnails at the end of this blog post.

I made several cards with the Beary Sweet collection. This first one features the Penny Candy Jar Die Set. This die set comes with dies for the scoop and some gumballs/candy. But, I chose to make a shaker using the adorable Tiny Bears. These bears look like the real thing, but don’t eat them, as much as you may be tempted! Now, these little guys are a bit chubbier than your average shaker bits, so I did layer up some foam tape to give them enough room to shake around. I used the main die from the Penny Candy Jar to cut the opening into a square panel. I flipped the panel over, adhered acetate to the back, and then added foam tape all around the opening. I added the bears and then enclosed the shaker with another panel of white paper that I had softly ink blended with light blue ink. This (hopefully) gives it the look of a glass jar. I made my scoop pink because…why not?? It would be fun to make the scoop and the jar lid from silver metallic card stock, but I chose to only use black glossy paper for the handle on the jar lid.
I did add my shaker panel to a square sheet of patterned paper that is about 5.5″ square. This worked out perfectly because then I could make a card base using a sheet of paper measuring 11″ x 5.5″ (and then scored in half). No need for scrapbook sized paper, even for this size card! Best of all, the card fits into a 6″ square envelope, which I happen to have a lot of in my stash. By the way, the sentiments are from the Everyday Sentiment Strips 2, which came out last month.

For the inside of my card, I stamped a sentiment using the fun Big Hugs Stamp Set. I also stamped a cute little pink gummy bear in the corner using the Let’s Stick Together Stamp Set.

My next card features the Big Hugs Bundle, which includes the Big Hugs Stamp Set and matching dies. The dies include the “Big” and “Hugs” words, along with shadow dies for both. I went with another shaker for this one because I am always looking for excuses to use my beloved shaker beads from Pretty Pink Posh. These are the Pastel Party Shaker Beads, and I adore the colors.
For this shaker, I wanted each letter to have its own beads. If I just created a large well underneath the words, and you shook it around or laid it flat, some of the letters would probably appear empty, and that’s no fun! BUT, because the letters are so close to each other, there is really no way to add foam around each letter to separate it from the others. So, I cut the word into a 5 separate panels of white card stock, and then I glued those all together. I then added a solid piece of white card stock in back. This created the “wells” that I could then pour my shaker bits into. Once I added the beads, I adhered a piece of acetate on top to close up the shaker. I then had a 6th panel with the “hugs” cut into it that I adhered on top of the acetate.
But, that’s not all! I wanted to try something different, so I took a turquoise panel, cut it at an angle, and then cut the “hugs” die into it. I then adhered that on top of the white panel. I think it’s a fun twist, although part of me thinks maybe it makes it harder to read the word? I don’t know – let me know what you think in the comments below! I finished the card by stamping a few of the sentiments from the matching Big Hugs Stamp Set. I made one of them into its own sentiment strip and then stamped the other one directly onto the turquoise panel.
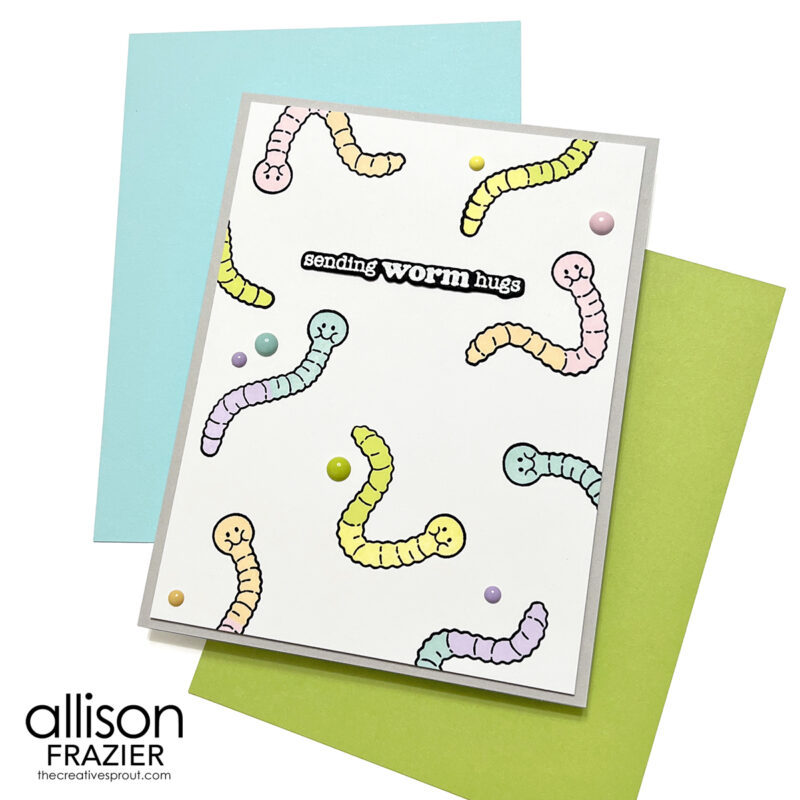
This next card is just a really cute and simple card featuring the Let’s Stick Together Stamp Set. There are several cute images to choose from, but I chose the gummy worms. The cutest part is that, after you stamp the outline images, there are then solid stamps to make the gummies two colors. These would also be really easy to color with markers, but I just chose some pastel inks and stamped them. The sentiment is also in the stamp set, but I cut it with the matching die from the Let’s Stick Together Stamp & Cut set.

Now we are finally at the card I made with the Friends With Flair collection. And yes, the rainbow suspenders give Mork from Ork vibes! Raise your hand if you also had rainbow suspenders in the 80’s! I feel like this was also the point in time where we had hearts or other fun designs on our shoelaces. The suspenders die set comes with several different options for necklines, including a bow tie, but I chose this one. I made the clips for the suspenders from silver card stock, although the glare in the photo makes them almost look white. The flair on the suspenders comes from the Got Flair? Die Set. There is a lot more flair in this set that I didn’t use, including many sports related flair. The large sentiment comes from the Totally Awesome Stamp & Cut set, and you can see that I did use the matching die, although there is a stamp set sold separately. The “you got this” flair that I made is also from this Totally Awesome set.
I hope these cards bring a smile to your face today. As always, I appreciate you visiting my blog.
Wishing you all a crafty day,
Allison
SUPPLY LIST
Note: External links on my blog may contain affiliate links. This gives me the opportunity to earn a small commission when you click on the links and place an order. This comes at no additional cost to you. Thank you so much for your support! You can see more information on my Affiliate Disclosure page.
Hi, Allison –
Your first card is my fave, although I love the one w/ the PPP shaker beads, too… and I like the non-shakers as well. But back to card #1 — I really thought the shaker bits were actual gummy bears. They look unbelievably realistic. Wow! I was telling myself that I did not need Carly’s collection. After seeing your email, I’m reconsidering.
Lori S in PA