Hello, friends! I hope you are all doing well. I am back with more inspiration with the January Simple Joy Release from Waffle Flower. Today, I am focusing on some of their new cover plates and stencils. I have three cards to share, and they feature the following products from the new release:
SPECIAL DISCOUNT:
If you have never used my Waffle Flower code at checkout before, you will get 10% off your entire purchase by using my code – ALLISON. You can find individual links to the store throughout my blog posts, but they are also always in the thumbnails at the end of my blog posts. Note that my code can only be used once.
FREE GIFT:
Waffle Flower is offering a free gift with purchase! If you purchase $60 or more from the Simple Joy Release, you will get the new Cozy Spot Pets Die. There is no code necessary, but you do need to make sure to add it to your cart before checking out.
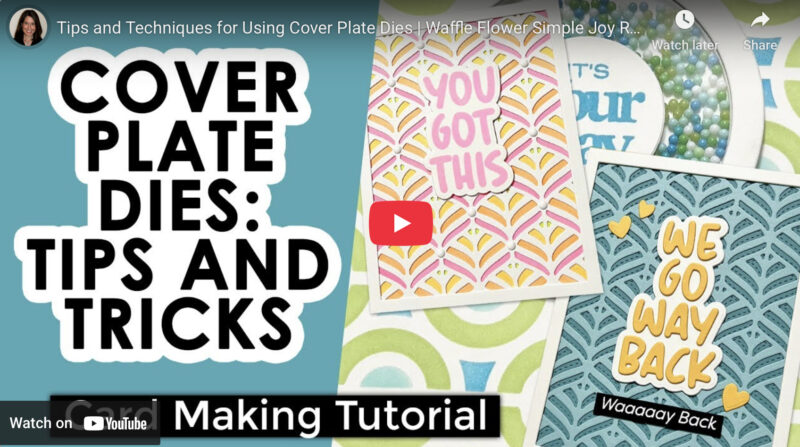
I do have a new video showing how I made my cards today. You can CLICK HERE to watch on YouTube, or you can view below.
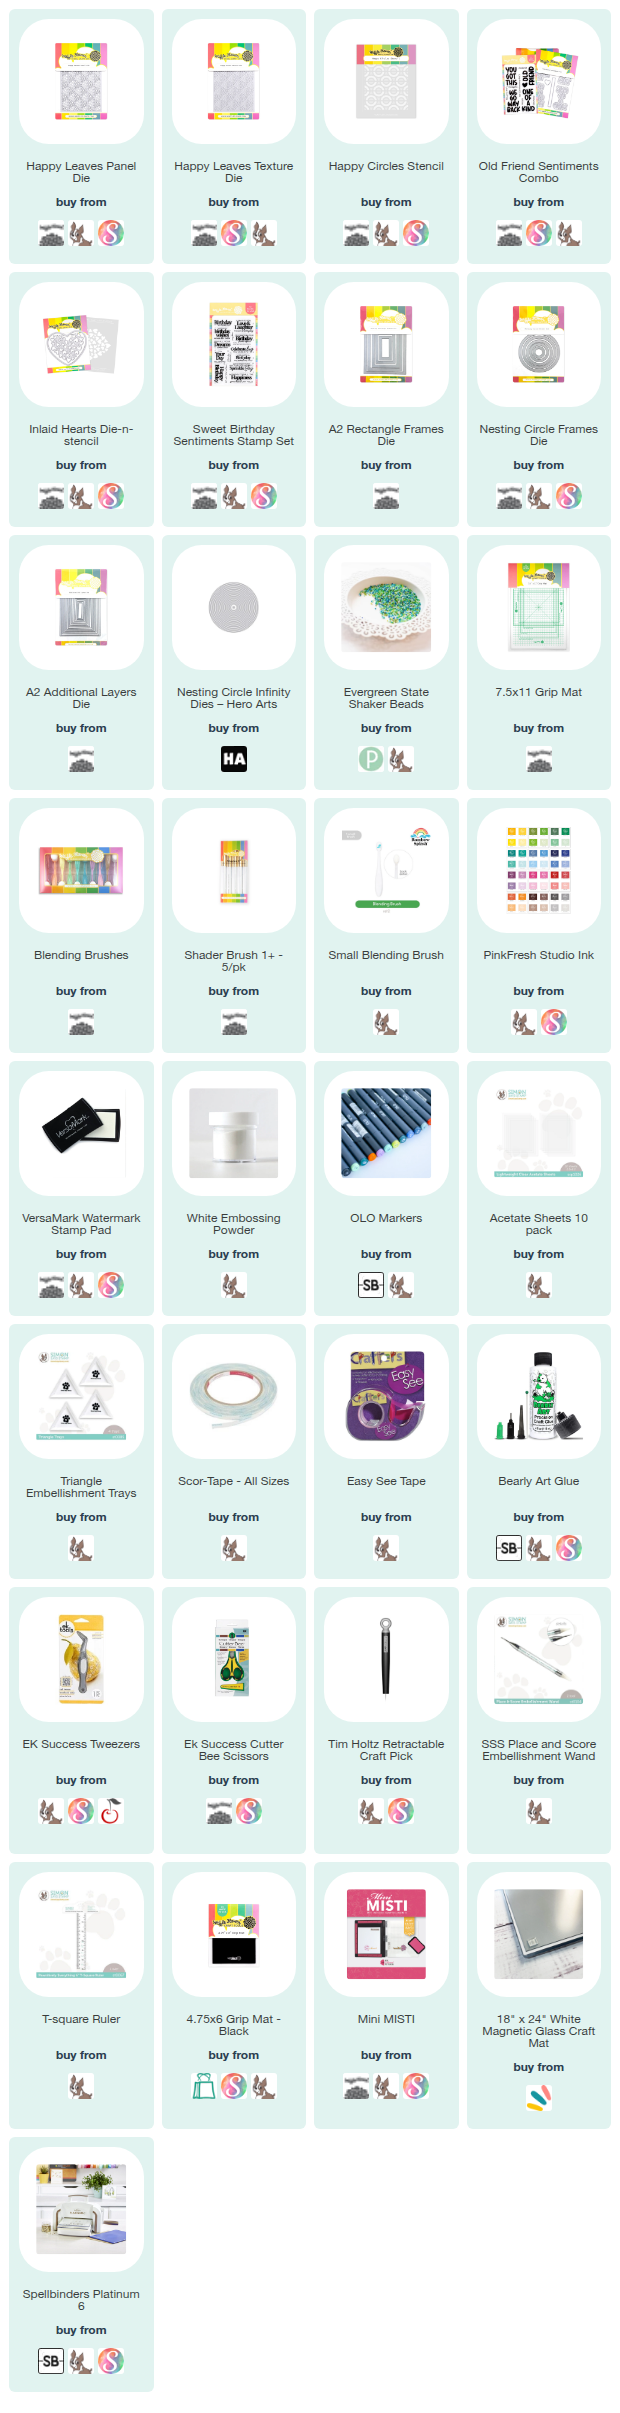
NOTE: all supplies are linked to multiple sources in the thumbnails at the end of this blog post.
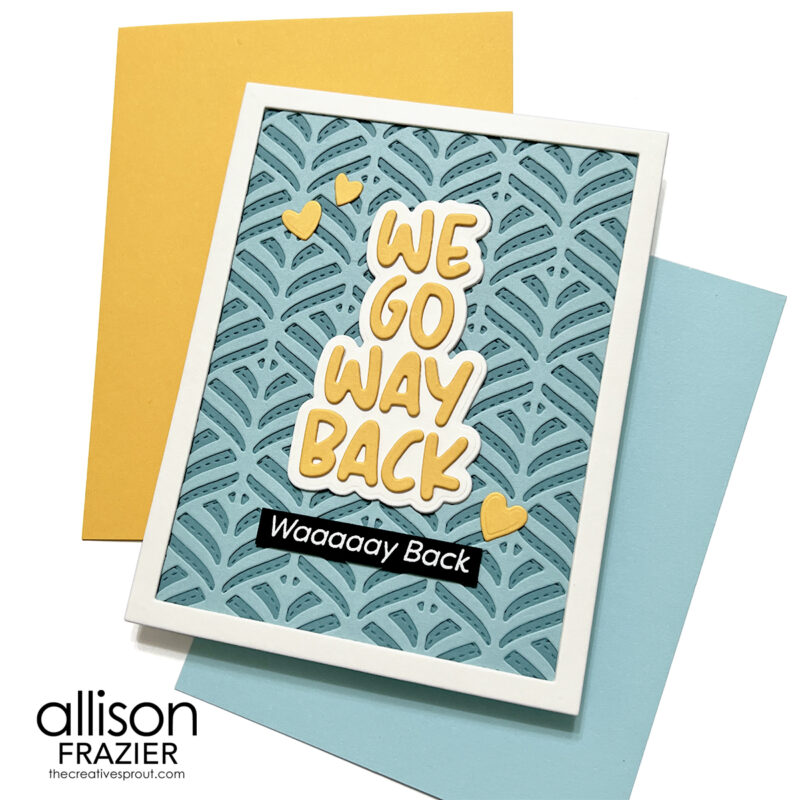
I shared this first card in my previous post for the release, but I had promised to come back and share a few tips with you. One of those tips was for how to easily line up the Happy Leaves Texture Die under the Happy Leaves Panel Die when you’re glueing them together. You can see my tip for doing that in today’s video. The other tip was for how to easily line up the die cut letters on this sentiment, which is from the Old Friend Sentiments Combo. Again, you can see how I did it in the video. This main sentiment is in the stamp set itself, but I love how the matching die set includes both the outline die (if you want to stamp the sentiment) and the dies for the letters. I finished the card with a white frame from the A2 Rectangle Frames Die set. I also added a few hearts with the Inlaid Hearts Die-n-stencil, which was released last month.
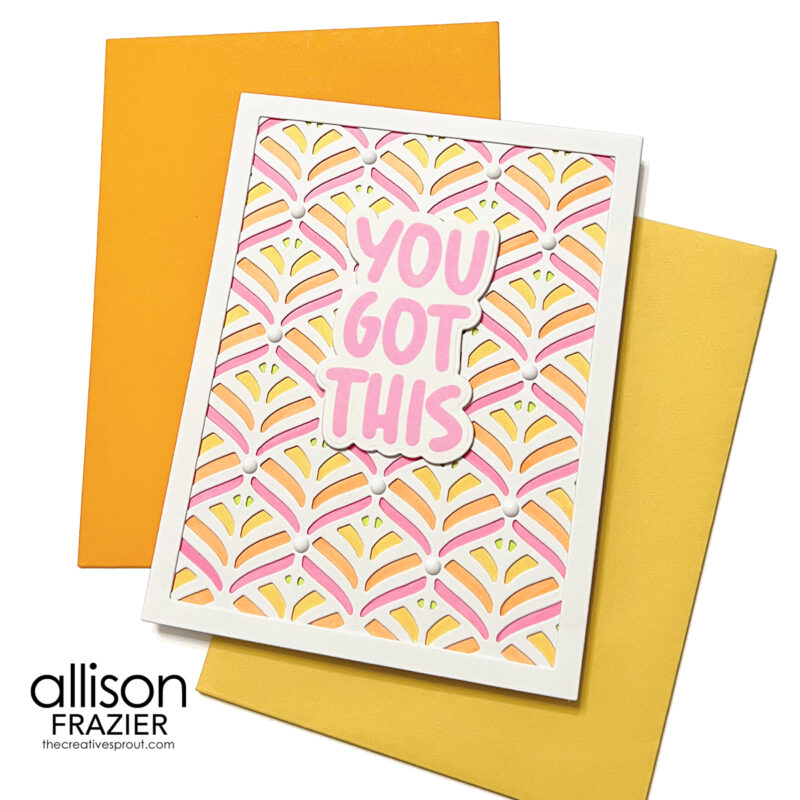
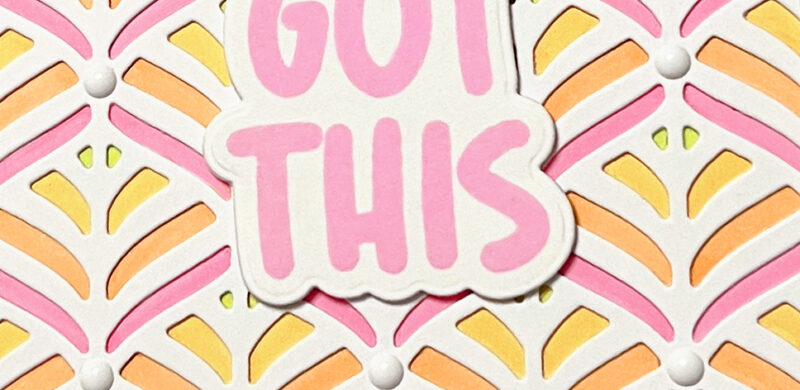
For my second card, I used the Happy Leaves Panel Die again. I really wanted a die cut inlay look, but without all the fuss! So, I colored the back panel with markers. I was able to color the right areas of the panel by dry embossing the panel with the die first. You can see how I dry embossed the panel without adding too much dimension in my video. I do love the traditional die cut inlay, but with this panel, it’s a commitment, for sure! This technique is just a fun, easy alternative. For the sentiment, I used the Old Friend Sentiments Combo again, but this time I stamped the sentiment. I added some white enamel dots around the panel as an embellishment and finished it off with a rectangle frame again.
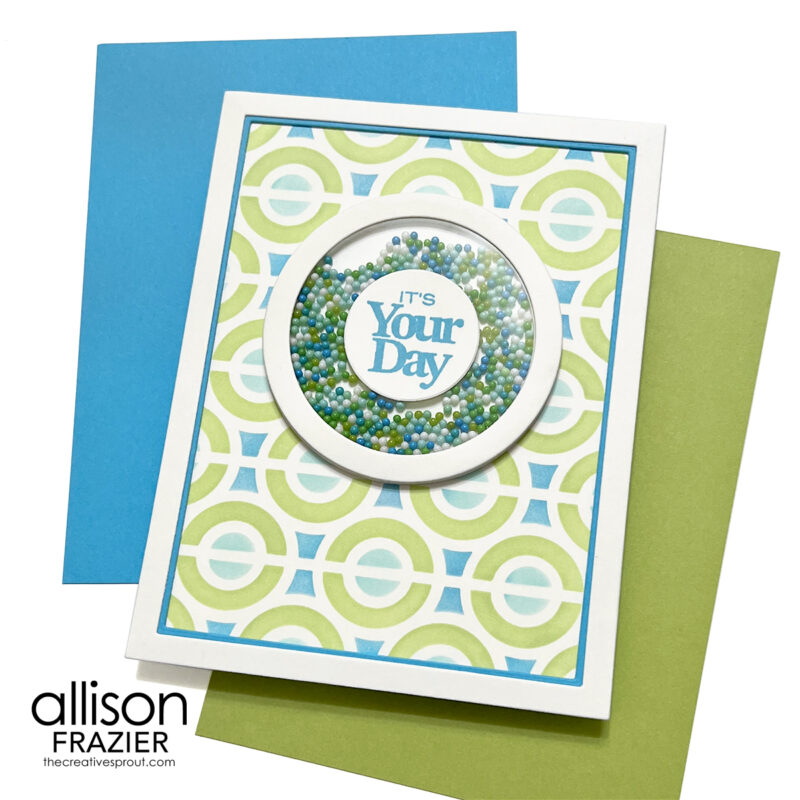
This last card does not feature a cover die, although there is a matching Happy Circles Panel Die for this. This card features the Happy Circles Stencil set. I inked up the two stencils with Pinkfresh Studio ink, in an effort to match the fun shaker beads from Pretty Pink Posh. I used a die from the Nesting Circle Frames Die set to create a quick and easy “well” for my shaker. I used a smaller circle and a sentiment from the Sweet Birthday Sentiments Stamp Set to add the sentiment in the middle. Check out the video to see how I partial stamped this sentiment! I again used the A2 Rectangle Frames Die set to create a frame, but this time, I created my own “inner frame” using a plain rectangle die. I love how this card turned out, and it was really fun to make.
I hope these cards bring a smile to your face today. As always, I appreciate you visiting my blog.
Wishing you all a crafty day,
Allison
SUPPLY LIST
Note: External links on my blog may contain affiliate links. This gives me the opportunity to earn a small commission when you click on the links and place an order. This comes at no additional cost to you. Thank you so much for your support! You can see more information on my Affiliate Disclosure page.
These are phenomenal, Allison! I would love to order the Happy Circles bundle but I have to behave better financially or I will not be able to retire when I should be able. I love what you have shared.
Thanks!
Lori S in PA