Hello, friends! Today, I am participating in an Instagram Hop for the Pretty Pink Posh November winter release! My card today is a cute take on a penguin shaker. I used Kraft card stock instead of black! I also have another card that I recently shared on Instagram – details for that card are below. My hop card features the following products:
Instagram Hop Giveaway
NOTE: This giveaway ended on 11/18/25. Head over to my Instagram page for the actual hop, where you could win a $30 gift card to Pretty Pink Posh. Be sure to leave a comment in order to qualify! There are some fabulous designers sharing inspiration in the hop today.
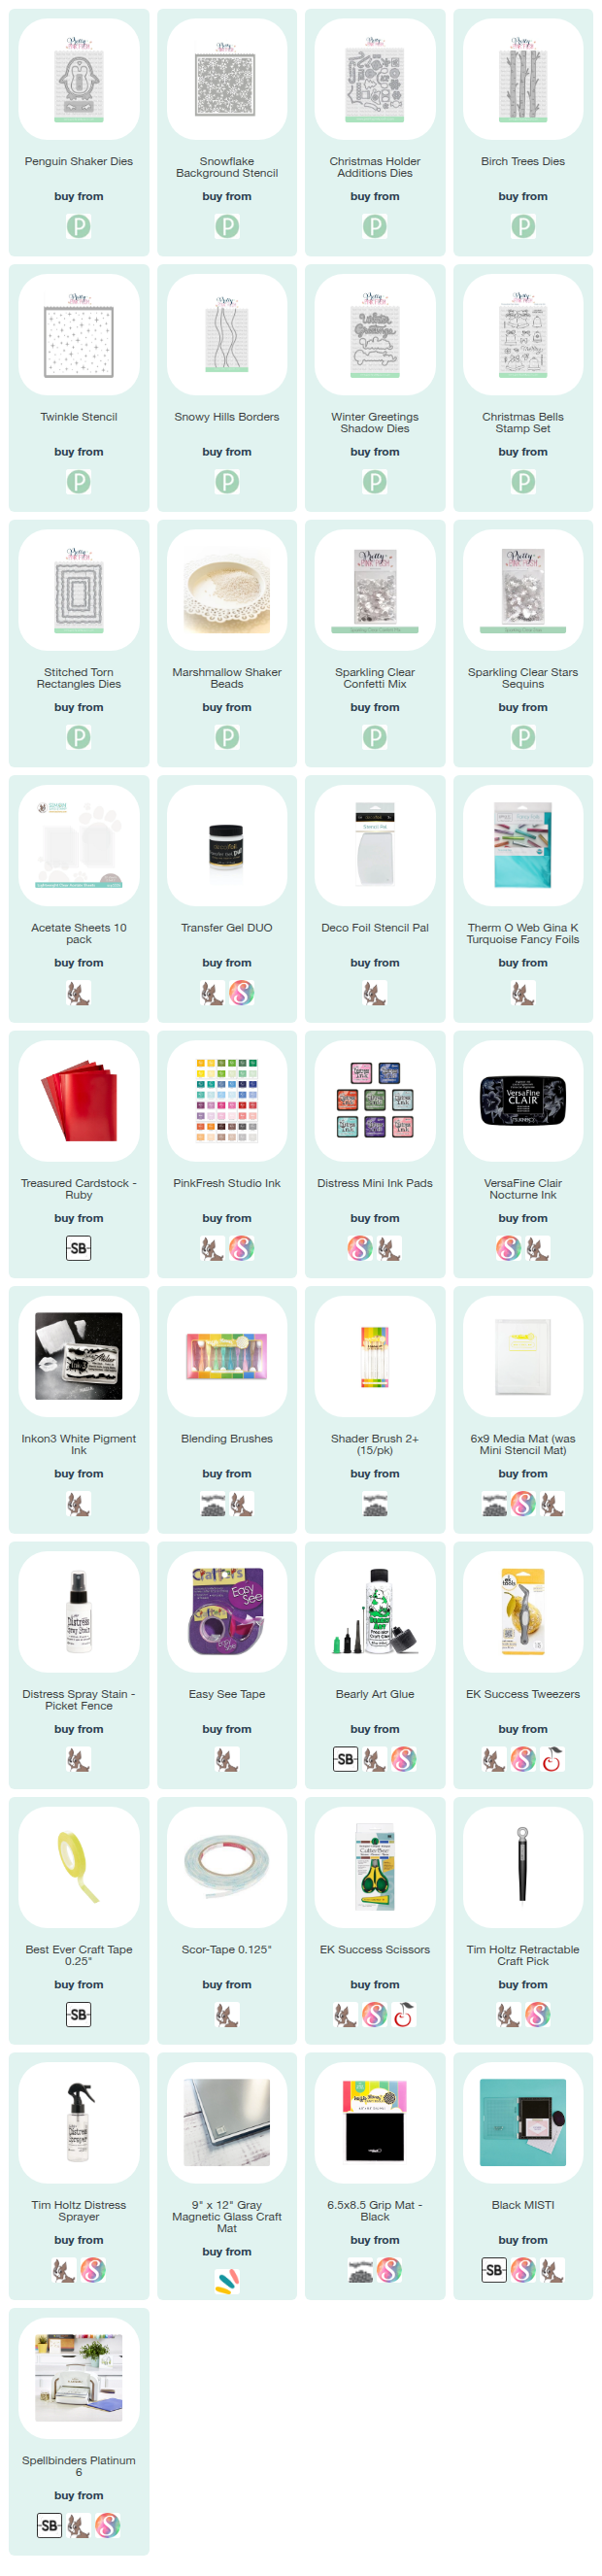
NOTE: all supplies are linked to multiple sources in the thumbnails at the end of this blog post.

I started my card with a Kraft A2 card base. On the front of the card base, I stenciled the new Snowflake Background Stencil with white pigment ink. This stencil leaves the detailed lines of the snowflakes the original color of the paper. In case you missed the other card that I created with this fabulous stencil, CLICK HERE to get to that blog post, which includes a video.
Once my card base was ready, I started on my penguin shaker. I taped the largest “outer” die and the “inner” die together and cut five layers of outlines. I like making my shakers by stacking layers of card stock versus using foam tape. In order to make sure that the outlines are consistent in shape, I tape them with really strong tape – my preference is the yellow Best Ever Craft Tape from Spellbinders. I glued four of these outline layers together and then glued them to a full back that I made by using that largest outer die. I also used that outer die to cut a piece of acetate. I attached the acetate to the back of the 5th layer (which ends up being the very top layer of the finished card) using Scor-tape.
NOTE: If reading how to make a shaker card is not as helpful as seeing it being made, you can watch me make a similar shaker in the same way that I made the penguin. CLICK HERE to watch that video.
Once my penguin was ready to fill, I added the new Marshmallow Shaker Beads into the “well” created by the stack of outlines and the back piece. I then added Scor-tape to the top of those stacked layers and adhered the acetate layer on top. Now that my penguin was all closed up, I could decorate her! I cut the interior, detail piece with white card stock and added yellow nose/feet. I added black circles for the eyes. I believe I grabbed these circles from my stash, so they might be a bit larger than the eyes that come in the die set. To dress up the card, I used the Christmas Holder Additions Dies. This is where the adorable earmuffs, “Joy” word and snowflakes come from. I added some confetti embellishments to the middle of the snowflakes and scattered a few star sequins around the panel. I think this Kraft colored penguin turned out so cute!

I shared this card on Instagram last week and am just now sharing the details on my blog. This card features the following products:
I started this card with the background and a technique I haven’t done in a long time. I foiled the Twinkle Stencil using Transfer Gel DUO. This is a medium that allows you to add foil (or flock) with heat or without heat. It is easy to spread across the stencil and cleans up really easily! Once it is dry, you can either use a laminator to apply foil OR you can just use your die cutting machine. I opted for my die cutting machine, and it foiled perfectly. I used a turquoise foil on white paper. I then ink blended my panel with the following Pinkfresh Studio inks: Waterfall, Turquoise, Paradise and Atlantis. Since foil resists ink, all I had to do was wipe any excess ink off the foil, and I was left with those shiny, twinkly stars! Once my ink blending was finished, I cut this panel with one of the Stitched Torn Rectangles Dies.
Next, I cut the Birch Trees dies from white card stock. I fussy cut black paper to put behind the trees to fill in the open lines in the trees. I used Iced Spruce Distress Ink to grunge up the trees, and then I followed up with Black Soot along the edges. I also cut a few hill shapes using the Snowy Hills Borders. Once the trees and hills were cut, I arranged them on my panel and then lined up that Stitched Torn Rectangle die that I had used and cut the trees and hills. That way, the trees and hills have the same cut lines as the panel. I don’t like glueing a bunch of layers together and then trying to die cut them, which is why I did these separate. I glued the trees and the first hill onto the ink blended panel and then splattered it with white Distress Spray Stain.
For my sentiment, I lined up the “Winter” from the Winter Greetings Shadow die set on the hill that would go in front, which allowed me to figure out where to stamp the “wishes” sub sentiment. I got the “wishes” from the Christmas Bells Stamp Set. I stamped it with black pigment ink and then glued it onto the panel. I cut the “Winter” from a red matte metallic card stock and glued that on. I then inked up the edges of the entire panel with Black Soot Distress Ink.
My white card base for this card is 5″ x 6.25″. I decided to extend the front hill by adding a red one to the card base. I think this adds an interesting look to the card. And speaking of red, look at the sweet little heart on the tree! I love how this card turned out.
I hope these cards bring a smile to your face today. As always, I appreciate you visiting my blog.
Wishing you all a crafty day,
Allison
SUPPLY LIST
Note: External links on my blog may contain affiliate links. This gives me the opportunity to earn a small commission when you click on the links and place an order. This comes at no additional cost to you. Thank you so much for your support! You can see more information on my Affiliate Disclosure page.