Hello, friends! Today, I am participating in an Instagram Hop for the Pretty Pink Posh September holiday release! My card today is a departure from my usual, and that’s because there was very little die cutting involved. Instead, I focused on stenciling techniques, including how to stencil on dark card stock. My card features the following products from the release:
Instagram Hop Giveaway
Head over to my Instagram page for the actual hop, where you could win a $30 gift card to Pretty Pink Posh. Be sure to leave a comment in order to qualify! There are some fabulous designers sharing inspiration in the hop today. You have until 9/30/25 to leave a comment.
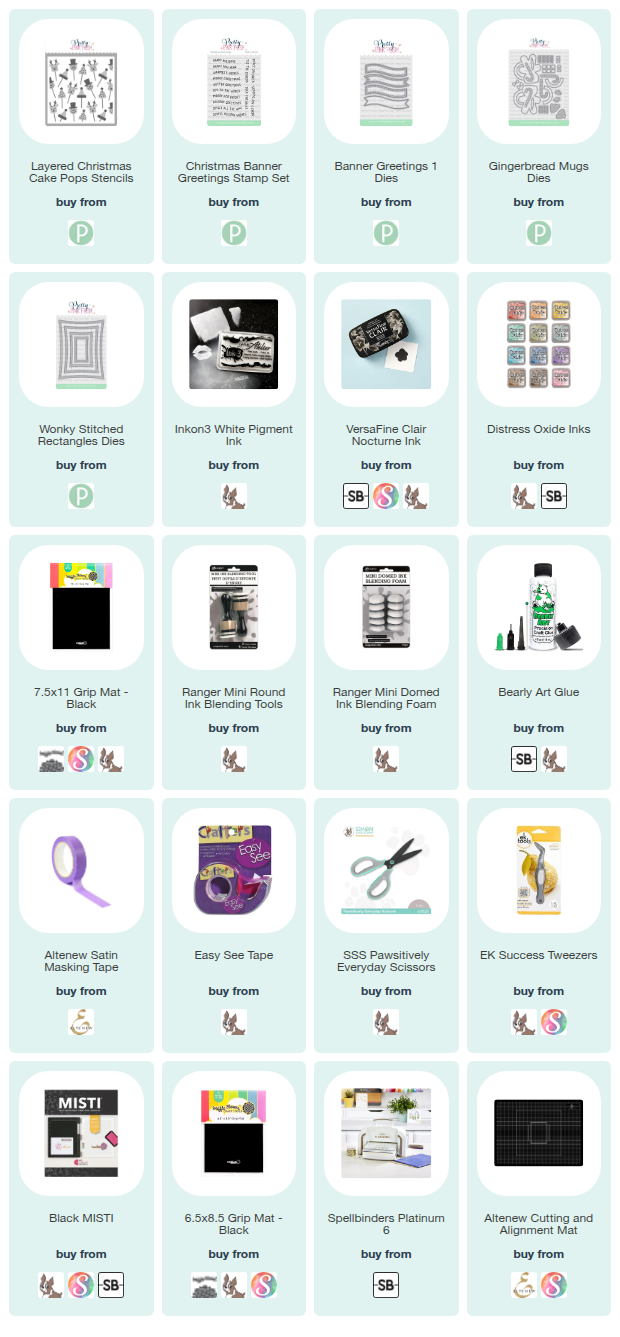
NOTE: all supplies are linked to multiple sources in the thumbnails at the end of this blog post.
If I haven’t mentioned it before, I love cake pops. I love making them, and I love eating them, of course! So naturally, I love all the cake pop themed products from Pretty Pink Posh. The latest additions are the Christmas Cake Pops. There is a die set, which I will be featuring in the coming weeks. And, there is the Layered Christmas Cake Pops Stencils, which is what I am featuring today. I wanted to challenge myself and stencil on dark paper, and it definitely was a challenge. Mainly because it requires patience – haha!
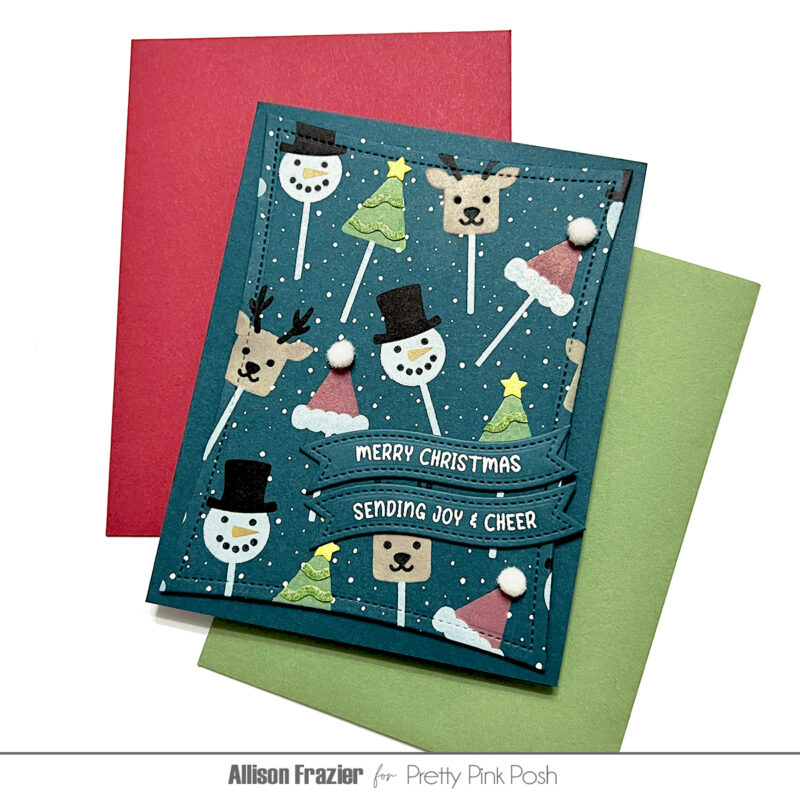
To start, I chose a dark teal blue color card stock. I trimmed an A2 sized panel and put that on my grip mat. I chose to start with the stencil that has the sticks first. The key to stenciling on dark card stock is to lay down a foundation of white pigment ink. And this is where the patience comes in. It takes several layers of the white ink to really cover the dark color.
The next stencil is the one that fills in the “bodies” of the cake pops. And again, I laid down several layers of white pigment ink. I did that for the entire stencil, not just the parts that I wanted to be white, like the snowman. Even though I was going to use my Distress Oxide Inks to add color, and Oxides have pigment ink in them, I knew they wouldn’t show up as their true color on the dark paper. And that’s why the foundation of white ink is important. The part that requires patience is letting the white pigment layers dry. I could have used my heat tool to dry between layers, but I didn’t want to warp my paper, and I also didn’t want to lift the stencil before I was completely done adding my white layers. For the most part, I worked on other things while I was in between layers. Other things being…dishes! How do dishes multiply in the sink when you’re not looking?
Once I was finished adding enough layers of white to that second stencil, I removed it, cleaned the white pigment ink off it, waited for the ink to dry on the panel, and then carefully put the stencil back in place to add my colors. I used Festive Berries for the red hats, a combination of Vintage Photo and Antique Linen for the reindeer, and a combination of Twisted Citron and Mowed Lawn for the trees. I then came in with the last stencil which adds the details for the faces, etc. I used black pigment ink for the facial features and the snowman’s hat. I did mask off the area for the snowman’s nose so that I could make that orange using Spiced Marmalade. I also did not add any stenciled details to the trees, except for the stars. I did color the stars with Mustard Seed but ultimately added a die cut star from my stash to the finished card. For the trees, I used the squiggly details from the new Gingerbread Mugs die set (the die that makes the icing detail on the gingerbread legs and arms). CLICK HERE to see the fun gatefold card I made with that die set.
To finish the card, I ended up cutting the panel with the largest Wonky Stitched Rectangles Die and adhering that to a card base of the same color. I then added two sentiments from the new Christmas Banner Greetings. I also used a white gel pen to add faux splatters. After all the work I did on the panel, I didn’t want to risk ruining it with any stray paint splatters! And last, but not least, I added little white pom poms to the top of the red hats.
I hope this card brings a smile to your face today. As always, I appreciate you visiting my blog.
Wishing you all a crafty day,
Allison
SUPPLY LIST
Note: External links on my blog may contain affiliate links. This gives me the opportunity to earn a small commission when you click on the links and place an order. This comes at no additional cost to you. Thank you so much for your support! You can see more information on my Affiliate Disclosure page.
So cute! Love the blue field for a background, too!
Lori S in PA
I am so impressed with this process and this card! Well done my friend!