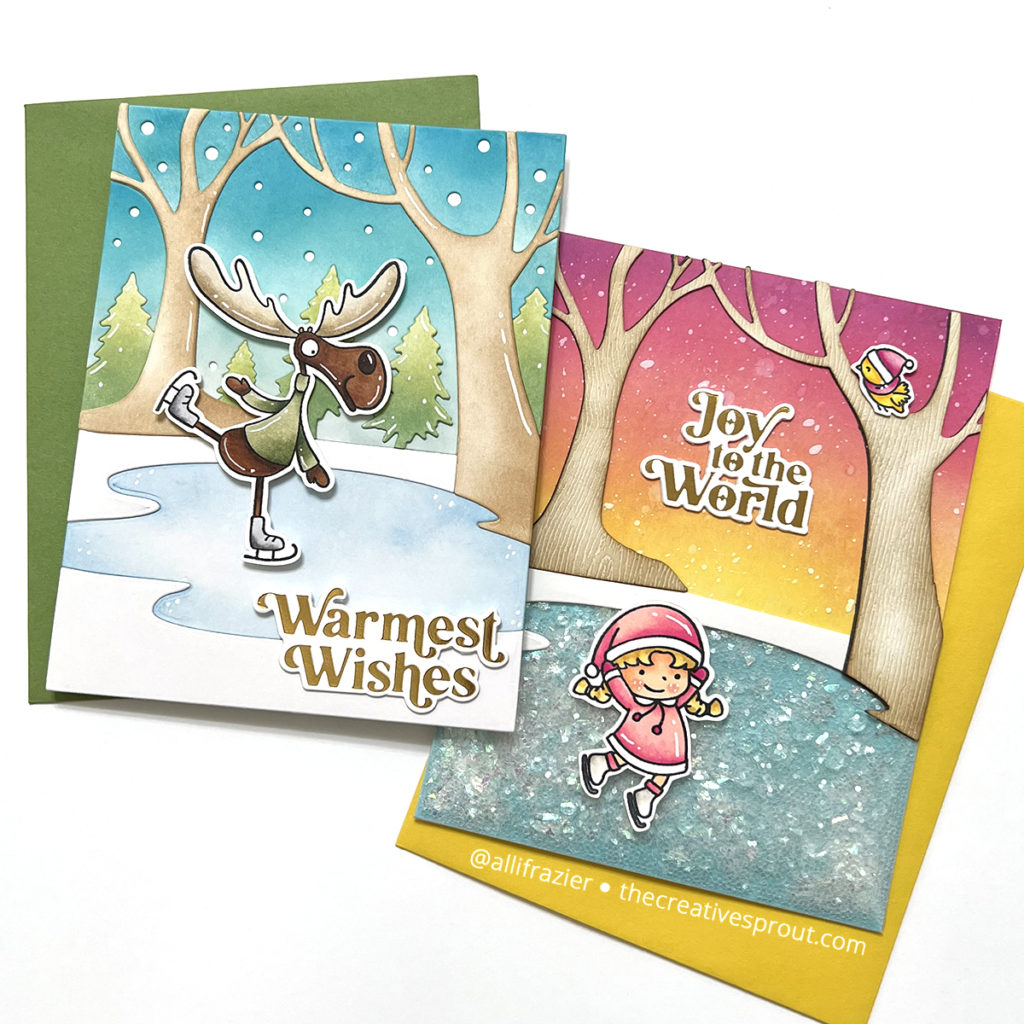
Hello, crafty friends. I hope you all have had a wonderful week. I can’t believe it’s Friday already! We were enjoying some warmer weather in Colorado, but it has turned chilly again. That means I get to make holiday cards! Ha! I have been wanting to use this fun Winter Lake Die from Waffle Flower for awhile. I created two cards, using it in different ways.
Making the First Card
For my first card, I used this adorable stamp from Purple Onion Designs – Murray the Moose. He has been in my stash for awhile, just waiting for the perfect background! I stamped him with Memento Tuxedo Black Ink, colored him with my OLO markers, and fussy cut him out. I then started on my background. I used the Winter Lake die to cut a panel of Bristol Smooth card stock. I then separated out all of the pieces so that I could ink blend them. Next time I do this, I will ink blend the part of the panel that will be the sky BEFORE I die cut it. There are some small pieces towards the top of the branches that I had to ink blend separately. It wasn’t a huge deal because I ink blend on my Mini Stencil Mat, which keeps small pieces from moving around, but it just would have saved time and effort. I used Distress Oxides for ink blending – you can see all of the colors that I used down below in the supply list.
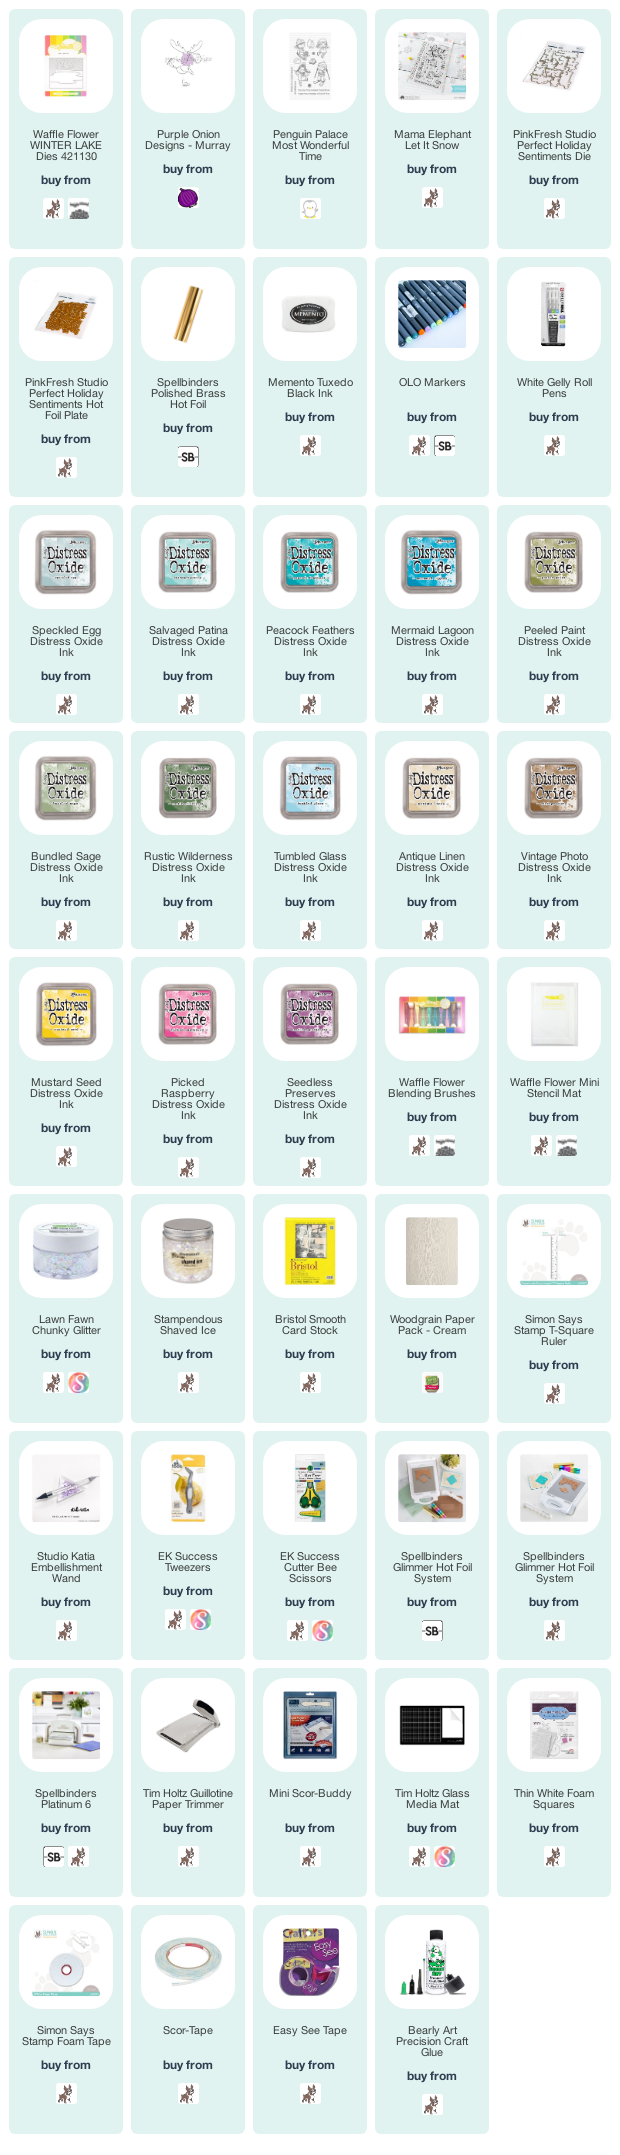
Speaking of supply list, I am trying something new today. You’ll see thumbnails at the end of my blog post with links to all the products that I used, down to some of the basic supplies that I use every day and don’t normally link. Hopefully this will make it easier for you if you are interested in buying any of the products listed.
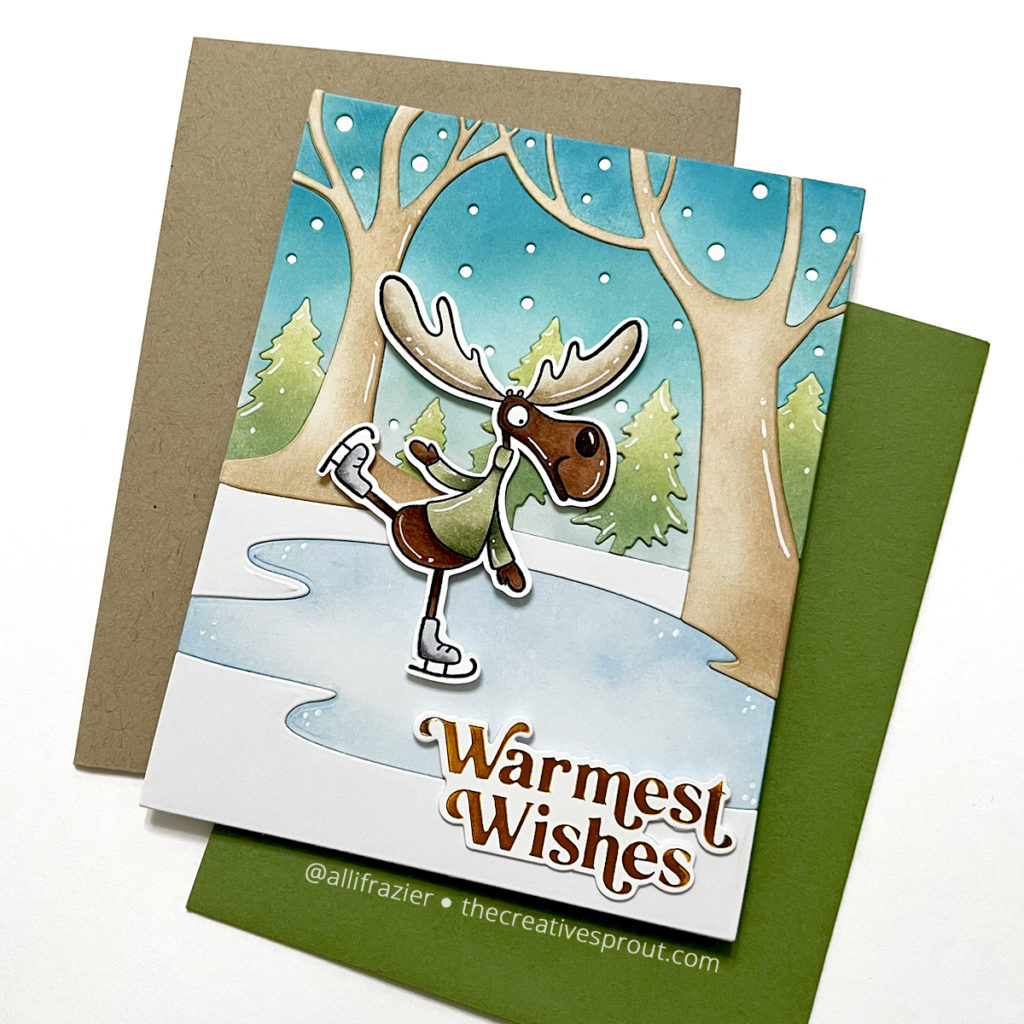
Once I finished ink blending all of the die cut pieces, I started adhering them onto my A2 card base. I did cut another panel of white card stock with the Winter Lake die so that I could double up some of the elements, including the two middle evergreen trees, the main tree trunks, and the snow banks. I adhered Murray into the middle of the scene with some foam tape. I added some white gel pen highlights to him and the background. I hot foiled the sentiment with Polished Brass foil and cut it out with the matching die. This foil looks like shiny gold foil, although it looks brown in the picture above because of the angle that I took the picture from. I think this card turned out so cute!
Making the Second Card
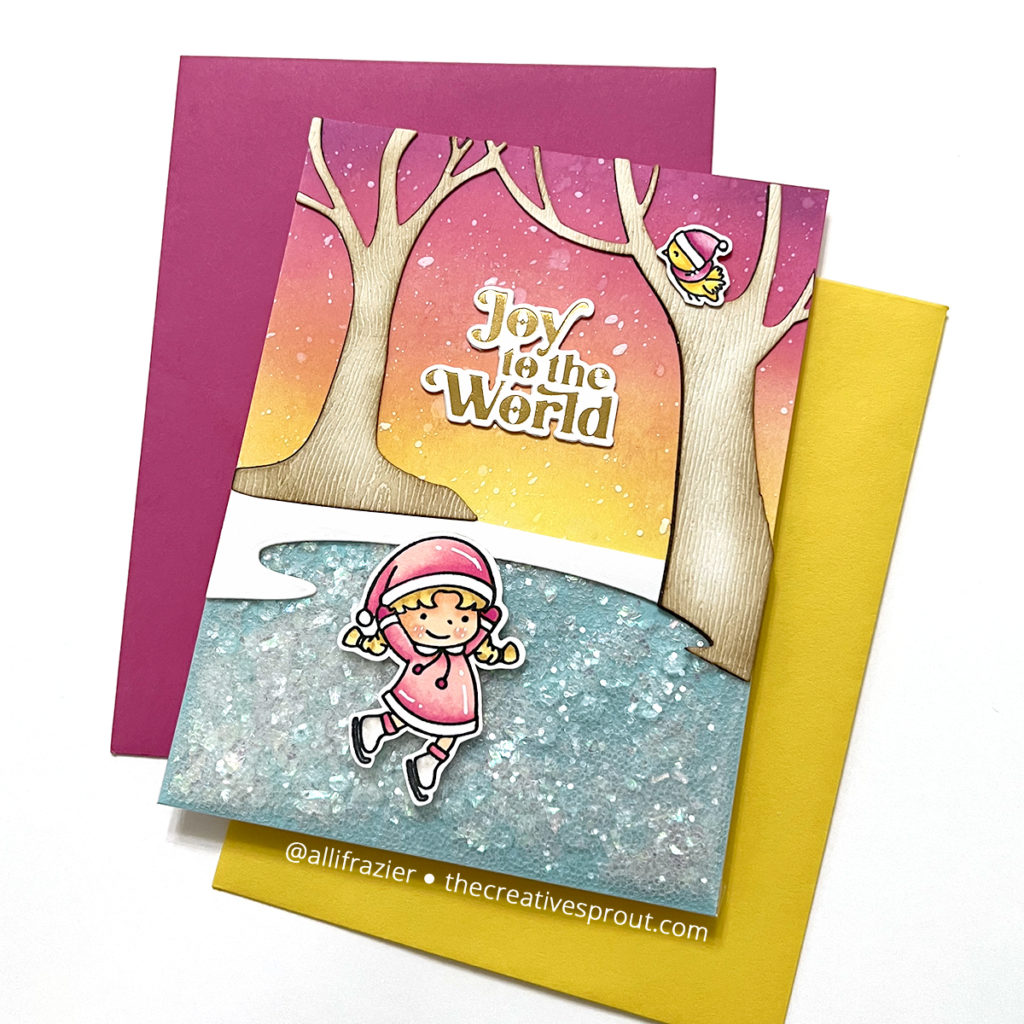
For my next card, I had this little cutie who wanted to ice skate. This time, I wanted to use the Winter Lake Die in a different way. I wanted to use just parts of the background to set the scene. I used the die to cut once from white card stock and once from woodgrain card stock (for the trees). From the white card stock, I only used the top snow bank piece. I used a separate piece of card stock to blend my sky, splattering it with water drops and white paint splatters when I was finished ink blending.
The pond is basically an infinity shaker element. Usually you’ll see infinity shakers as a full size A2 shaker. I just made my infinity shaker smaller, but it still works the same way. You just take your background and wrap plastic around it – you can use leftover packaging from your stamps or dies! In my case, my “background” was just a piece of blue card stock, roughly 4.25″x2.75″. I adhered the plastic to the back of the card stock with Scor-tape, leaving the top piece of tape unsealed until I put all of my shaker elements inside. For ice and snow, I tend to always gravitate towards chunky glitter and Shaved Ice. Once my shaker bits were inside the pouch, I sealed up that final side and adhered it to the bottom of my card base with more Scor-tape. Then it was easy to just add the other background elements onto the card base, making sure that they overlapped the top of my shaker pouch.
My cute skater is from the Most Wonderful Time stamp set from Penguin Palace. I colored her with my OLO markers and added white gel pen highlights, like I did in the first card. She looks so happy and joyful, that my sentiment was an easy choice. I love this Perfect Sentiments: Holiday hot foil plate and matching die from Pinkfresh Studio. You get to hot foil 10 sentiments at once, and then die cut them all at once, too! After adhering my sentiment, I thought I was finished, but I decided there was something missing. So, I added the cute little bird, which is from the Let It Snow set from Mama Elephant.
I had a lot of fun making these cards, and I love how they turned out. I hope they put a smile on your face and inspire you to look at your supplies in different ways. As I mentioned above, all products are linked below.
Wishing you all a crafty day,
Allison
SUPPLIES
Note: External links on my blog may contain affiliate links. This gives me the opportunity to earn a small commission when you click on the links and place an order. This comes at no additional cost to you. Thank you so much for your support! You can see more information and disclosure on my Affiliate Links page.
Dear Allison –
Thanks for sharing! These cards are precious… I like them both very much and I love “Murray.” I will have to see about getting myself a Murray of my own. Great job!!
Lori S in PA
Thank you so much, Lori. I really appreciate you visiting my blog. I hope Murray finds his way to you at some point!