Hello, friends! It’s been a busy few weeks spent with friends and family, so I haven’t been able to find as much time for card making as I’d like. Now that I’m back, I hope to make up for lost time! Since it’s already late October, I figured I would try to squeeze in some Halloween cards with some products I recently purchased from The Stamp Market. They just came out with a new paper pack for Halloween. It’s very similar to the Hocus Pocus pack from last year, in that it has a really great pink, orange and yellow vibe. What I love most about both of these paper packs is that you can use a lot of the paper for occasions other than Halloween.
Card 1 Supplies
The Stamp Market – Oct 31 4evr 6×8 Paper Pack
The Stamp Market – Happy Halloween Stamps
The Stamp Market – Happy Halloween Dies
The Stamp Market – Oct 31 4ever Stamps
CZ Design – Reverse Witch Please Sentiment Strips
Making the First Card
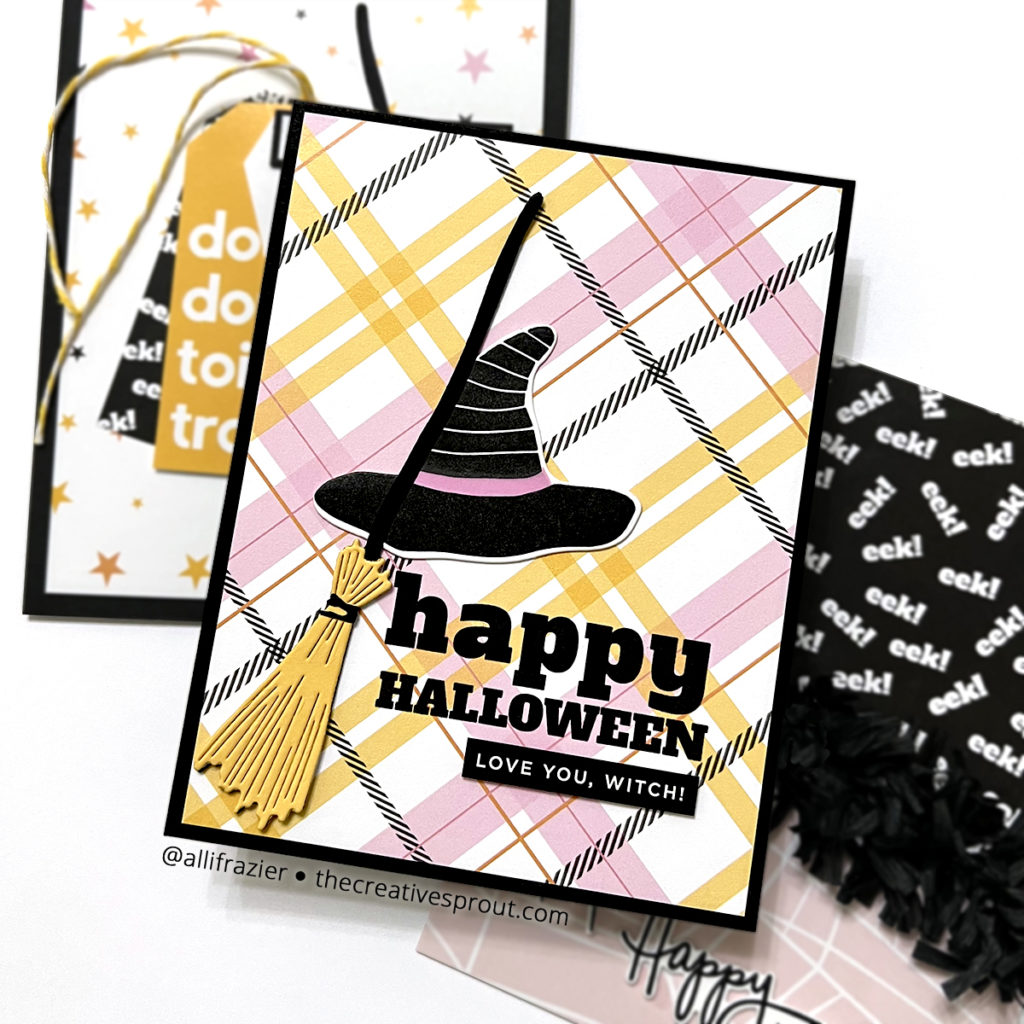
This card was easy peasy to make! I trimmed a piece of the plaid paper from the Oct 31 4evr paper pack to 4″x5.25″ and stamped the “happy Halloween” sentiment to the bottom right. I then adhered the panel to a black A2 card base. I stamped the witch’s hat and cut it out with the matching die. Next, I die cut the pieces for the broom and glued them together. I adhered the hat and broom to the panel and then glued a sub sentiment underneath the main sentiment.
Card 2 Supplies
The Stamp Market – Oct 31 4evr 6×8 Paper Pack
Making the Second Card
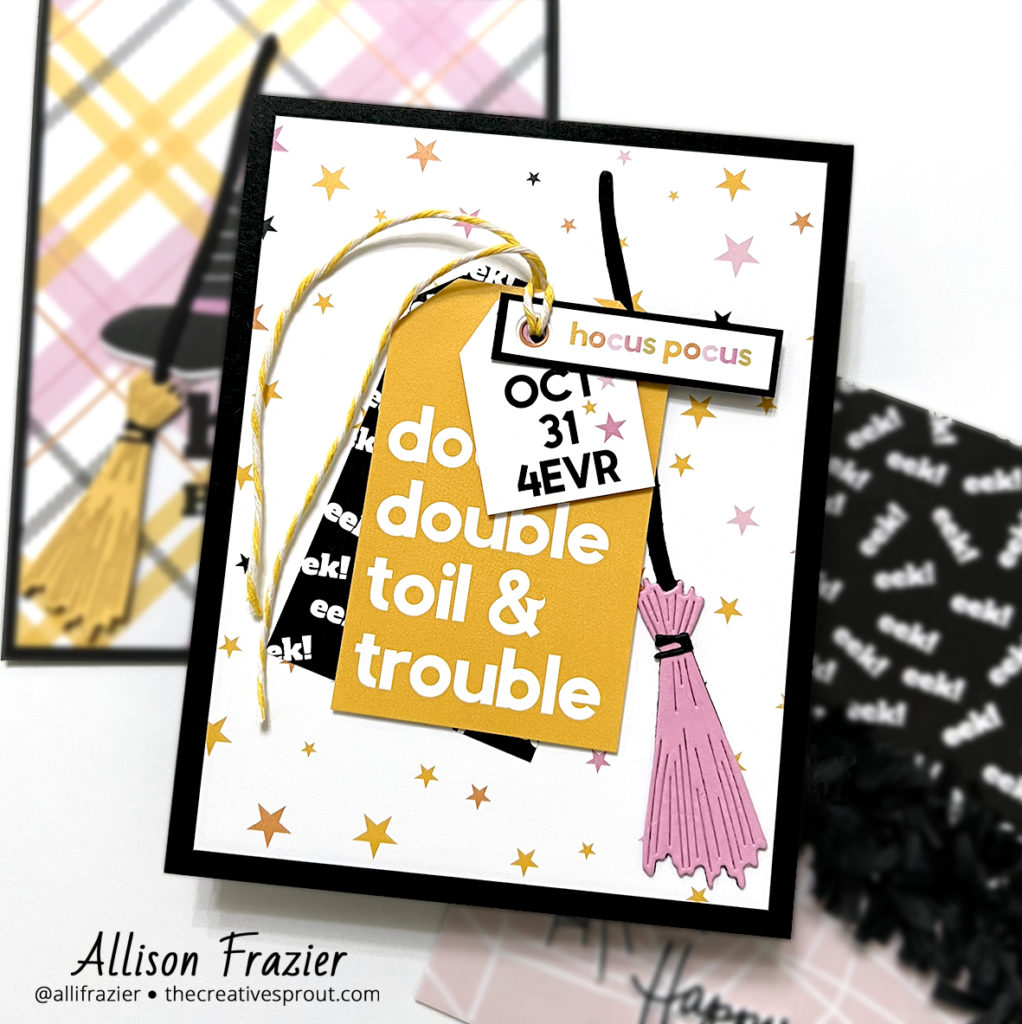
This card was even easier than the first! The Oct 31 4evr paper pack comes with a couple sheets of tag images. All you have to do is cut them out, which is really easy with a paper trimmer. I trimmed a sheet of the star paper from the pack to fit onto a black A2 card base, leaving a good margin around it for contrast. I die cut the broom pieces, this time using pink paper for the brush/bristles. I adhered the broom to the card first. I trimmed the “eek” paper down to the same shape as the larger tags and adhered that at an angle next to the broom. I then punched a hole in the three tags and thread some yellow twine through them. I popped the large tag up on foam tape, and that was it for this card! Note that I did alter the smaller tags a bit, including adding a black outline base to the hocus pocus tag.
Card 3 Supplies
The Stamp Market – Oct 31 4evr 6×8 Paper Pack
The Stamp Market – Hocus Pocus 6×8 Paper Pack (Retired)
The Stamp Market – Happy Halloween Stamps
The Stamp Market – Happy Halloween Dies
Making the Third Card
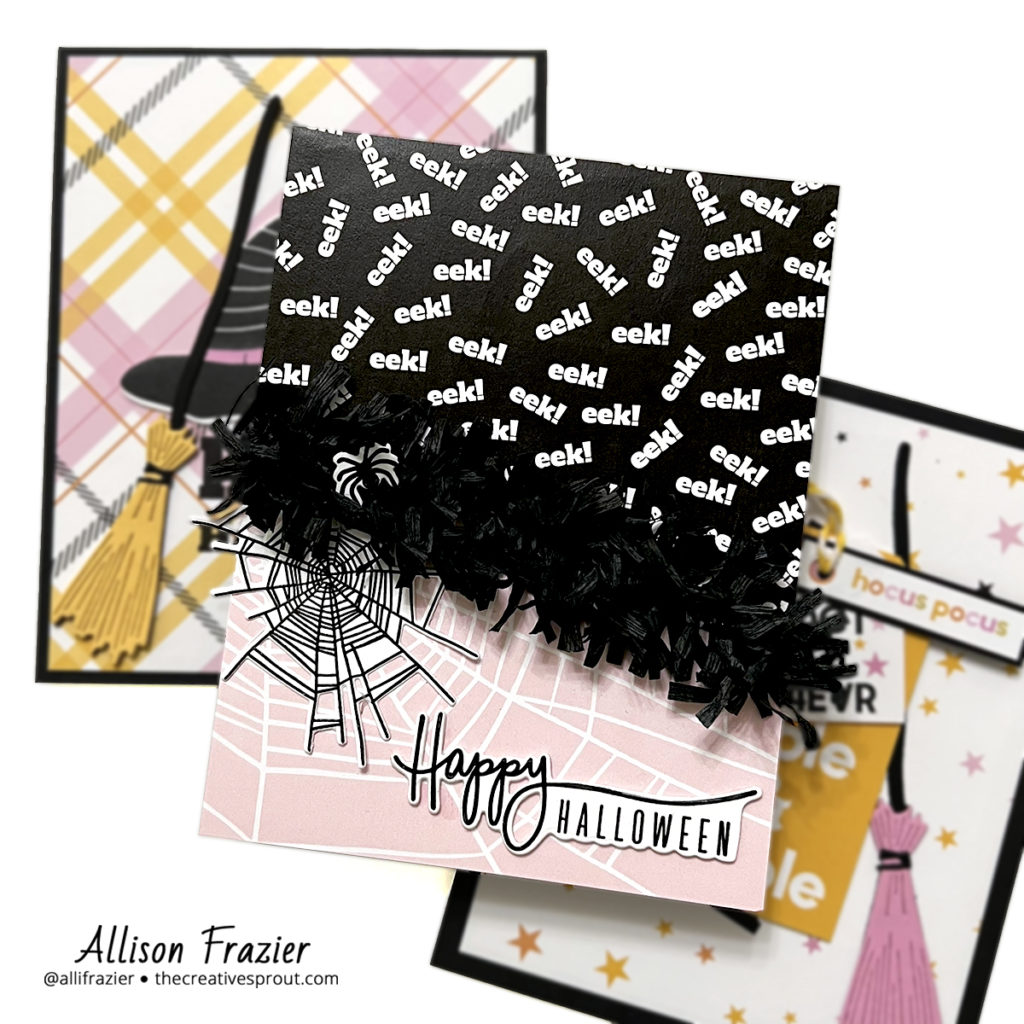
For this card, I used both the Oct 31 4evr and the Hocus Pocus paper packs. The pink spiderweb paper is from the Hocus Pocus pack, and the eek paper is from the Oct 31 4evr pack. I adhered the pink paper to an A2 card base. I cut the eek paper at an angle and adhered that on top of the pink paper. I stamped the spiderweb and the sentiment (both from the Happy Halloween set) on white card stock and then cut them out with the matching dies. I adhered the cobweb near the center of the cobweb pattern on the pink paper. I then decided that I wanted to play with my Tim Holtz fringe for the first time. You just crumple it up in your hands, smooshing it this way and that to get it to look like this. I glued it along the angled border between the two patterned papers. I hid some black jewels in various spots along the fringe border and finished up by adding a creepy spider from the Happy Halloween set.
That’s it for my cards today. I really love how they turned out, and I hope they put a smile on your face! Leave a comment and let me know which one is your favorite. Thank you so much for visiting me today – I appreciate you all!
Wishing you all a crafty day,
Allison
Note: External links on my blog may contain affiliate links. This gives me the opportunity to earn a small commission when you click on the links and place an order. This comes at no additional cost to you. Thank you so much for your support, as this helps me bring you more content.