Hello, Friends! I am sharing one more new collection from Spellbinders called Christmas Flourish. This collection is full of many beautiful die sets that feature unique and intricate details.
Card 1 Supplies
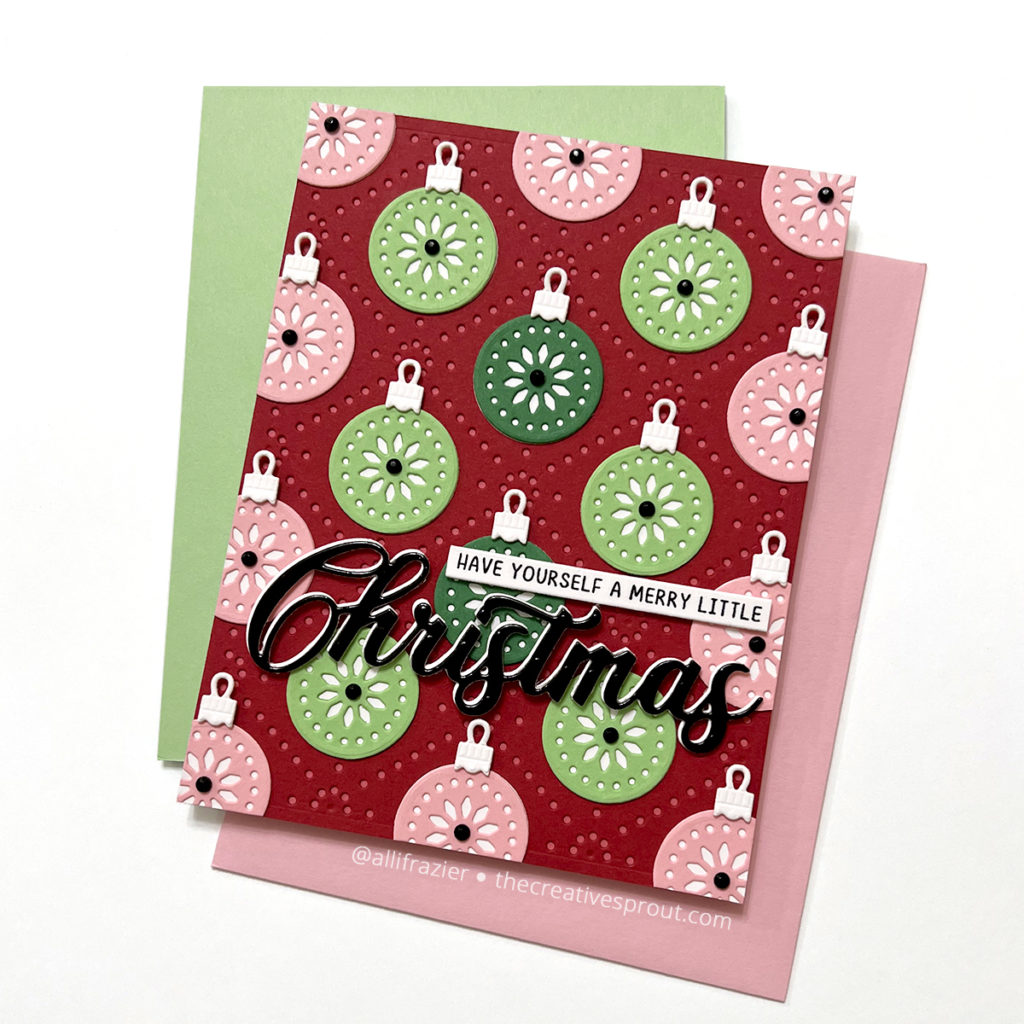
Spellbinders – Merry Flourish Die Set
Spellbinders – Circular Stitch Background
Making the First Card
The Merry Flourish Die Set has a really unique centerpiece die. But what really caught my eye were the little ornaments that are part of this set. I wanted to create a card that used just one of those ornaments, and that’s what I did. It turns out that this ornament is just slightly larger than the circular elements on the Circular Stitch Background. So, I thought this would be the perfect background to easily create a symmetrical design with my ornaments.
I first cut a piece of red card stock with the Circular Stitch die. I then glued that to a light shade of red card base. I cut the ornaments out of pink and two shades of green card stock. I cut the backs for the ornaments out of white card stock. After adhering the colored detail pieces to the white backs, I then glued them all onto the card panel. I cut the excess pieces of the pink ornaments that hung over the sides and bottom of the card. I cut the ornament toppers out of white card stock and then popped those up on tiny pieces of foam tape.
This beautiful “Christmas” word die is also part of the die set. I cut it once from black glossy card stock and once from heavyweight white card stock. I adhered them together, slightly offsetting them to create a white shadow. I glued that towards the bottom of the panel. The stamped sub-sentiment is something that I had in my stash, and I thought it went well with the design. I finished the card by glueing a tiny black gem into the middle of each ornament.
Card 2 Supplies
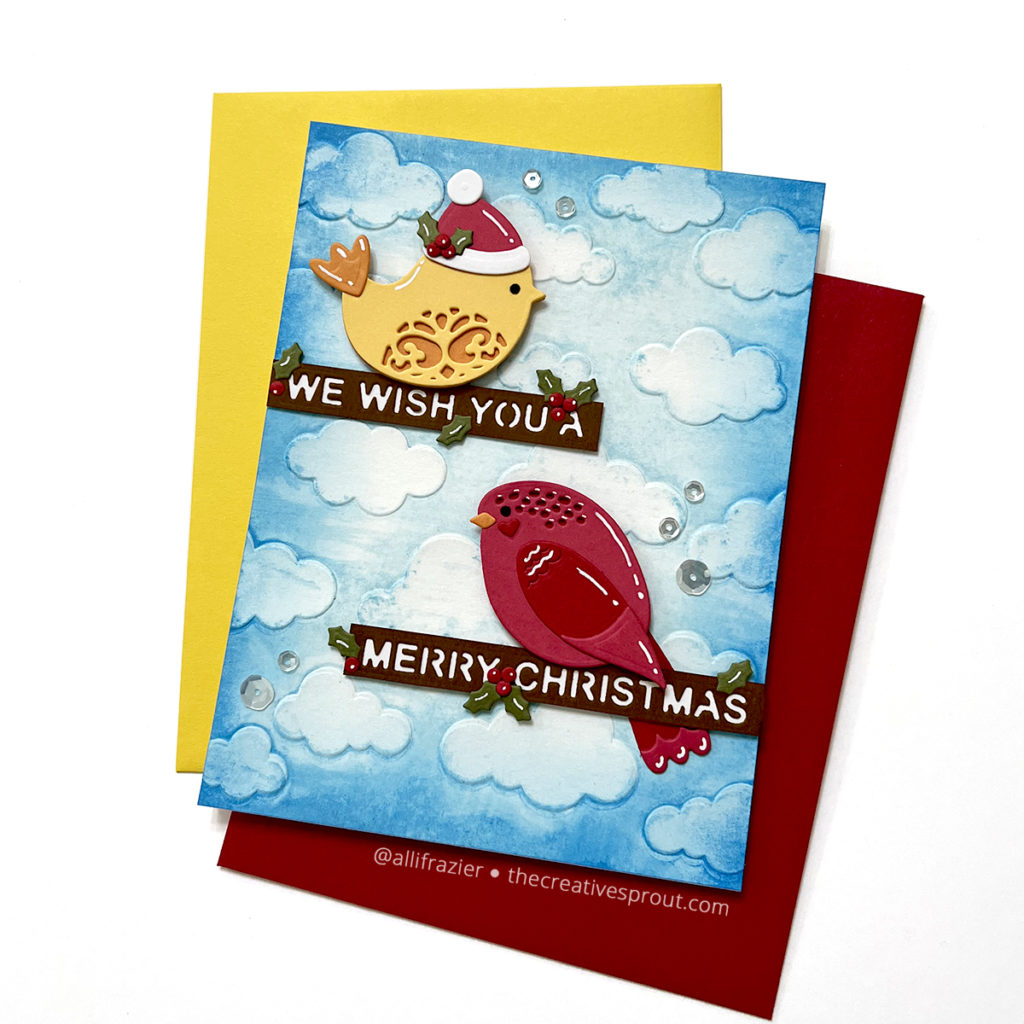
Spellbinders – Sugarplum Tweets Die Set
Spellbinders – Head in the Clouds Embossing Folder
Making the Second Card
My second card features the fun Sugarplum Tweets. This set has dies that cut words out, so that the sentiment you end up using is the negative piece. I envisioned making these sentiments into branches that the birds would sit on.
I started by creating a background. I took the Head in the Clouds embossing folder and inked up one side with Tumbled Glass Distress Oxide. I simply swiped the pad across the side where the clouds are indented (so you’re just inking up the flat part of the folder). I then spritzed it with water, laid a piece of watercolor paper inside, and then ran it through my die cutting machine. It’s a really cool effect that essentially colors the sky around the clouds. I then took a darker shade of blue ink and blended that all along the edges of the panel. I trimmed this down and adhered it to an A2 card base.
I cut a couple strips of brown card stock that were slightly taller than the words and then die cut these with the sentiment dies. I glued the remaining negative piece to a white strip of paper so that the sentiments would pop. I cut the pieces for the birds and then assembled them with liquid glue. I added white gel pen highlights to the red bird. I made the hat on the yellow bird into a Santa hat. I added some holly leaves and berries to the branches – these were also cut with dies from this set. I finished the card with some sparkling clear sequins.
I hope these cards put a smile on your face today! Be sure to check out all of the new collections from Spellbinders – there are more than just the ones that I have shared! Leave a comment and let me know which new collection is your favorite. Thanks again for visiting today!
Wishing you all a crafty day,
Allison
Note: External links on my blog may contain affiliate links. This gives me the opportunity to earn a small commission when you click on the links and place an order. This comes at no additional cost to you. Thank you so much for your support, as this helps me bring you more content.