Hello, crafty friends! I have been away for awhile helping my niece move into her dorm in NYC, but I’m back now and excited to dive back into making some cards. While I was away, I received my recent order from Spellbinders, which included this mummy die. I knew I had to have him as soon as I saw all the adorable cards that people were making with him.

Supplies
Spellbinders – Dancin’ Mummy Die
Spellbinders – Boo Dance Party Sentiments Stamp Set
Taylored Expressions – Birch Tree Background Stamp
Pinkfresh Studio – Blanket Stitched Oval Die Set
Making the Card
I have had this background in my stash since last year when I played around with my gel press and some Distress Paints. Since it was awhile ago, I am not sure of all the colors I used, but I believe it included Peeled Paint, Iced Spruce, Mowed Lawn, Black Soot, and Twisted Citron. This would have been several different layers. I knew it would make a great background for a Halloween card, which is why it has been in my stash until now!
Because I already had the background, my card came together pretty quickly. I first cut all the mummy’s bandage dies from white card stock. I inked up the edges with Distress Inks – Iced Spruce, Black Soot, and Twisted Citron. I cut multiple layers of some of the bandages so that I could create some dimension. There is a picture on the package that you can follow as far as where to place the bandages, which I kind of strayed from. By the way, I had cut the body from a gray card stock and then inked up the edges of that as well. The body is actually two pieces because this set allows you to make an interactive mummy that dances (the legs can swing back and forth). My mummy doesn’t dance. So, I did place some bandages over the part where the body and legs meet. I also covered the mummy’s cheeks with bandages. I love how he turned out!
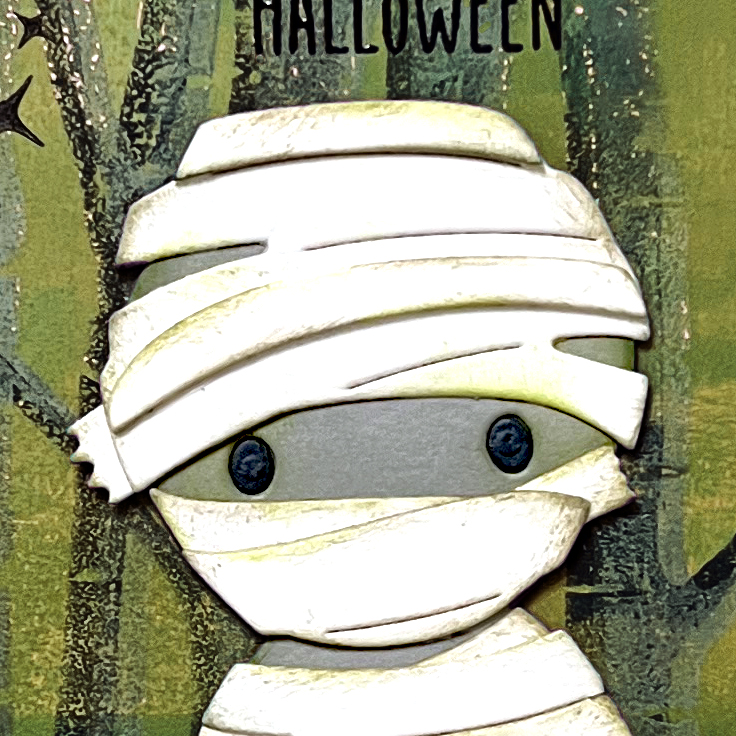
I stamped the sentiment in black pigment ink and then heat embossed it with clear embossing powder. I then framed the background with this oval frame that I made with black card stock using the Blanket Stitched Oval Set from Pinkfresh Studio. After glueing the cute mummy to the background, I stamped a few little black star embellishments that come from the same stamp set as the sentiment.
Bonus Card
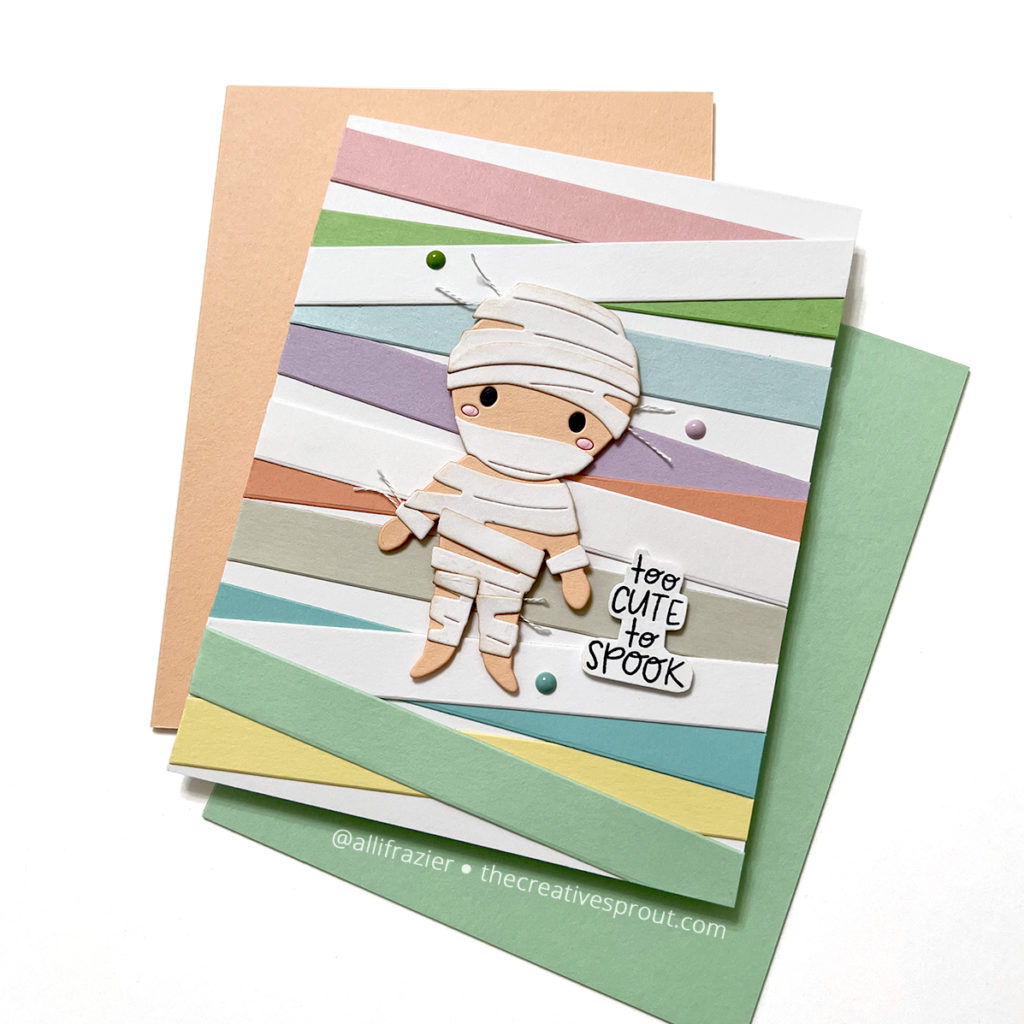
I couldn’t stop with just one card, so I made another one! This time, I embraced all the cuteness that this mummy has to offer. I made the background with some color paper strips that I had cut with the sentiment strip die from the Everyday Sentiments II Glimmer Hot Foil Plate set. I taped some loose white strings to the back of the mummy to make it look like the bandages were coming unraveled. I stamped the sentiment and then fussy cut around it. I popped the mummy and sentiment up on foam tape, and then I embellished with a few enamel dots from Waffle Flower.
Those are my cards for today! I hope they put a smile on your face. Thank you so much for visiting.
Wishing you all a crafty day,
Allison
Note: External links on my blog may contain affiliate links. This gives me the opportunity to earn a small commission when you click on the links and place an order. This comes at no additional cost to you. Thank you so much for your support, as this helps me bring you more content.