Hello, Friends and Happy Weekend! I hope you are all doing well. I am still trying to find my way back into the groove of things. I have spent a little bit of time organizing my craft room – it definitely needs a LOT more time. To find some inspiration for actual card making, I looked to the latest Pinkfresh Studio challenge, which is to make something with rainbow colors. I made one card, and then I was inspired to make a second card from the leftovers.
Card 1 Supplies
Pinkfresh Studio – Pop Out Sunburst Die
Pinkfresh Studio – My Favorite Things To Say stamp set
Waffle Flower – Mini Media Mat
Waffle Flower – Blending Brushes
Making the First Card
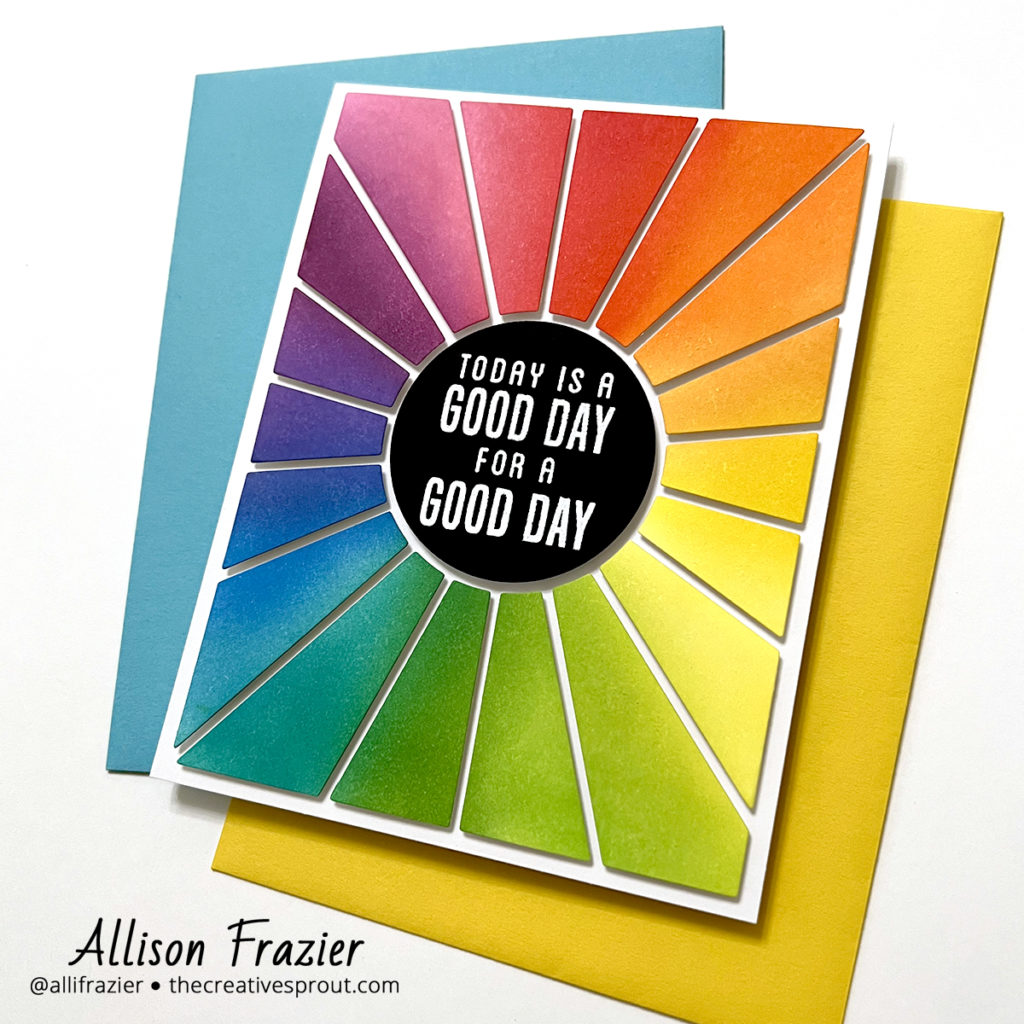
I first cut a piece of white card stock using the Pop Out Sunburst Die. When I removed the pieces from the die, I made sure to leave as many of the pieces intact, as I turned them over onto my Mini Media Mat. I love ink blending on my media mat because it has a grippy surface that keeps small pieces in place. Once I had all of the pieces in place, including the outline piece, I started ink blending. I went in rainbow order, using the following colors of Distress Inks: Kitsch Flamingo, Festive Berries, Carved Pumpkin, Dried Marigold, Mustard Seed, Squeezed lemonade, Twisted Citron, Mowed Grass, Peacock Feathers, Salty Ocean, Wilted Violet, and Seedless Preserves. I love how the colors flowed from one to the next!
Once I was done ink blending, I laid a piece of Glad Press’n Seal over the pieces, making sure they were all still in place, and then I flipped them over. I cut pieces of foam tape and put them on each piece. Once I had removed the backing paper to all the foam tape, I laid a white A2 card base on top and pressed down to make sure all the pieces adhered. I flipped it over, removed the outline piece, and was left with a perfectly positioned, dimensional design!
To finish the card, I created the center focal point by first cutting the black circle with the same Pinkfresh Studio die. I then white heat embossed the sentiment and popped it up in the center on foam tape.
Card 2 Supplies
Pinkfresh Studio – Pop Out Sunburst Die
Spellbinders – Sun Rays Embossing Folder
My Favorite Things – Stay Cool Die-namics
Mama Elephant – Cloud Nine Die Set
Hero Arts – Nesting Circle Infinity Dies
Hero Arts – Pitch Black Card Stock
Waffle Flower – Blending Brushes
Making the Second Card
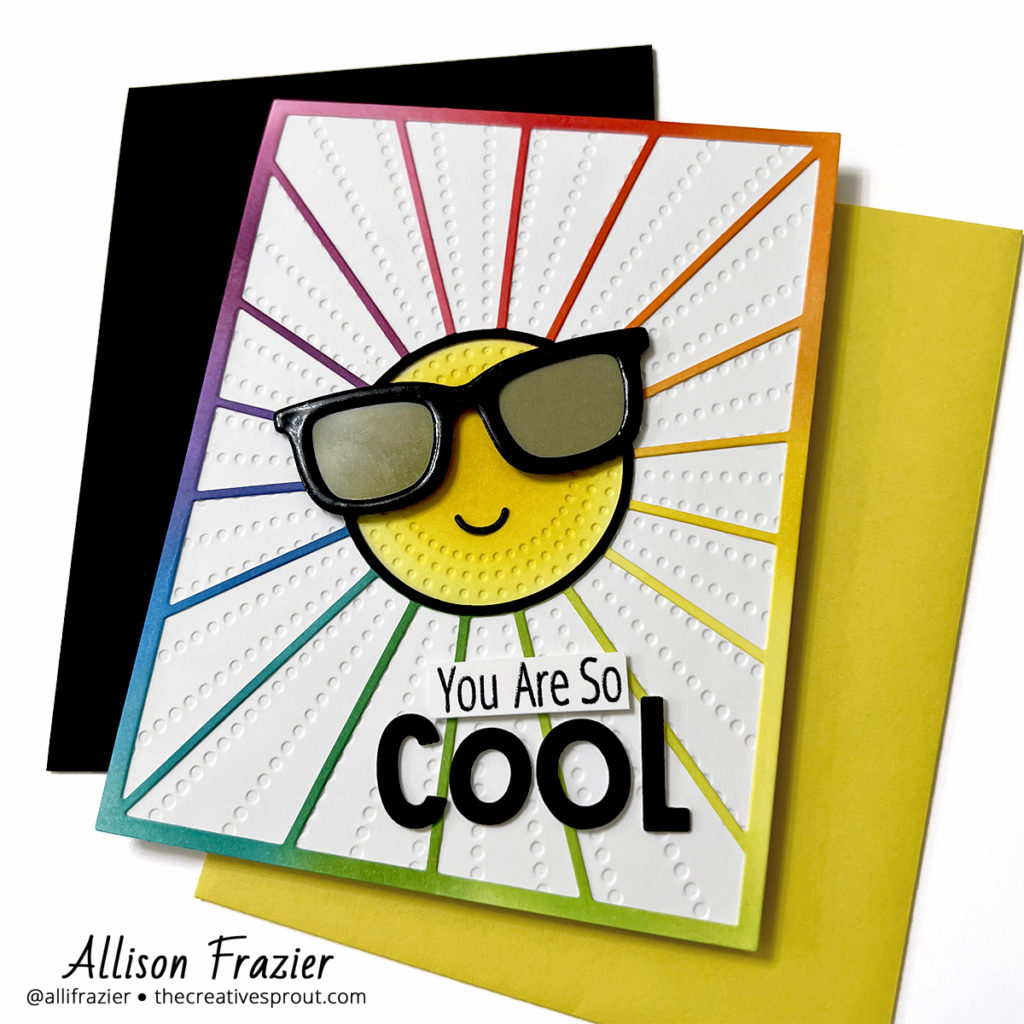
Since I had the leftover outline piece from the first card that was already so perfectly ink blended, I decided to use it right away, rather than stick it in my stash like I normally would. To give some texture to the background, I decided to emboss a piece of white card stock with the Sun Rays Embossing Folder. I then adhered my rainbow outline over the debossed side – the design doesn’t quite line up with the outline, but that’s okay.
I just recently purchased this fun Stay Cool die set from MFT and figured this was a great time to put it to use. I first cut the glasses out of black card stock – twice. I glued those layers together and then decided to heat emboss it. I laid it on a piece of paper, smooshed the VersaMark ink on it, sprinkled clear embossing powder over it, and then heat set it. I did this a second time. Doing this not only gives it a shiny look, like a real pair of glasses, but it also gives it a rounded, dimensional look. Once I was done with that, I cut small pieces of yellow vellum (you could just color normal vellum with a yellow alcohol ink marker), acetate, and black paper. The black paper layer is in the back, then the yellow vellum, and finally the acetate is on top – those are all glued behind the glasses.
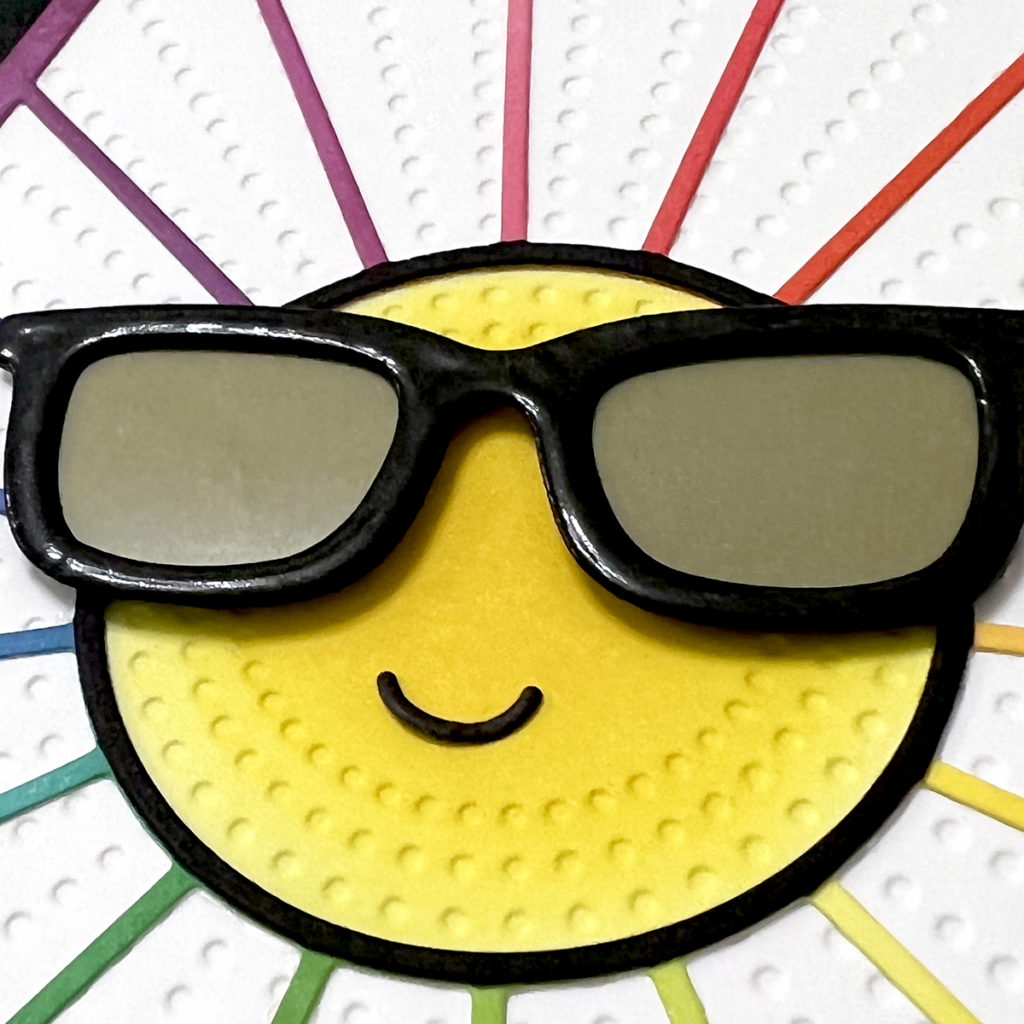
To create the sun, I first cut a slightly larger circle than the actual center of the sunburst from black card stock. I then laid that circle into the center of the Sunburst die and ran it through my die cutting machine. I was left with the small black outline that you see in the picture – I just had to snip off the small little rays from the outside edge and then glue that over the rainbow outline. I ink blended some yellow Distress Ink in the center. The trick I used to make sure my yellow ink didn’t go outside of the center was to use the negative piece of a circle that I cut from a piece of copy paper.
The tiny smile comes from the smallest die in the Cloud Nine set from Mama Elephant. I could easily have created a similar look by using two small circles from my Infinity die set, but I already had this die in my stash and decided to use it. To finish the card, I cut the “Cool” letters from black card stock (twice) and glued those to the panel. The “You Are So” sentiment is from a retired Avery Elle stamp set.
That’s it for my cards today! I hope they put a smile on your face. Leave a comment to let me know which card you like the most. As always, thank you for visiting.
Wishing you all a crafty day,
Allison
Note: External links on my blog may contain affiliate links. This gives me the opportunity to earn a small commission when you click on the links and place an order. This comes at no additional cost to you. Thank you so much for your support, as this helps me bring you more content.