Hello, crafty friends! It’s been awhile since I posted, and I hope you have all been doing well over the past week or so. My family and I went on a road trip this past weekend, and I figured it was the perfect time to try stitching for the first time! If you’re ever wondering what kind of crafting you can do while you’re on vacation, this is definitely the perfect option.
Supplies
Spellbinders – Stitched Flower Die Set
Altenew – Dotted Starburst Debossing Cover Die
Mama Elephant – Organic Blooms Stamp Set
Spellbinders – Fashion Silver Embellishments
Making the Card
Before leaving for our trip, I made sure to cut lots of flowers and leaves from the Stitched Flower die set. I used heavy white card stock so that it would hold up to the stitching. I wasn’t sure what I wanted my final card to look like, but I did decide to ink blend some soft color onto the die cuts beforehand. I used some pale pink for the flowers and pale green for the leaves.
While I was in the car, I got started. I took some of the pink floss and separated it so that I had 2 strands. I believe I have seen people even using 3 strands to stitch with, but I figured I would start with 2, and I think that’s what I’m going to stick with going forward. Stitching the die cuts is not hard, and you definitely get more efficient as you go along. I will say that I used a lot of little pieces of washi tape on the back to hold the loose threads.
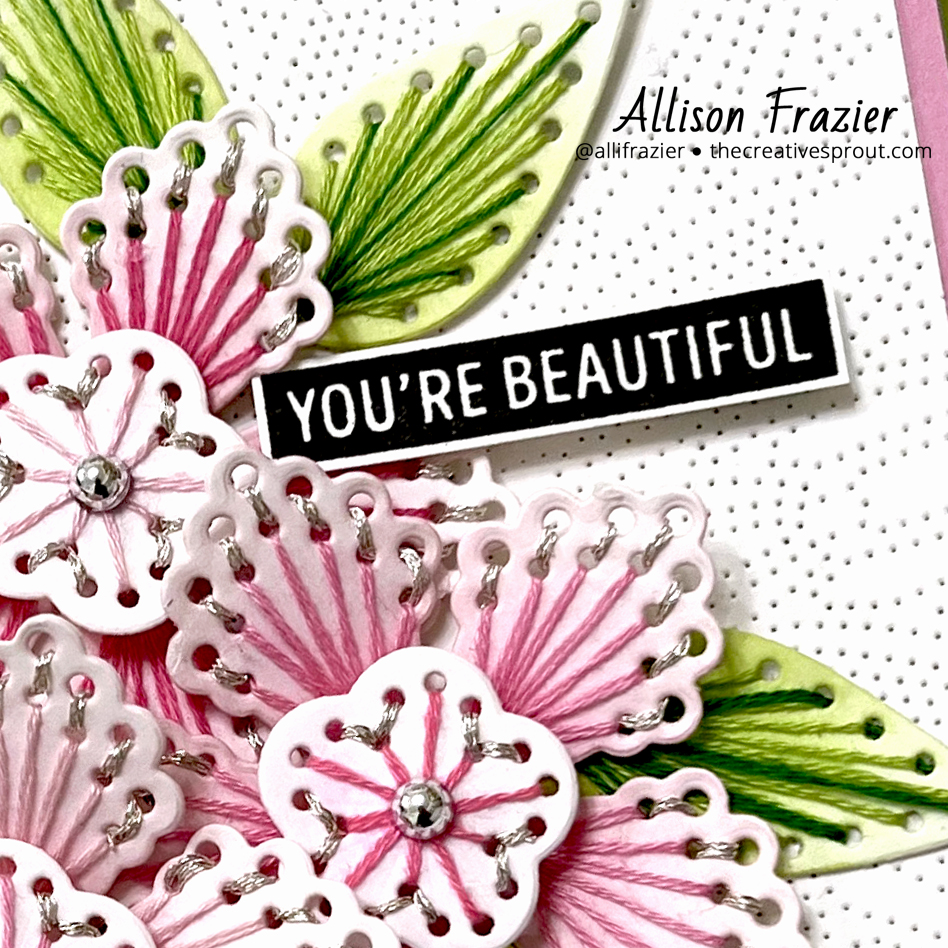
Once I was done with stitching pink floss onto the flowers and green floss onto the leaves, I went back in and added more detail. I added light silver metallic thread to the flowers and a darker green floss to the leaves.
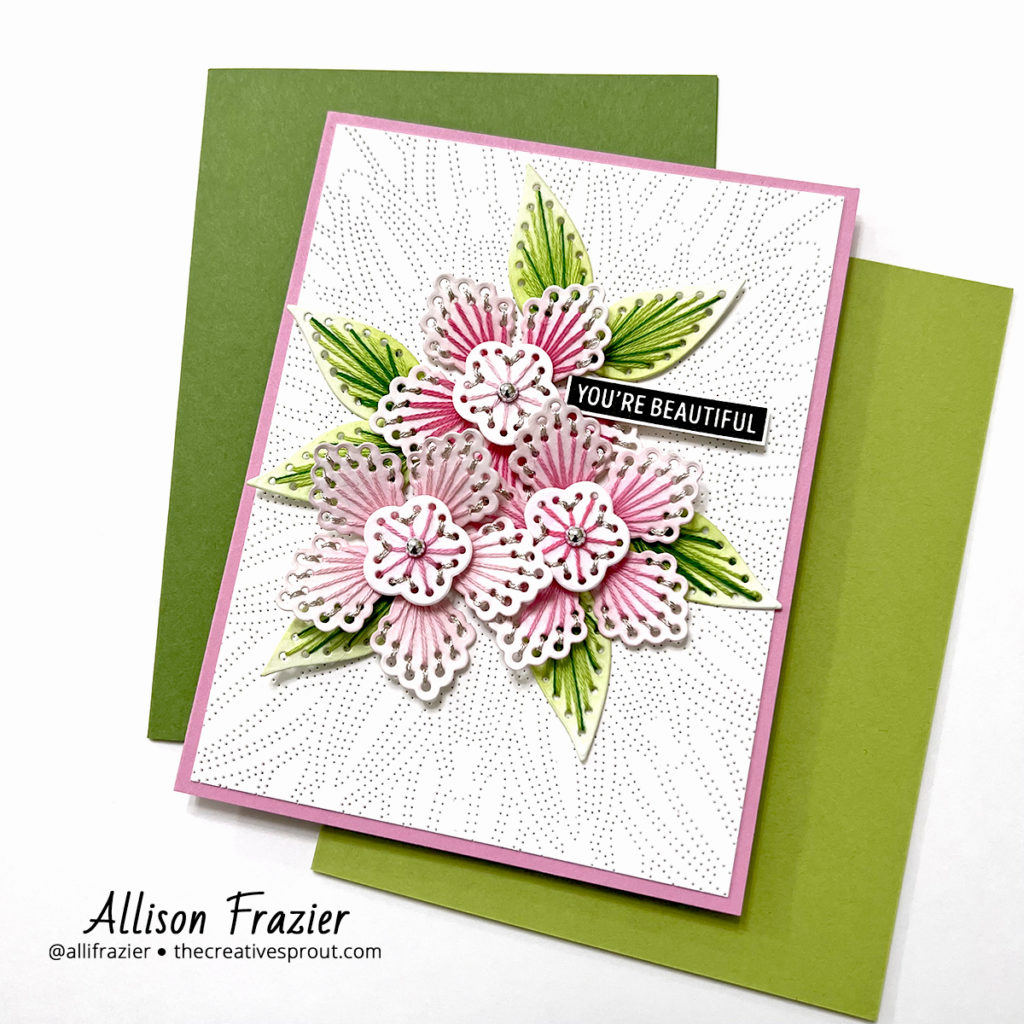
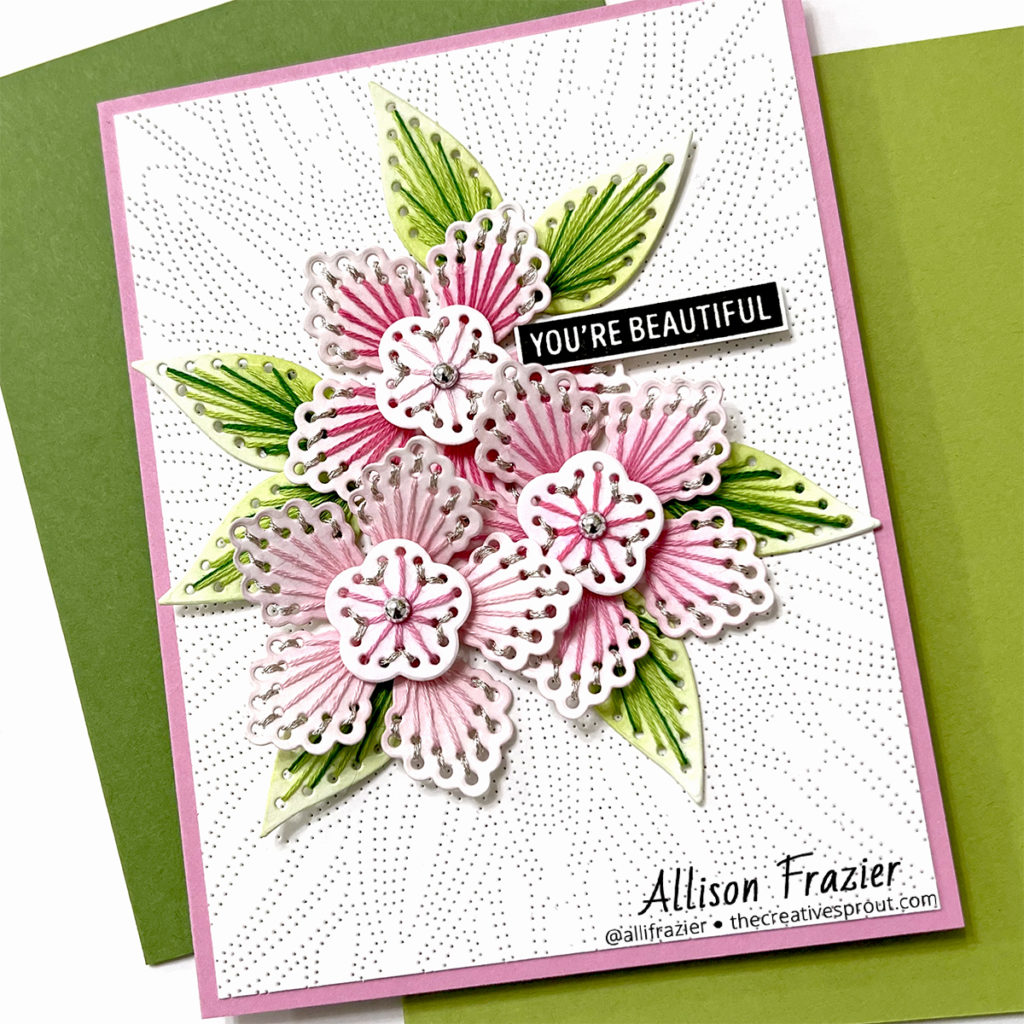
When I got home, it was time to assemble the card. I first prepared a panel of white card stock with the Dotted Starburst Debossing Die. I love this die and think it’s perfect to use as a backdrop to stitching. I cut it down to 4″x5.25″ and adhered it to a pink A2 card base. I laid out the floral stitched pieces in various arrangements, and when I had finally settled on what I liked, I glued the leaves down first. I then glued the middle of the flowers down and popped the middle of the flowers up on foam dots. I finished the flowers with a silver embellishment in the middle. I stamped the sentiment with black pigment ink and trimmed it down to leave a small white border. I popped that up on foam tape and added to the card.
This card was so much fun to make, as it was definitely outside of my comfort zone. I love trying new things, and this will definitely not be my last foray into stitching! How about you – have you tried stitching on your cards? Thank you so much for joining me today – I always appreciate you visiting my blog.
Wishing you all a crafty day,
Allison
Note: External links on my blog may contain affiliate links. This gives me the opportunity to earn a small commission when you click on the links and place an order. This comes at no additional cost to you. Thank you so much for your support, as this helps me bring you more content.
What is the piercing die behind the stitched flowers? It is not “Dotted Starburst
Hi Sheryl. It is the Dotted Starburst Debossing Cover Die that I listed in the supplies.