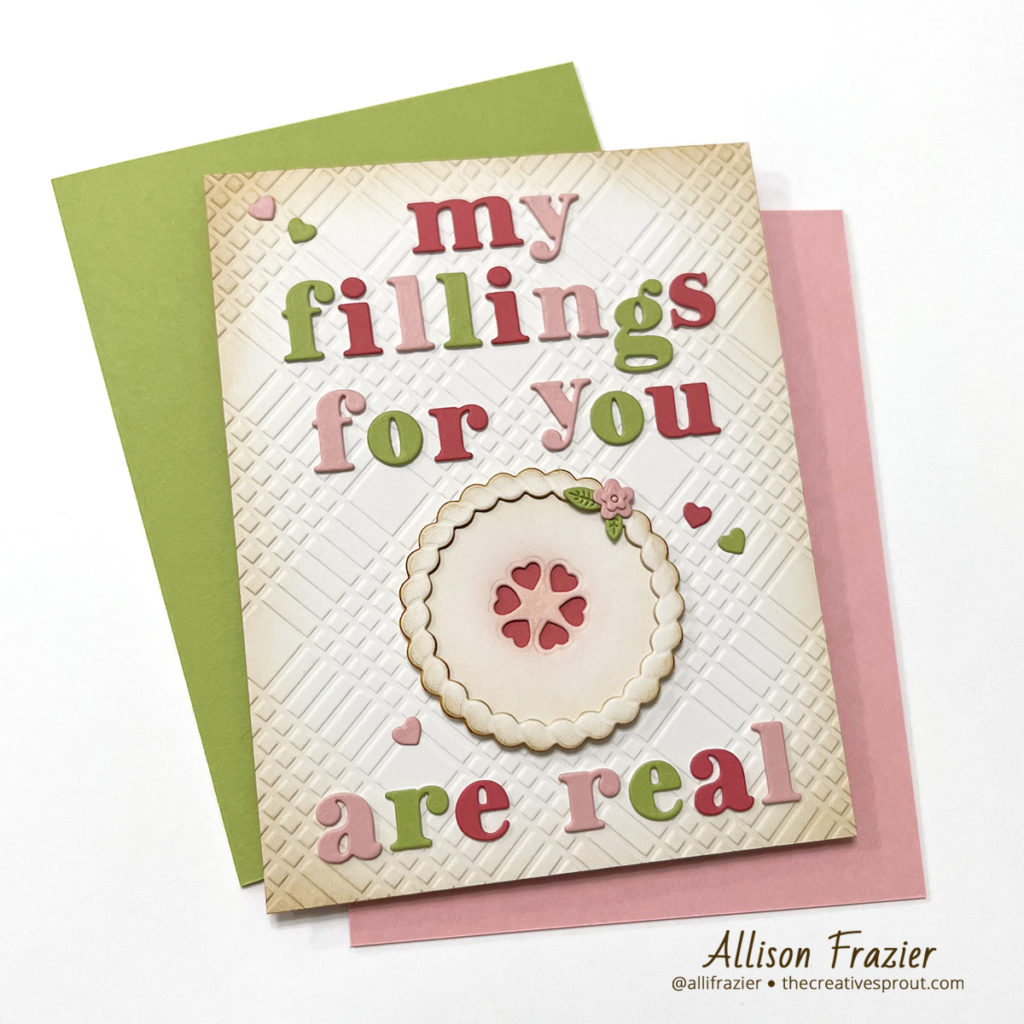
Hello, crafty friends! Spellbinders released a brand new collection today called Pie Perfection, which is full of some really fun products. My card today features the Sky View Pies die set. Don’t you just love a good pie pun?
Supplies
Spellbinders – Sky View Pies Die Set
Spellbinders – Be Bold Lowercase Alphabet Die Set
Spellbinders – Petite Floral Potpourri Die Set
Spellbinders – Mini Blooms and Sprigs Die Set
Spellbinders – Diamond Plaid Embossing Folder
Waffle Flower – Blending Brushes
Making the Card
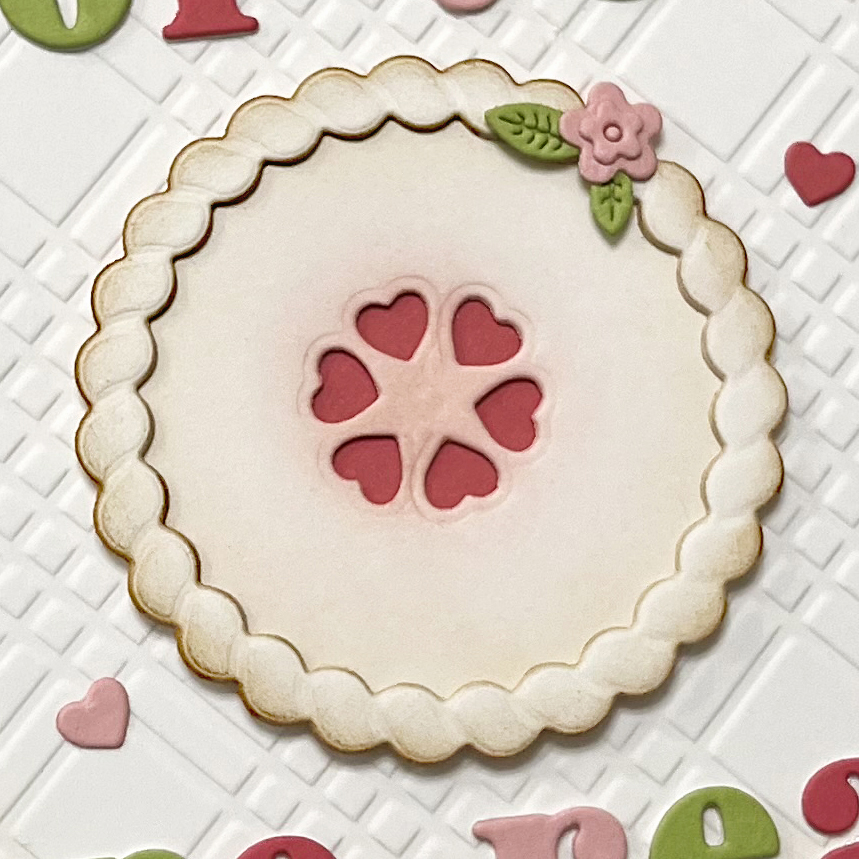
The Sky View Pies die set has various options for decorating the top of your pies. You can have steam holes or a lattice crust. To go with the theme of my card, I chose the die that cuts heart-shaped steam holes in the pie crust. The bonus of this little die is that it obviously creates little hearts, which you’ll see that I used as an embellishment on my card.
Creating the pie was easy. I cut the bottom layer, which is just a solid circle, from dark pink card stock. I cut the top crust (also a solid circle) from white card stock and then ran that through my Platinum 6 twice with the little hearts die. I inked up the top crust with Antique Linen Distress Ink, as well as a little bit of soft pink ink in the middle. I cut the outer crust from white card stock and shaded the edges with Vintage Photo Distress Ink.
Next, I prepared my card base. I just recently purchased the Diamond Plaid Embossing Folder and was excited to use it for the first time. I love this folder because of its size – you can emboss an entire A2 card base, front and back! You can also emboss a slimline card size panel or a 5″x7″ panel. It’s just so versatile when it’s this size. For this card, I embossed an A2 size panel of white card stock and ended up choosing the “debossed” side for my card. I inked up the edges with the same Distress Inks as my pie (Antique Linen and Vintage Photo) and adhered it to a dark pink A2 top-folding card base.
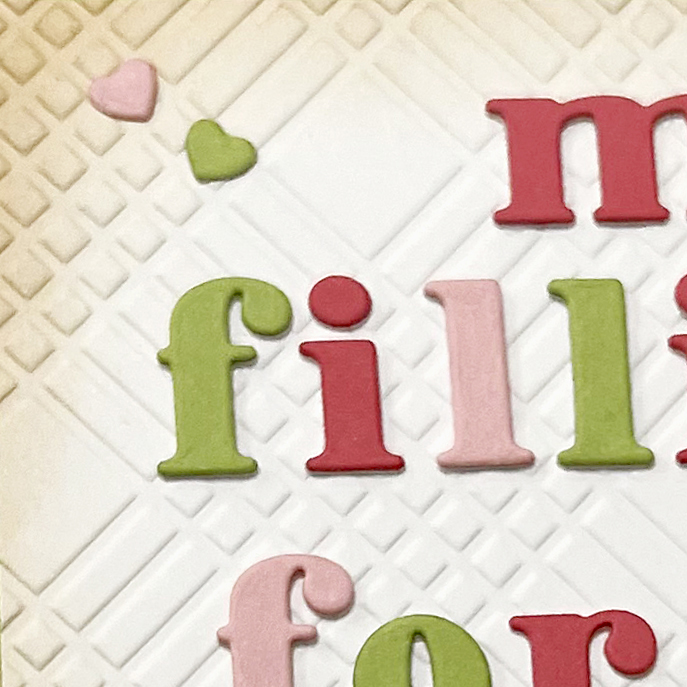
The only real time-consuming part of the card was getting the letters ready and lined up. I did stack each colored letter on top of a white letter for dimension. I absolutely love this Be Bold alpha set. I have both this one and the Uppercase set, and I can’t recommend them enough. If you’re wondering how I lined my letters up in a straight(ish) fashion, I used Press’n Seal! It saves so much time to use this “tool,” as you can line up your letters, pick them all up at once, apply glue, and then adhere them to the card all at once.
I hope this punny card brings a smile to your face. Leave a comment and let me know what your favorite pie is. I think mine is probably pumpkin. Or maybe peanut butter! I have several more ideas for this die set, so stay tuned. Thank you so much for joining me today, and I’ll see you next time!
Wishing you all a crafty day,
Allison
Note: External links on my blog may contain affiliate links. This gives me the opportunity to earn a small commission when you click on the links and place an order. This comes at no additional cost to you. Thank you so much for your support, as this helps me bring you more content.