Hello again! I am back with more (yes more) last-minute holiday cards. I made a card earlier this week that I really loved, and after I was done, I remembered that I still needed to make cards for my sons’ teachers – all twelve of them! I usually avoid mass-producing, but I made an exception this time, and I’m so glad that I did.
Supplies
Tim Holtz – Mini Bold Tidings stamp set
Tim Holtz – Darling Deer Thinlets die set
MFT – Trio of Trees stamp set (Retired)
Pinkfresh Studio – Summer Shower Dye Ink
Pinkfresh Studio – Sky Blue Dye Ink
Gina K. Designs – Seasonal Greetings stamp set
Lawn Fawn – Simple Gift Card Slots
Making the Cards
These cards were quite easy to put together, mainly because I had already made one that was a little more involved. Here is that card:
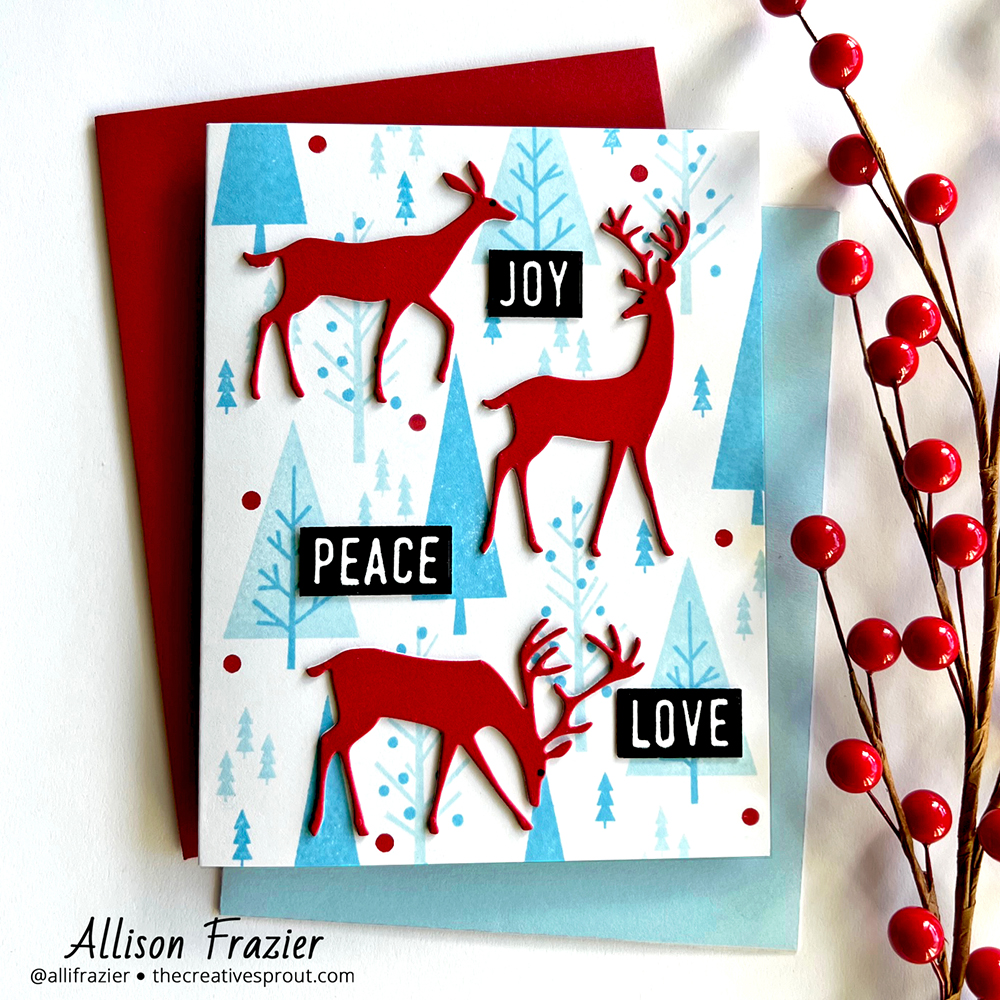
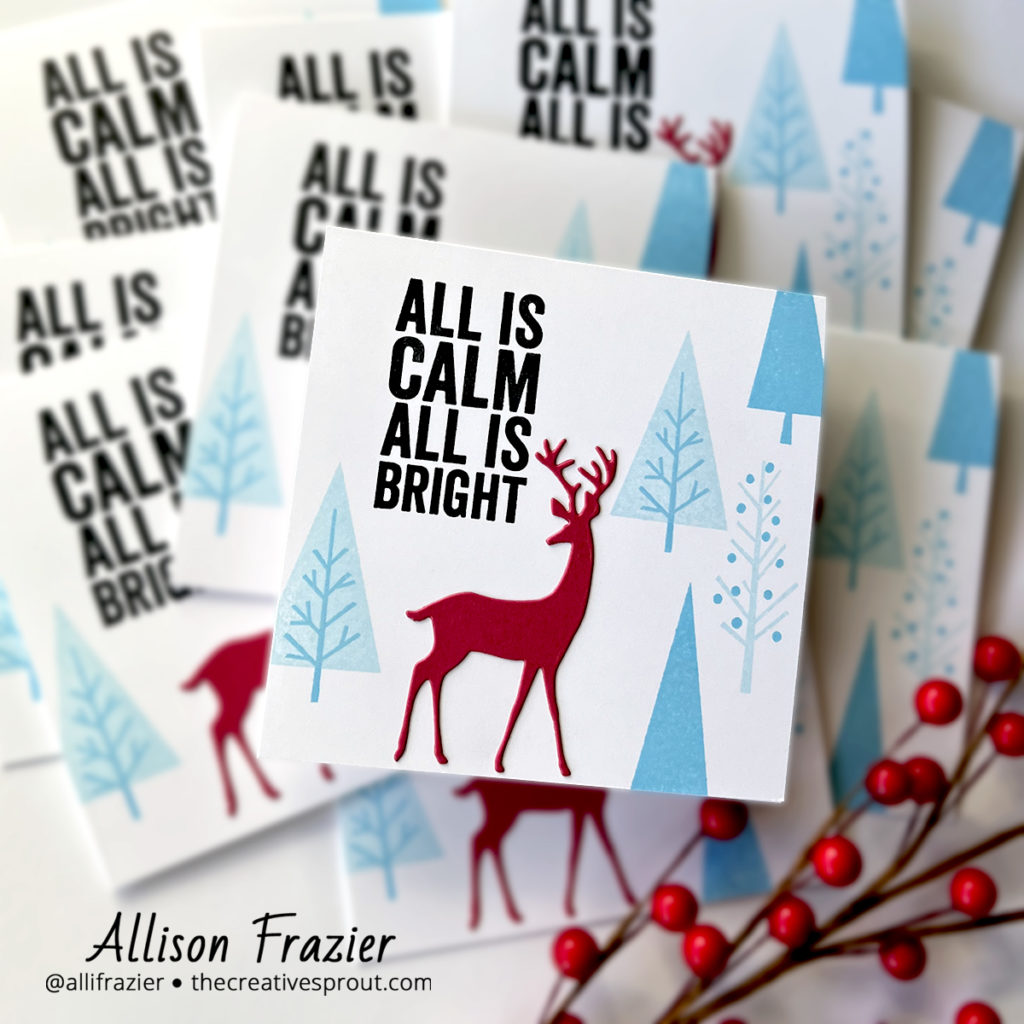
Since I really just needed these teacher cards to hold a gift card and a very brief note from my sons, I decided to make them square – specifically 4.25″ square. The process of stamping was very easy, thanks to the MISTI. Once I lined up a tree on one card, I could stamp all twelve cards before moving on to the next tree. I stamped the trees with two of my favorite blue colors from Pinkfresh Studio. This tree stamp set from My Favorite Things is retired, but you can still find it on some reseller sites – I have linked one above in the supply list. There is certainly no shortage of tree sets out there that would be great for this design, though. In fact, you could have the entire card with Tim Holtz products by using the individual trees from this set.
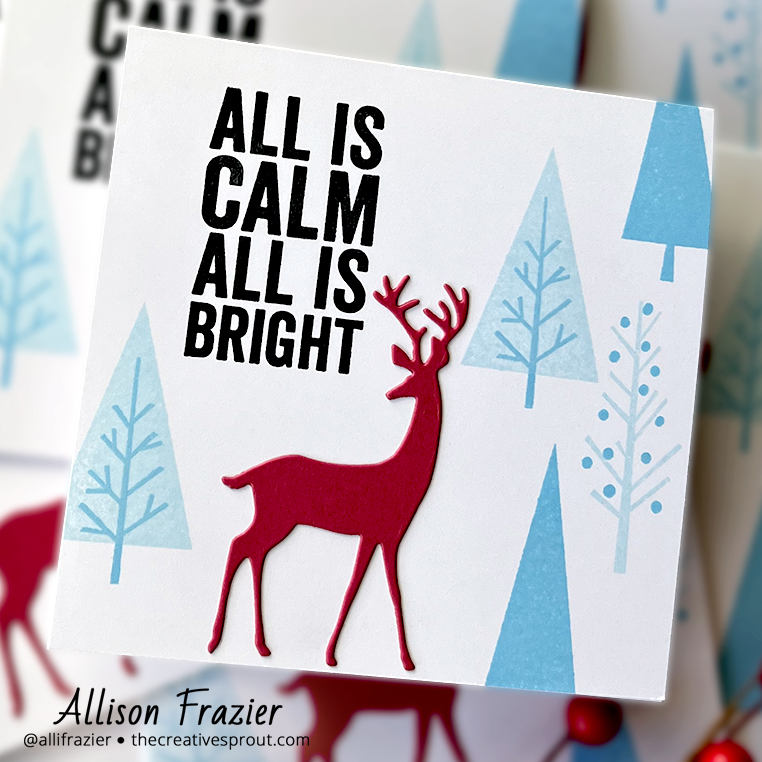
I had intended to stamp the trees all over these cards like I did with the original, but when I was finished stamping the trees on the right side, I decided that the deer and sentiment would fill up the rest of the card just fine. In other words, why spend more time when you don’t have to?! I did end up stamping another tree to the left of the deer die cut because odd numbers just look better, right? Stamping the sentiment was quick and easy – I just lined it up on the first card in the MISTI and then stamped the other eleven cards.
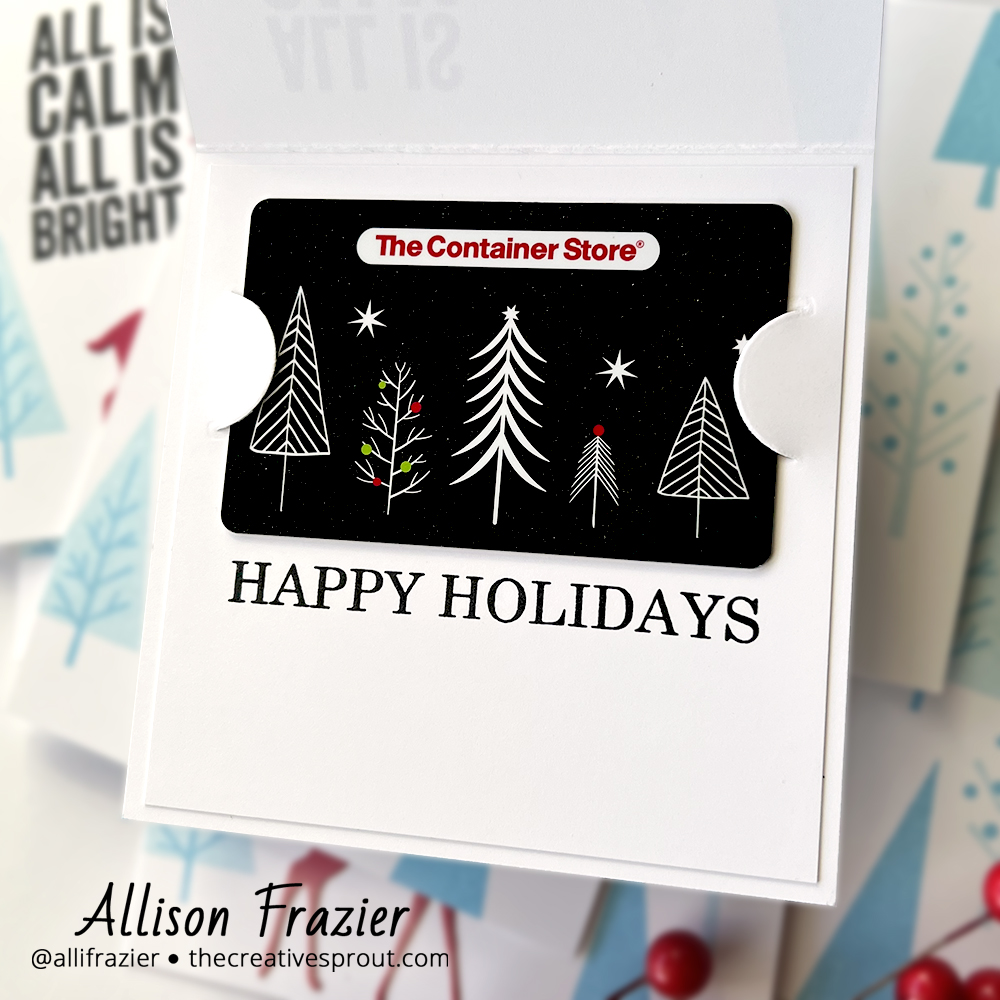
For the inside, I cut panels of white card stock to 4″ square and then cut the slots for the gift cards towards the top. I temporarily slid a gift card in to make sure that I stamped the “Happy Holidays” sentiment in the right place, and then I quickly stamped all 12 inserts before gluing them inside the cards. There is just enough room at the bottom for my kids to sign their names and thank their teachers.
I am so thrilled with how these cards turned out and very proud of myself for mass-producing! Thank you so much for joining me today. Leave a comment and let me know if you mass-produce cards or if you’re like me, and you like to make every card different.
Wishing you all a crafty day!
Allison
Note: External links on my blog may contain affiliate links. This gives me the opportunity to earn a small commission when you click on the links and place an order. This comes at no additional cost to you. Thank you so much for your support, as this helps me bring you more content.