Hello, Friends! I have been neglecting my blog lately, so I am sharing this card today. For the past week, I have been following along with the Holiday Card Workshop from Online Card Classes. If you haven’t heard of Online Card Classes, you really should check it out. The classes have some of the best card makers in the industry teaching various techniques. I took this particular class because it’s that time of year when I really need to crank out some cards, and I sometimes struggle to get my butt in gear. I have been running a little behind this week, so for this card, I decided to combine the techniques from Day 5 and 6. Day 5 focused on dry embossing and Day 6 focused on taking your stencils to the next level.
Process
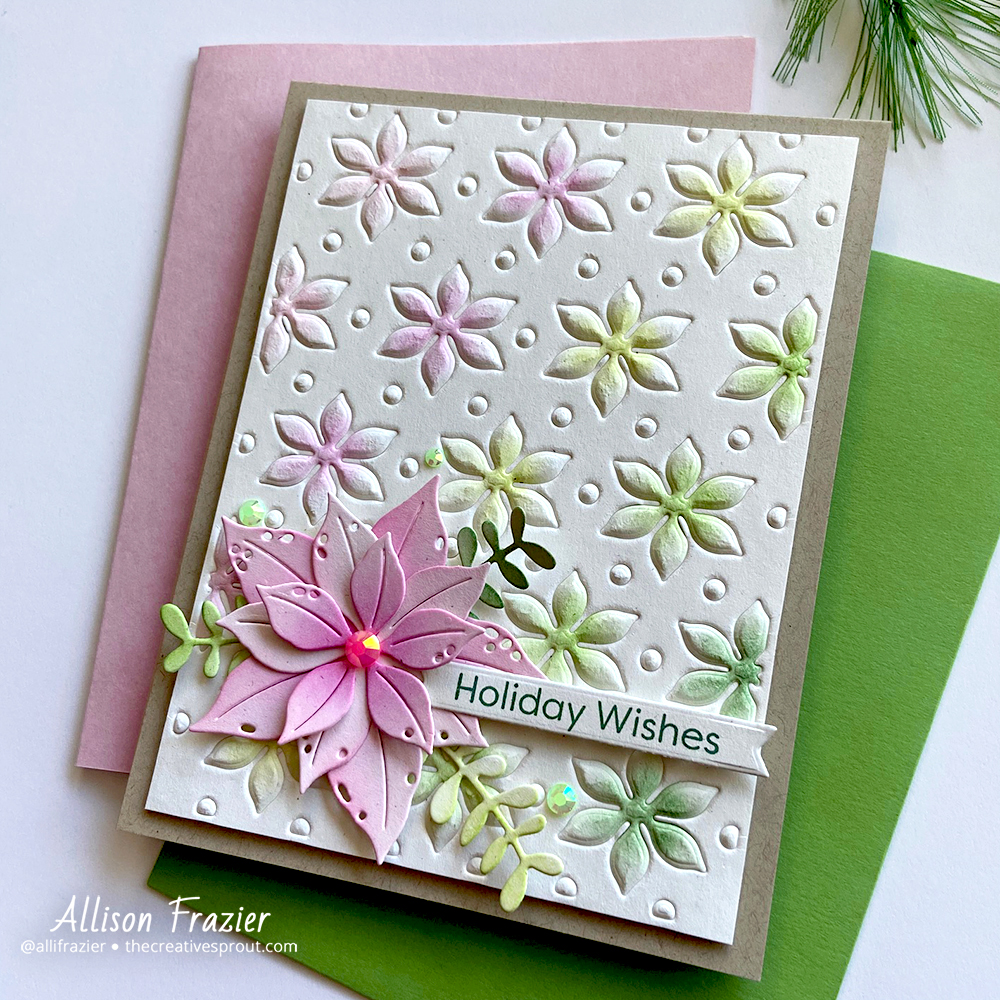
I took an A2 sized piece of off-white card stock and dry embossed it with the Poinsettia Panel Die from Waffle Flower Crafts. Dry embossing is very easy – you just need a rubber mat and the proper sandwich for your die cutting machine. I use the Spellbinders Platinum 6 machine, and I love it. Once I was done with the embossing, my panel was full of beautiful texture. I then took the same die and a white piece of card stock and ran them through my die machine, this time using the die to cut as you normally would.

This white die cut panel could now be used as a stencil. I laid it on top of my dry embossed panel and secured it down with some washi tape so that it wouldn’t move. I blended Distress Inks over the embossed flowers in my favorite Christmas color combination – Kitsch Flamingo, Picked Raspberry, Twisted Citron, Mowed Lawn and Rustic Wilderness. Once I was finished inking the panel, I cut it down to 4” x 5.25” and adhered it to an A2 Kraft card base.
I used the Layered Poinsettia Die set from Waffle Flower and cut from the same off-white card stock as my panel. I inked up the layers using the same two pink shades from my panel. I then used one of the dies from Waffle Flower’s Sprigs Die set and cut it three times, again with the same off-white card stock. I blended each piece with one of the three green inks from my panel. I layered the poinsettia pieces over the sprigs, making sure to glue everything only in the center. This helped create the look of texture and dimension.
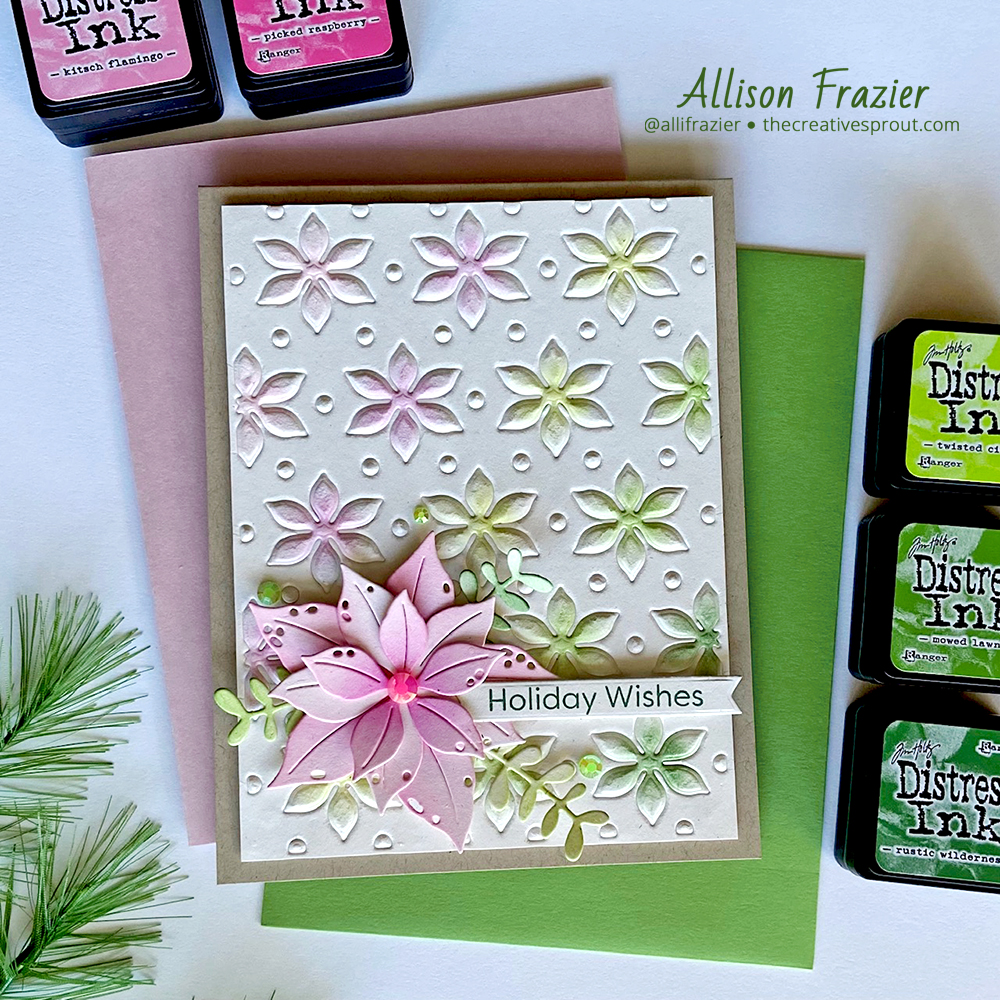
I stamped the sentiment with Rustic Wilderness Distress Oxide and then cut it with the Skinny Strips Die-namics set from My Favorite Things. The sentiment comes from MFT’s Merry & Bright stamp set. To finish up the card, I put a large pink gem in the middle of the poinsettia and scattered a few green gems around the grouping. I really love this card – I think it might be my favorite that I have made recently.
As always, thank you for joining me today. Leave a comment and let me know what your favorite holiday color combination is.
Wishing you all a crafty day!
Allison
Note: External links on my blog may contain affiliate links. This gives me the opportunity to earn a small commission when you click on the links and place an order. This comes at no additional cost to you. Thank you so much for your support, as this helps me bring you more content.