Hello, Everyone! I am loving all of the layering stencils that are on the market right now, especially the ones from Pinkfresh Studio. I don’t often make floral cards, mainly because the thought of coloring them always seems a bit daunting to me. But the stencils make you look like you know what you’re doing! And when Pinkfresh released their new hot foil plates several months ago, I figured it was time to buy the hot foil system that I had been curious about for so long.
![]()
Supplies
Pinkfresh Studio Folk Art Birds Hot Foil Plate
Pinkfresh Studio Folk Art Birds Die Set
Pinkfresh Studio Folk Art Birds Layering Stencils
Pinkfresh Studio Floral Notes Stamp Set
Pinkfresh Studio Premium Dye Inks
Hero Arts Gold Embossing Powder
Spellbinders Gold Glimmer Foil
Spellbinders Glimmer Hot Foil System
Making the Card
Since this card was for a special friend, I made it a bit larger than my normal cards. I started with a white card base that measures 5.5″ x 7.5″. I then took a slightly smaller piece of white card stock, swiped the edges with Versamark ink, and heat embossed with gold embossing powder.
I took an A2 sized piece of white card stock, some gold foil, and the hot foil plate and foiled the Folk Art Birds design. The glimmer system is really easy to use, and without trying to explain exactly what to do, I’m just going to point you to one of the experts – Yana Smakula. She is amazing!
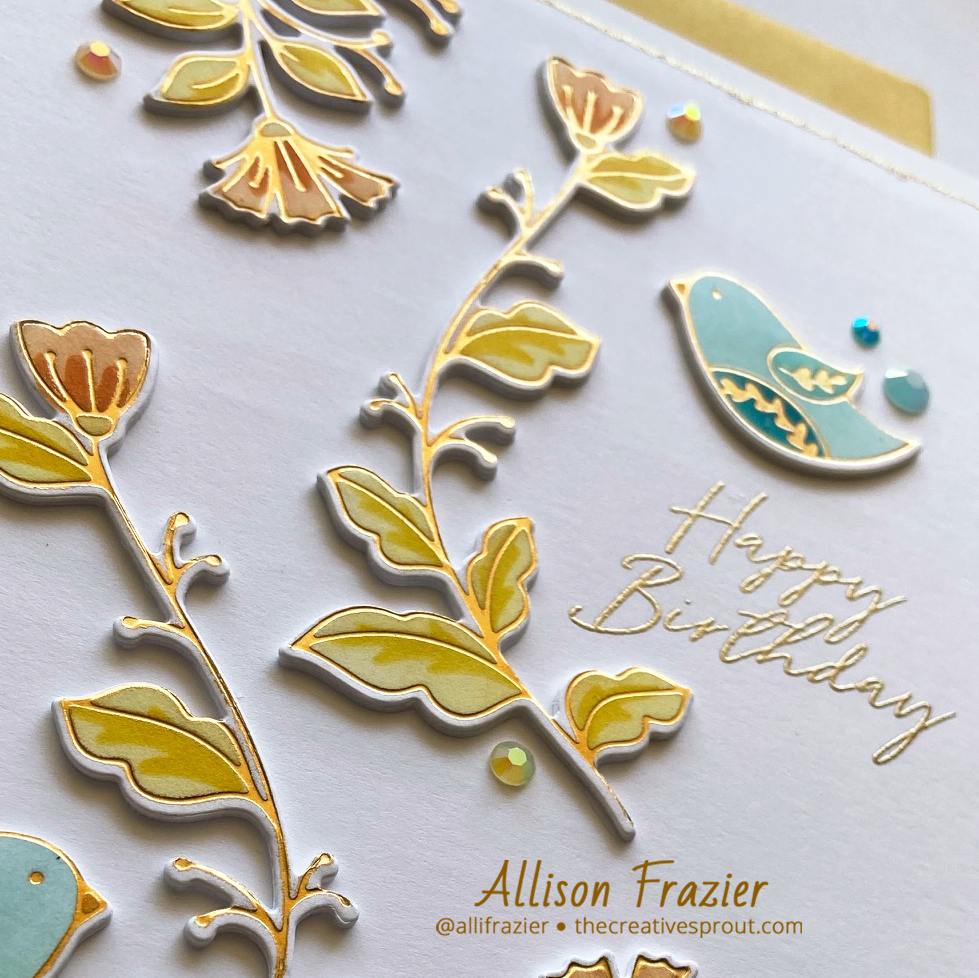
After foiling the design, it was time to stencil. The Pinkfresh layering stencils are really easy to use and line up with each other. They even number each stencil so that you know which one to start with. I used several shades of yellow, orange, and turquoise inks for my card, and I love how they look with the gold foil.
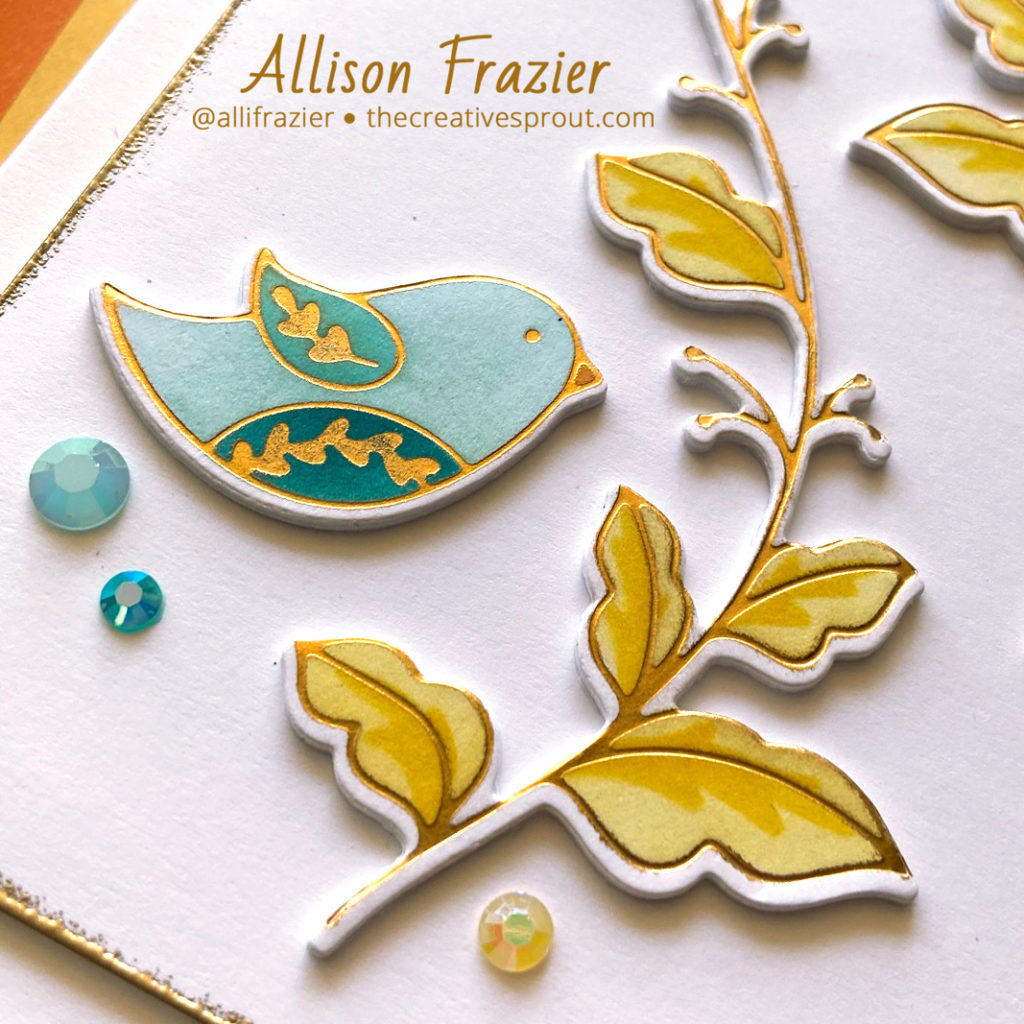
Once I was done stenciling, it was time to cut out the images with the matching die. I also used the die to cut two pieces of thick white card stock so that I could add dimension to all of the elements. After glueing all of the layers together, I started to play with the design. Although the original design of the Folk Art Birds is gorgeous, I decided to try something different this time. By the way, here is a card I made using the original design.

Once I had figured out my design, it was time to stamp the sentiment onto the panel I had made earlier. The sentiment comes from the Floral Notes set, and I gold heat embossed it onto my panel. I then adhered the panel onto my card base, stacking it onto several plain pieces of card stock for dimension. I glued the elements to the card and then finished by adding some of the jewels around the design.
And that’s it for my card today. Hopefully my friend will love it as much as I do! Thank you so much for joining me today.
Wishing you all a crafty day!
Allison
Note: External links on my blog may contain affiliate links. This gives me the opportunity to earn a small commission when you click on the links and place an order. This comes at no additional cost to you. Thank you so much for your support, as this helps me bring you more content.