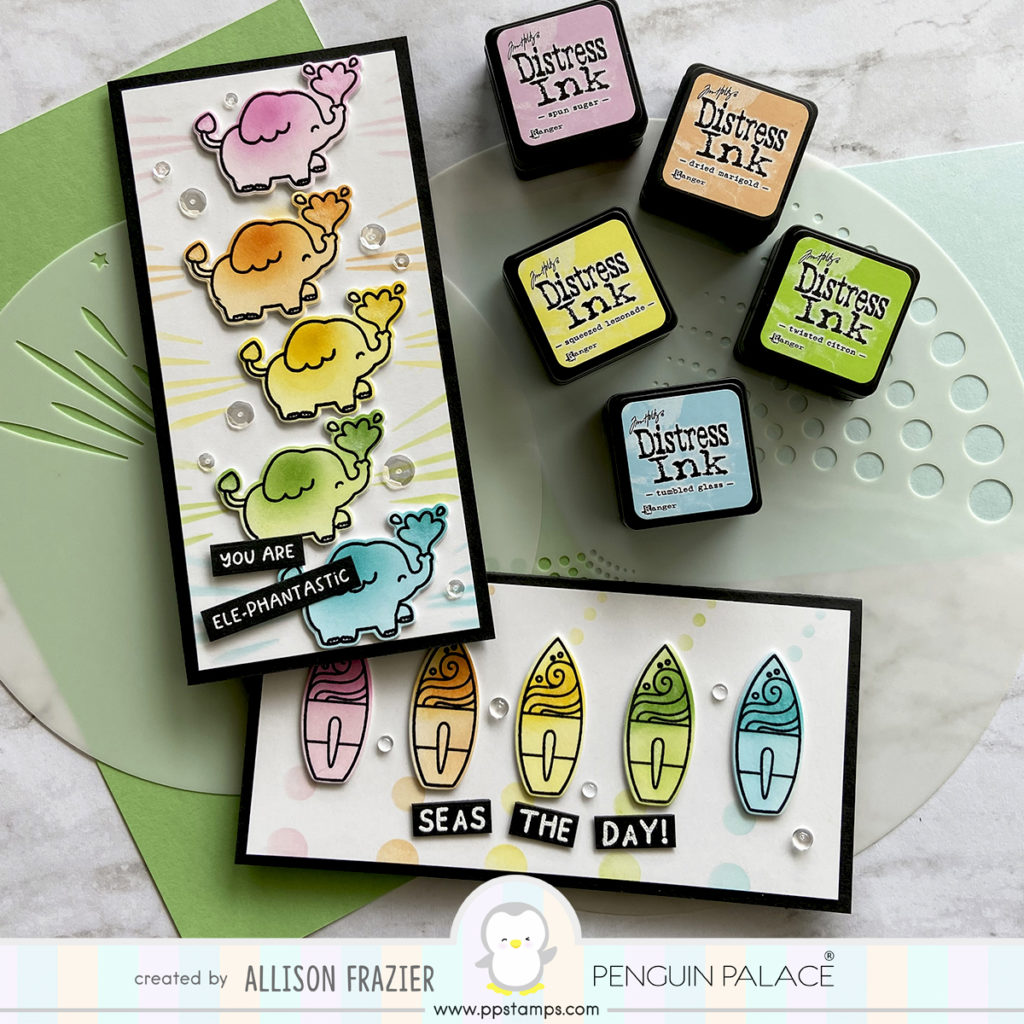
Hello, Everyone! Today, I am sharing two mini slimline cards featuring products from Penguin Palace Stamps.
Mini Slimlines
I have really gotten caught up in the mini slimline craze lately. I find it to be a really great size for certain layouts that just wouldn’t work on a standard slimline. The size reminds me of the cards my Grandma used to give me that had dollar bills in them. Maybe that’s why I like them!
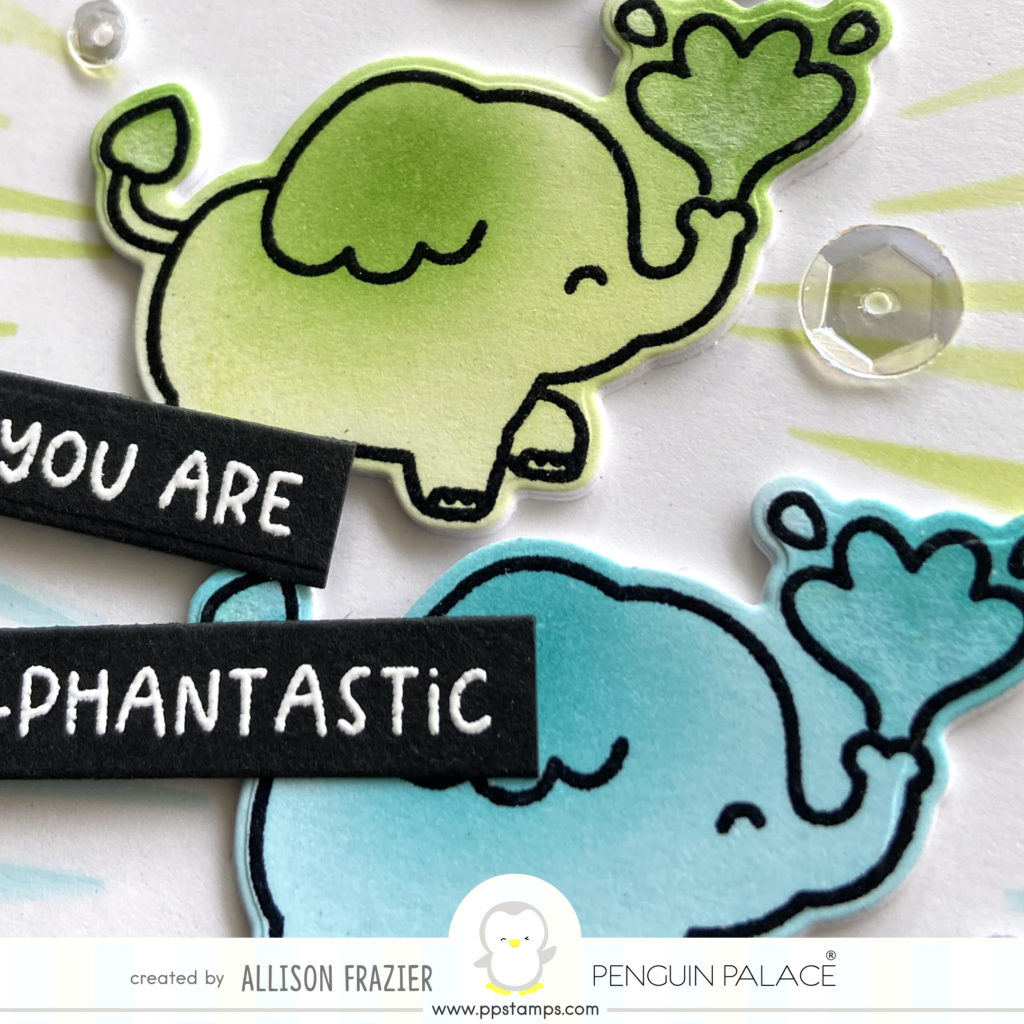
You Are Ele-phantastic
For my first card, I used the elephant image from the newly released Beautiful Africa set. I stamped the elephant onto white card stock five times with black pigment ink and then heat embossed with clear embossing powder. Using blending brushes, I first colored the elephants with pale rainbow colors of Distress Ink. I then used a slightly darker color ink to add a bit of dimension to the ears and sprays of water. After I finished coloring, I used the matching die to cut out the elephants.
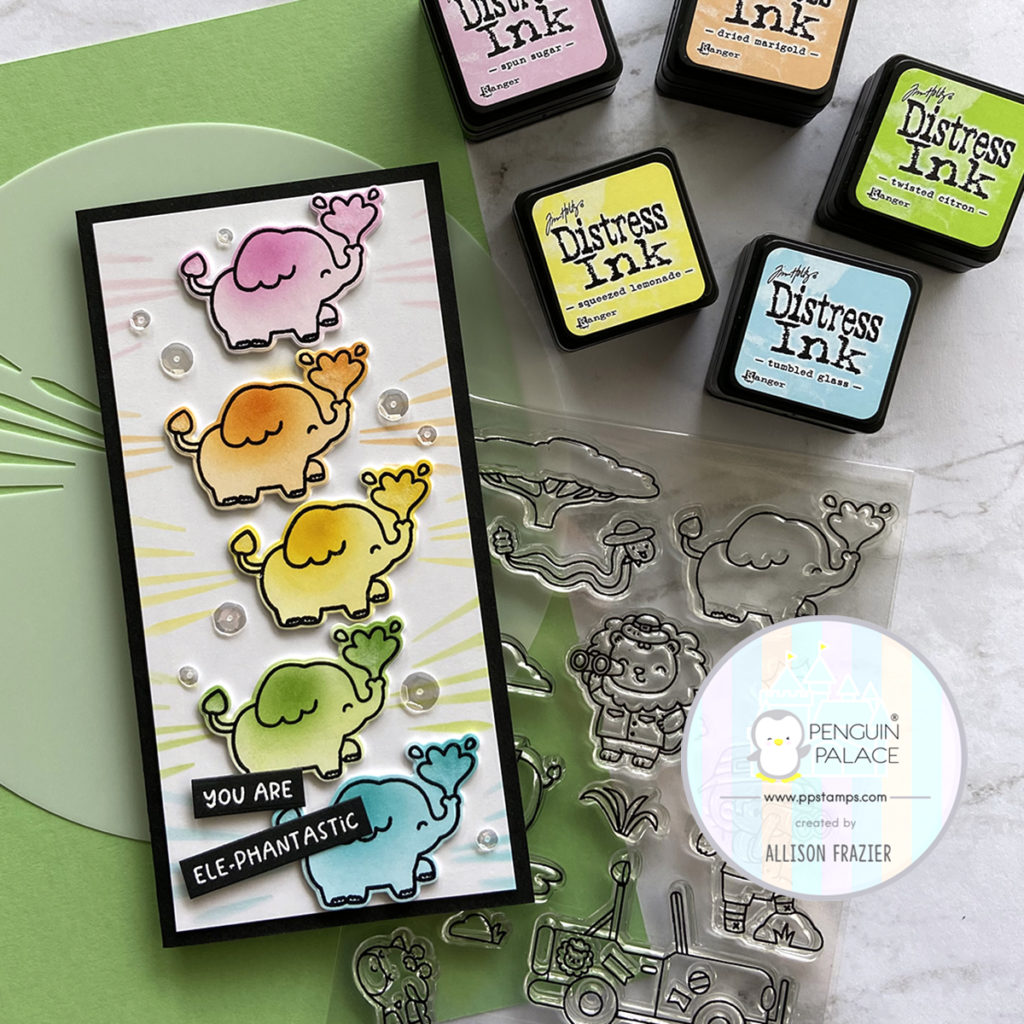
Using a paper trimmer, I cut a panel of white card stock to 5.75″ x 2.75″ and played around with the placement of the elephants until I was happy with the layout. To add some interest to the background, I used the Magical Fireworks Stencils 360°™ set. Using “Barrel 2,” which resembles rays, I positioned it on my panel so that the rays would look like they were coming out of the elephant on each side. It was very easy to just line up the stencil next to each elephant and ink it up with the corresponding color. Once I finished stenciling the panel, I attached it to a black card base measuring 6″x3″. I adhered the elephants to the panel with glue, and then I white heat embossed the sentiment onto black card stock. To finish the card, I added a few sparkling clear sequins, as well as some shimmer pen to the sprays of water.
Seas The Day
For my second card, I used the surfboard image from the new Aloha Hawaii stamp set. I followed the same exact process as my first card, blending with a lighter color first and then adding a darker shade to the top of each surfboard. After die-cutting the surfboards with the matching die, I arranged them onto another 5.75″x2.75″ white panel, this time using a horizontal layout.
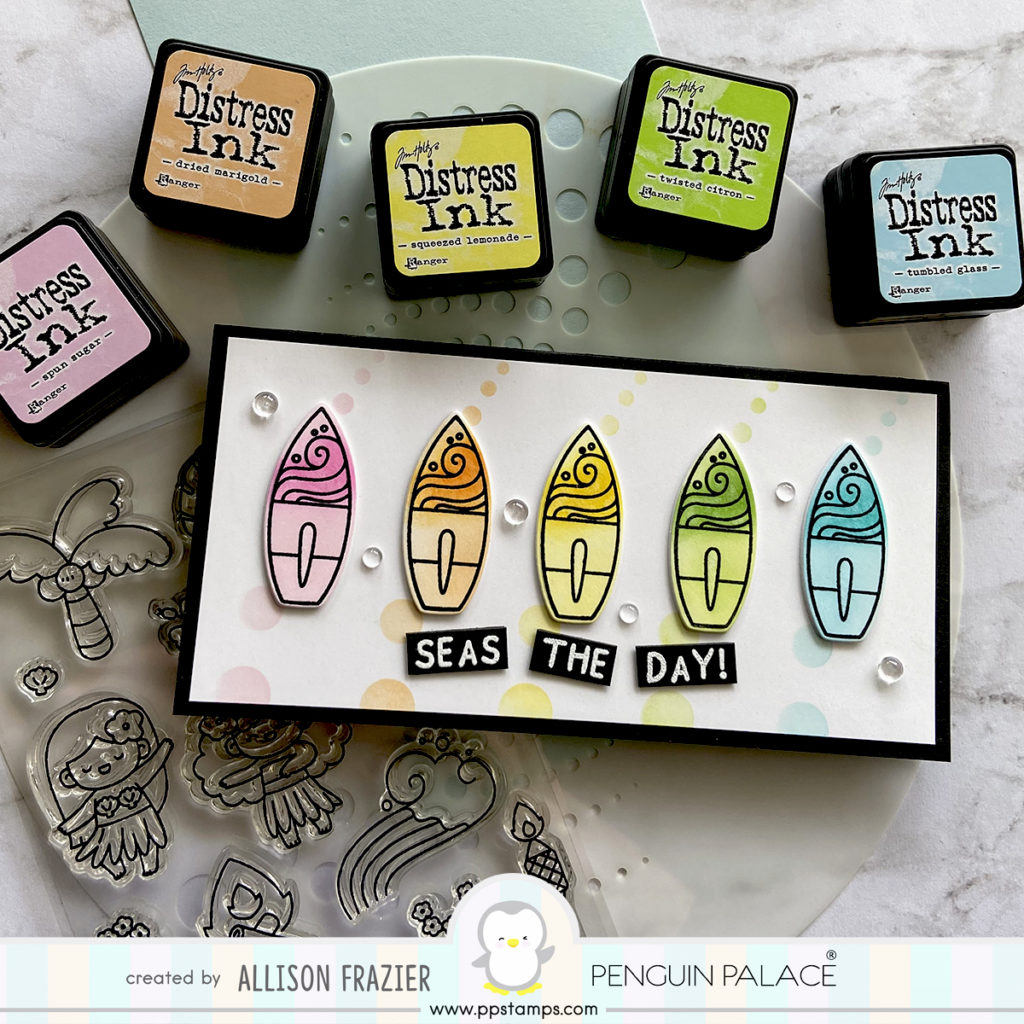
To add interest to the background for this card, I used the Waterspout Stencils 360°™. I decided to just use the first row of dots, so I masked off the surrounding holes (I only needed to do this to one side of the stencil). Using my temporary layout of surfboards, I determined where I wanted to stencil the pink droplets. From there, I stenciled the other colors at regular intervals.
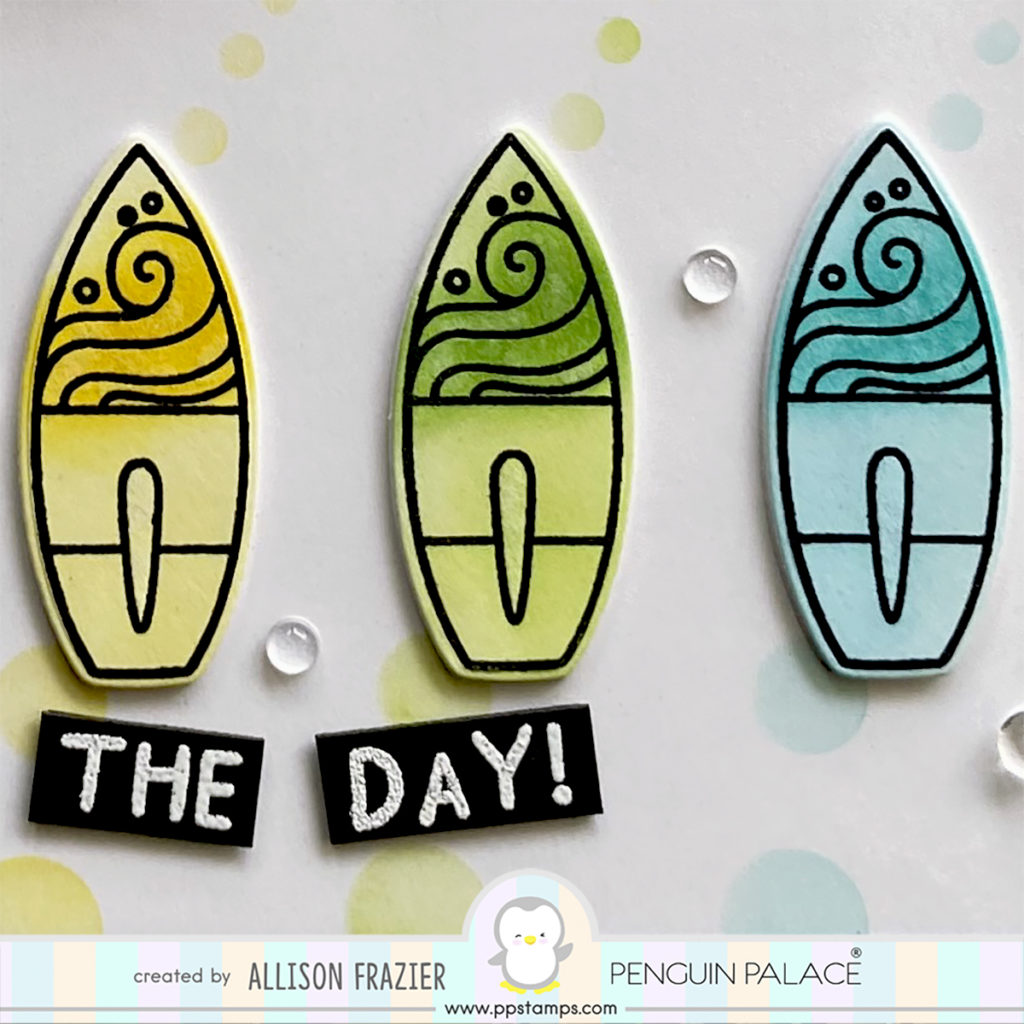
I mounted the panel onto a 6″x3″ black card base and adhered my surfboards. The heat embossed sentiment comes from the Summer Sunshine stamp set. To finish the card, I scattered a few clear drops and added shimmer pen to the top of the surfboards.
That’s it for my cards today – I hope they made you smile. Be sure to check out Penguin Palace Stampsfor these and other fun products!
Wishing you all a crafty day!
Allison
Note: External links on my blog may contain affiliate links. This means that I have the opportunity to earn a small commission when you click on the links and purchase from companies that I am affiliated with. This comes at no additional cost to you. Thank you so much for your support, as this helps me bring you more content.